Building your own sauna is a rewarding and fulfilling project that can be completed with some basic tools, materials, and a bit of patience.
In just 10 straightforward steps, transform your backyard space into your personal haven for relaxation.
Follow this guide to learn how to create a cozy retreat where you can unwind and rejuvenate.
Each step is carefully designed to guide you through the process, from groundwork to final touches, ensuring your DIY sauna is both functional and aesthetically pleasing.
1. Groundwork
Start by preparing the ground. Excavate the soil where your sauna will stand, creating a firm foundation. Fill the pit with gravel for stability and drainage.
Next, place concrete slabs in each corner, ensuring they are level. This precise alignment is crucial for a stable structure.
Use a spirit level to check the height and make adjustments as needed.
Preparing your base correctly will ensure a durable sauna that stands the test of time, providing you with a solid start for your project.
2. Flooring of the Sauna
Construct the sauna floor by building a sturdy wooden frame. Use beams measuring approximately 1500*80*50mm for durability.
The frame should be sized at 1550*1550mm, allowing ample space for the decking. Securely screw the decking planks onto the frame, ensuring a snug fit.
Cutting the decking planks to size ensures a seamless finish.
This step lays the groundwork for a comfortable and durable sauna environment, preparing you for the next stages in building your personal retreat.
3. Building the Walls
Begin the wall construction by drilling precise holes at one end of each timber beam. These will house steel rods for alignment.
Create a drilling template using a thick steel plate for accuracy. Secure the first row of beams and insert steel rods at corners and door openings.
Stack subsequent layers offset with wood glue for stability. Aim for 24 rows in total.
This technique ensures walls are firm and robust, ready to withstand years of use, forming the core of your sauna structure.
4. Installing the Roof
Top off your sauna with a sturdy roof. Begin by securing the initial beam on the walls. Use wood glue to connect the other beams, reinforcing with screws.
Once the beams are in place, cut the bitumen felt roofing to size. Carefully apply it using a flame scarfing device, which bonds the material securely to the wood.
This waterproof layer protects the sauna from weather elements, ensuring longevity.
A well-crafted roof completes the sauna’s exterior, safeguarding the sanctuary within.
5. Exterior Finish: Shou Sugi Ban
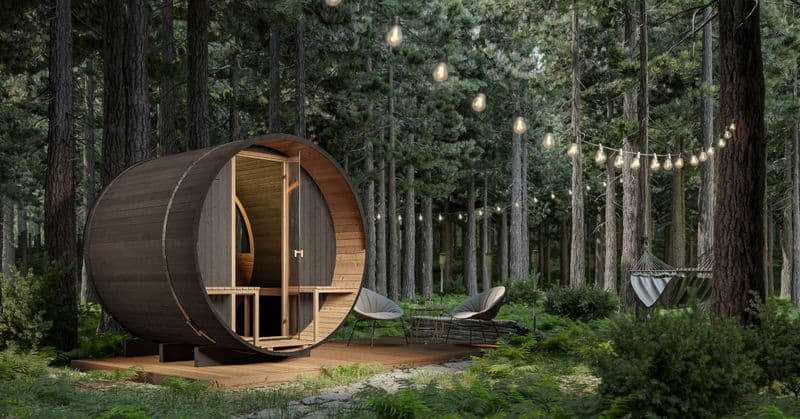
Enhance your sauna’s exterior with Shou Sugi Ban, an ancient Japanese technique.
This method involves burning the wood’s surface to increase its durability and give it a striking, dark appearance.
The process not only protects the wood from the elements but also adds a unique aesthetic appeal. Carefully torch the wood, then brush and oil it to seal the finish.
This step decorates your sauna while adding a layer of protection, merging tradition with modern functionality for a timeless look.
6. Installing the Door
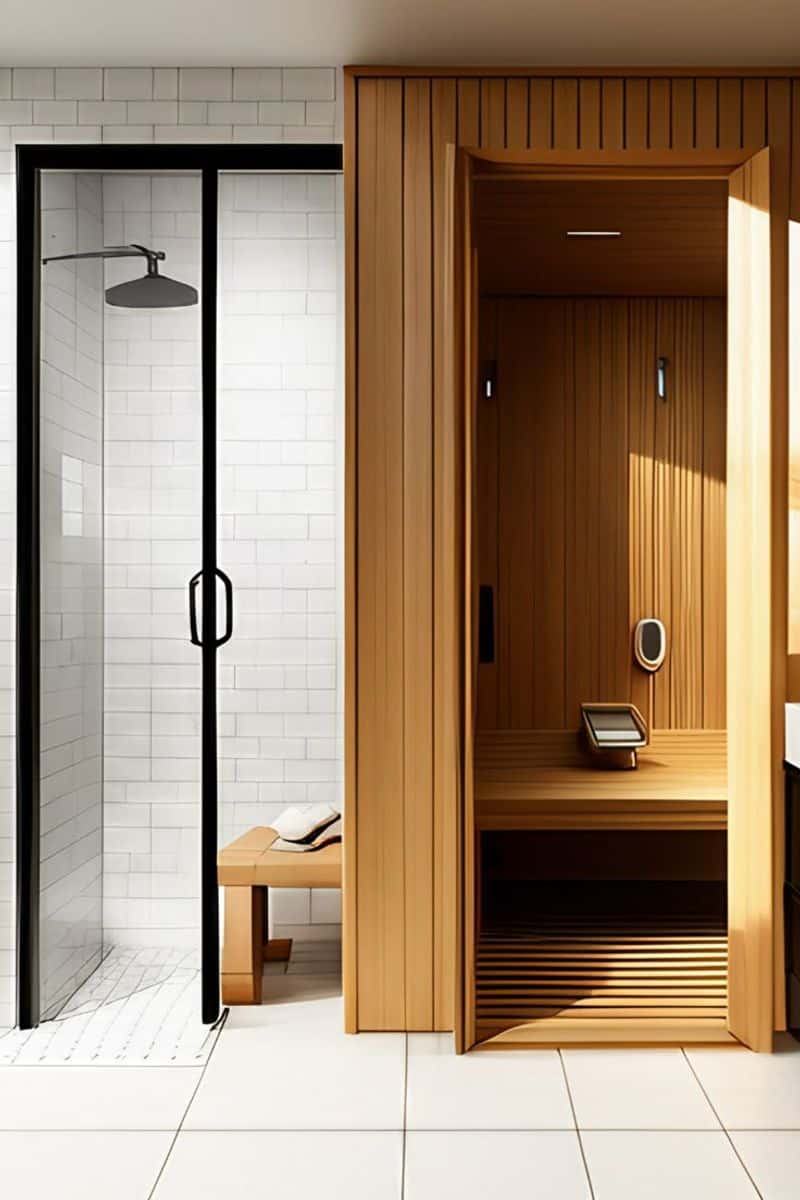
Installing the sauna door requires teamwork. Due to its weight and fragility, coordinate with a partner to position it correctly.
Ensure the door opens outward for safety. Secure the doorframe to the walls with screws, providing a tight fit.
Attach the hinge cover and handle for functionality and aesthetics.
This step not only completes the structural aspect of your sauna but also ensures easy access, blending practicality with style for an inviting entrance.
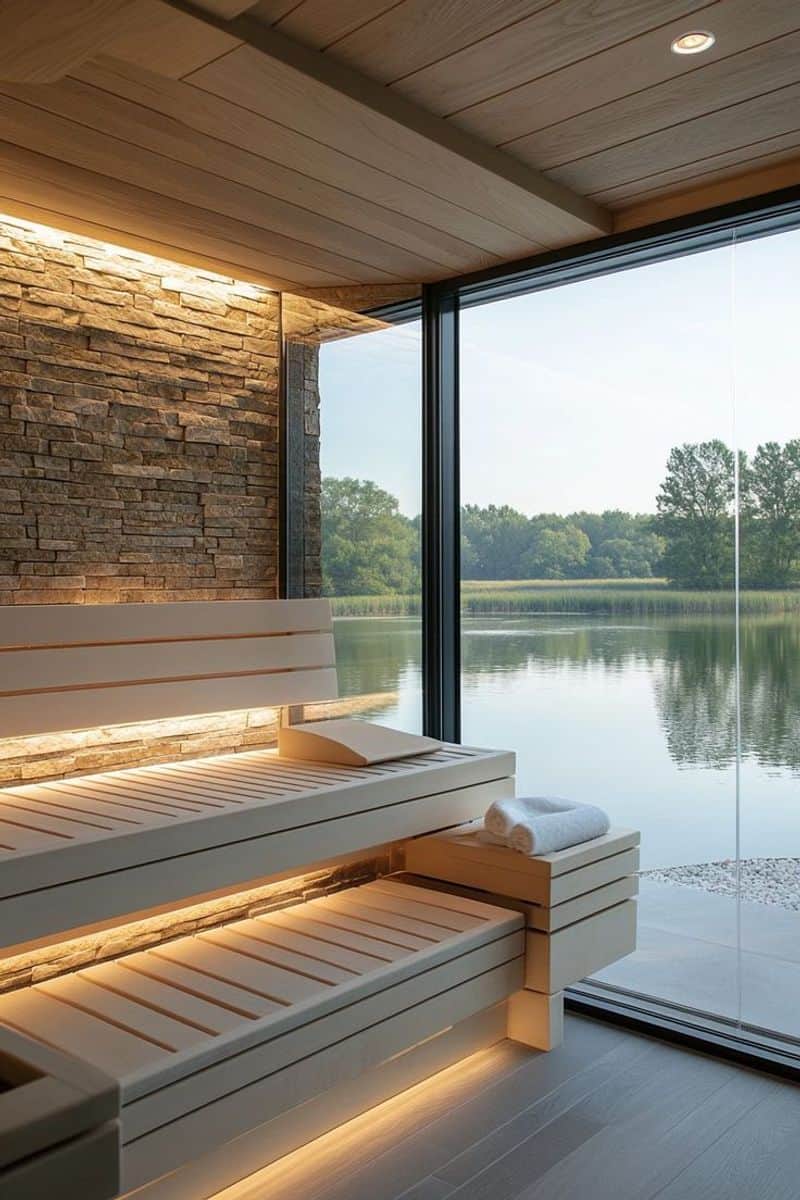
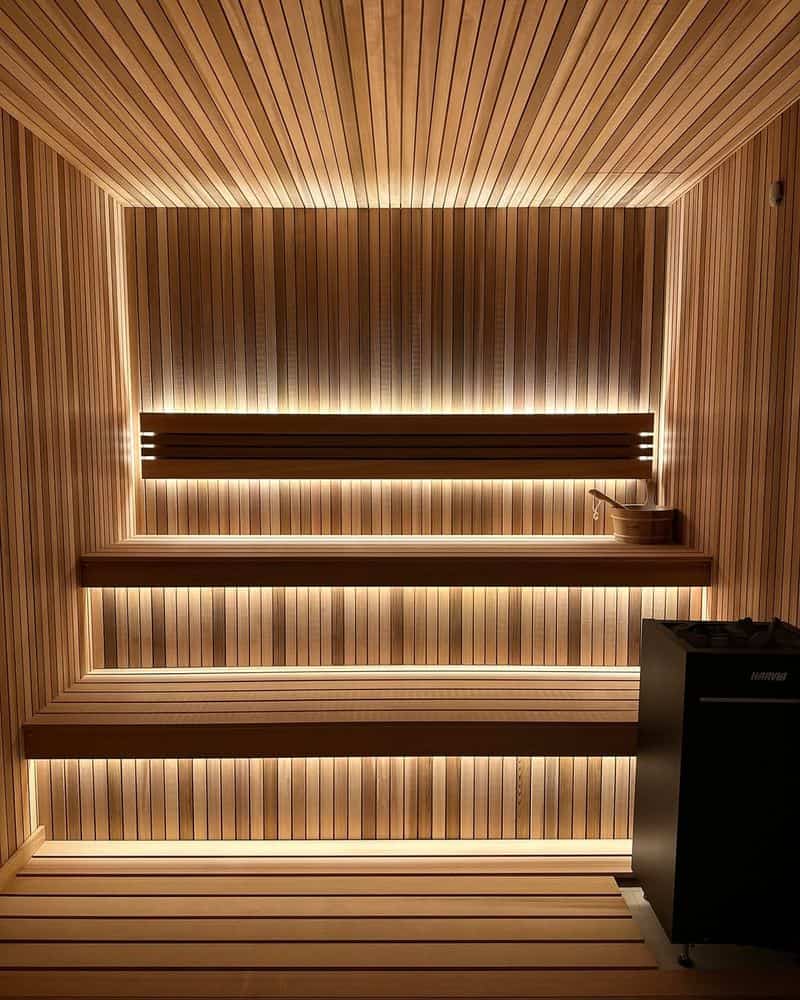
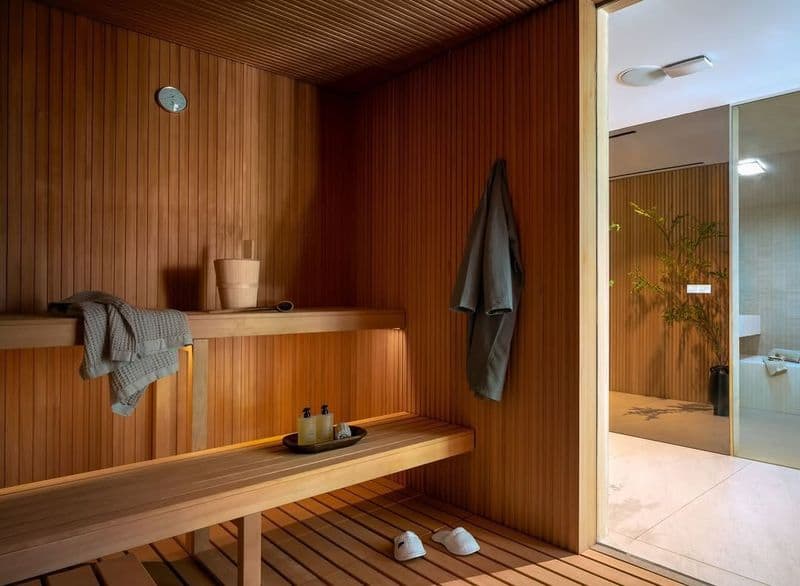
7. Interior Setup: Sauna Bench
Craft the sauna bench by cutting a frame to size, typically 600mm in width for comfort. Assemble it using longitudinal and cross struts secured with wood screws.
Mount the frame on the wall, keeping it at a convenient height, around 600mm. Affix planks across the top, creating a sleek seating surface.
Enhance ambiance with an RGB LED strip, offering customizable lighting.
This bench is a relaxing perch, designed for comfort and style, encouraging you to unwind in your newly built sauna.
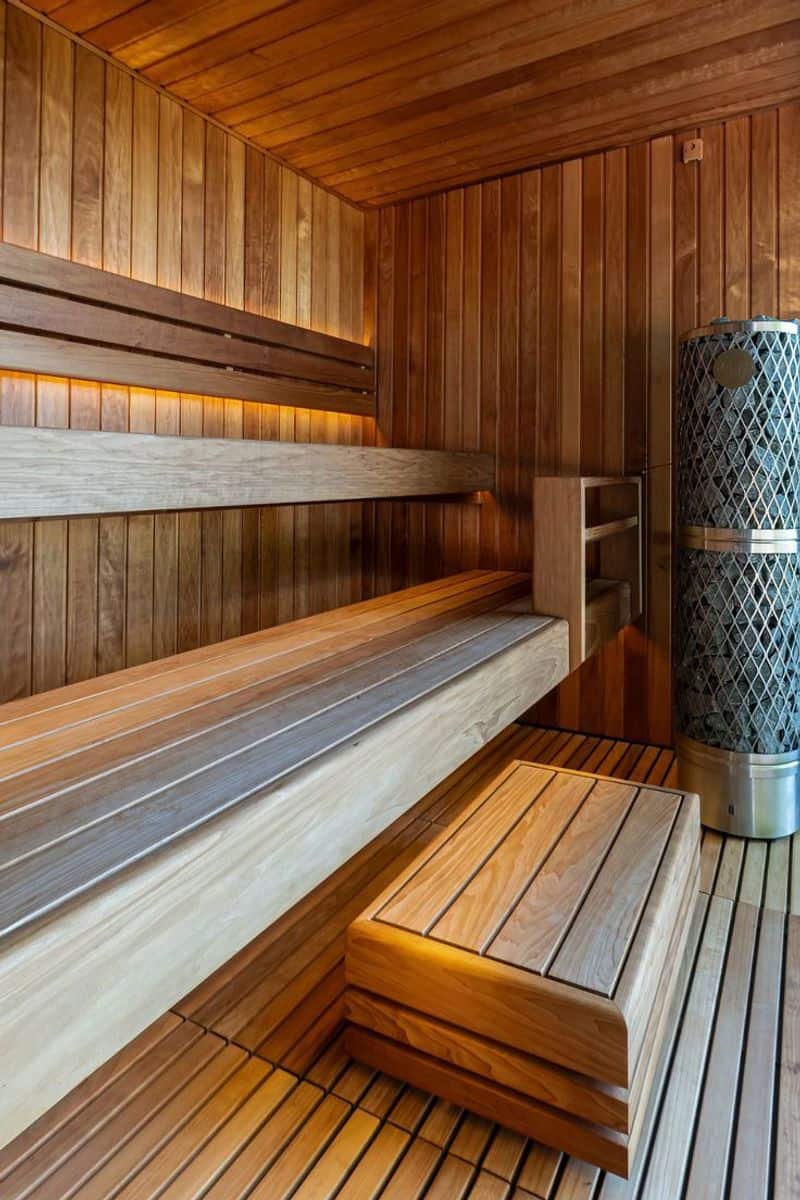
8. Installing the Sauna Stove
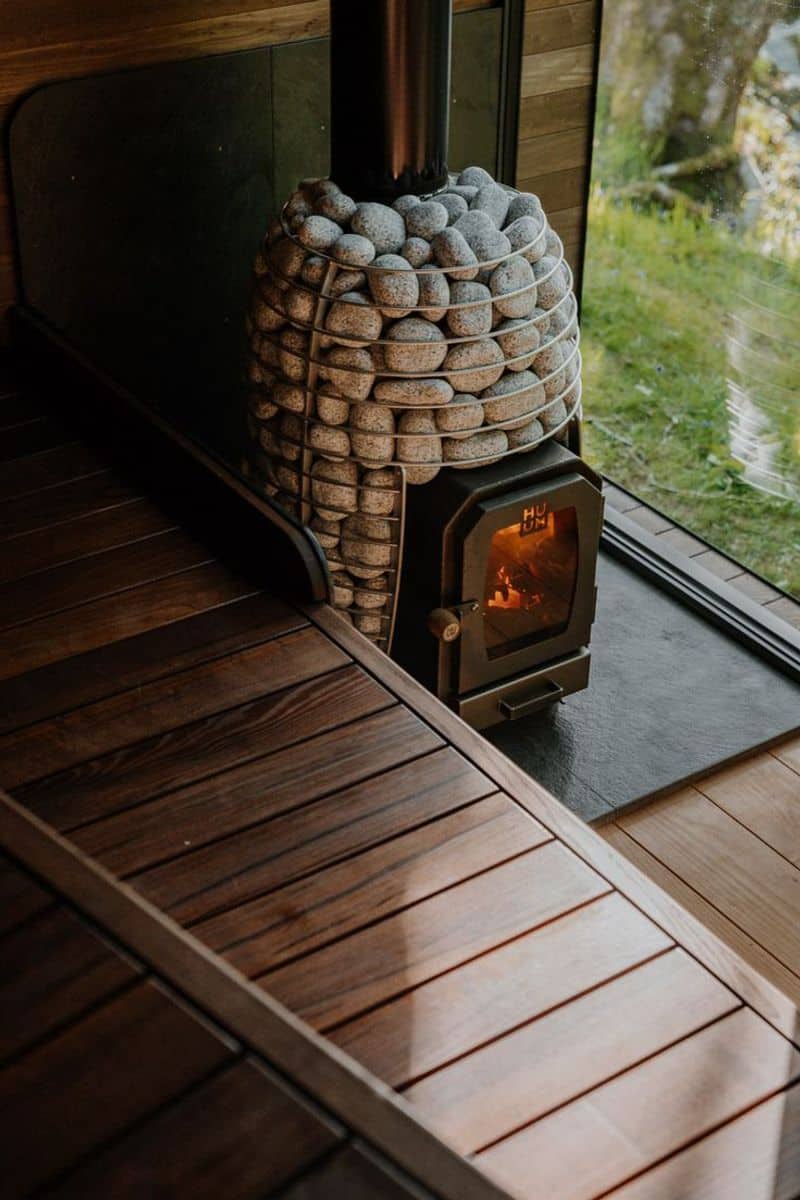
Position your sauna stove on a protective plate for safety. Mark and drill the chimney outlet on the wall, ensuring a snug fit.
Seal the connection between the stove and chimney to prevent leaks. This setup provides efficient heat, essential for a sauna’s warming atmosphere.
The stove is more than a heating element – it’s the heart of your sauna.
By installing it correctly, you ensure warmth and relaxation, making your sauna experience truly enjoyable and authentic.
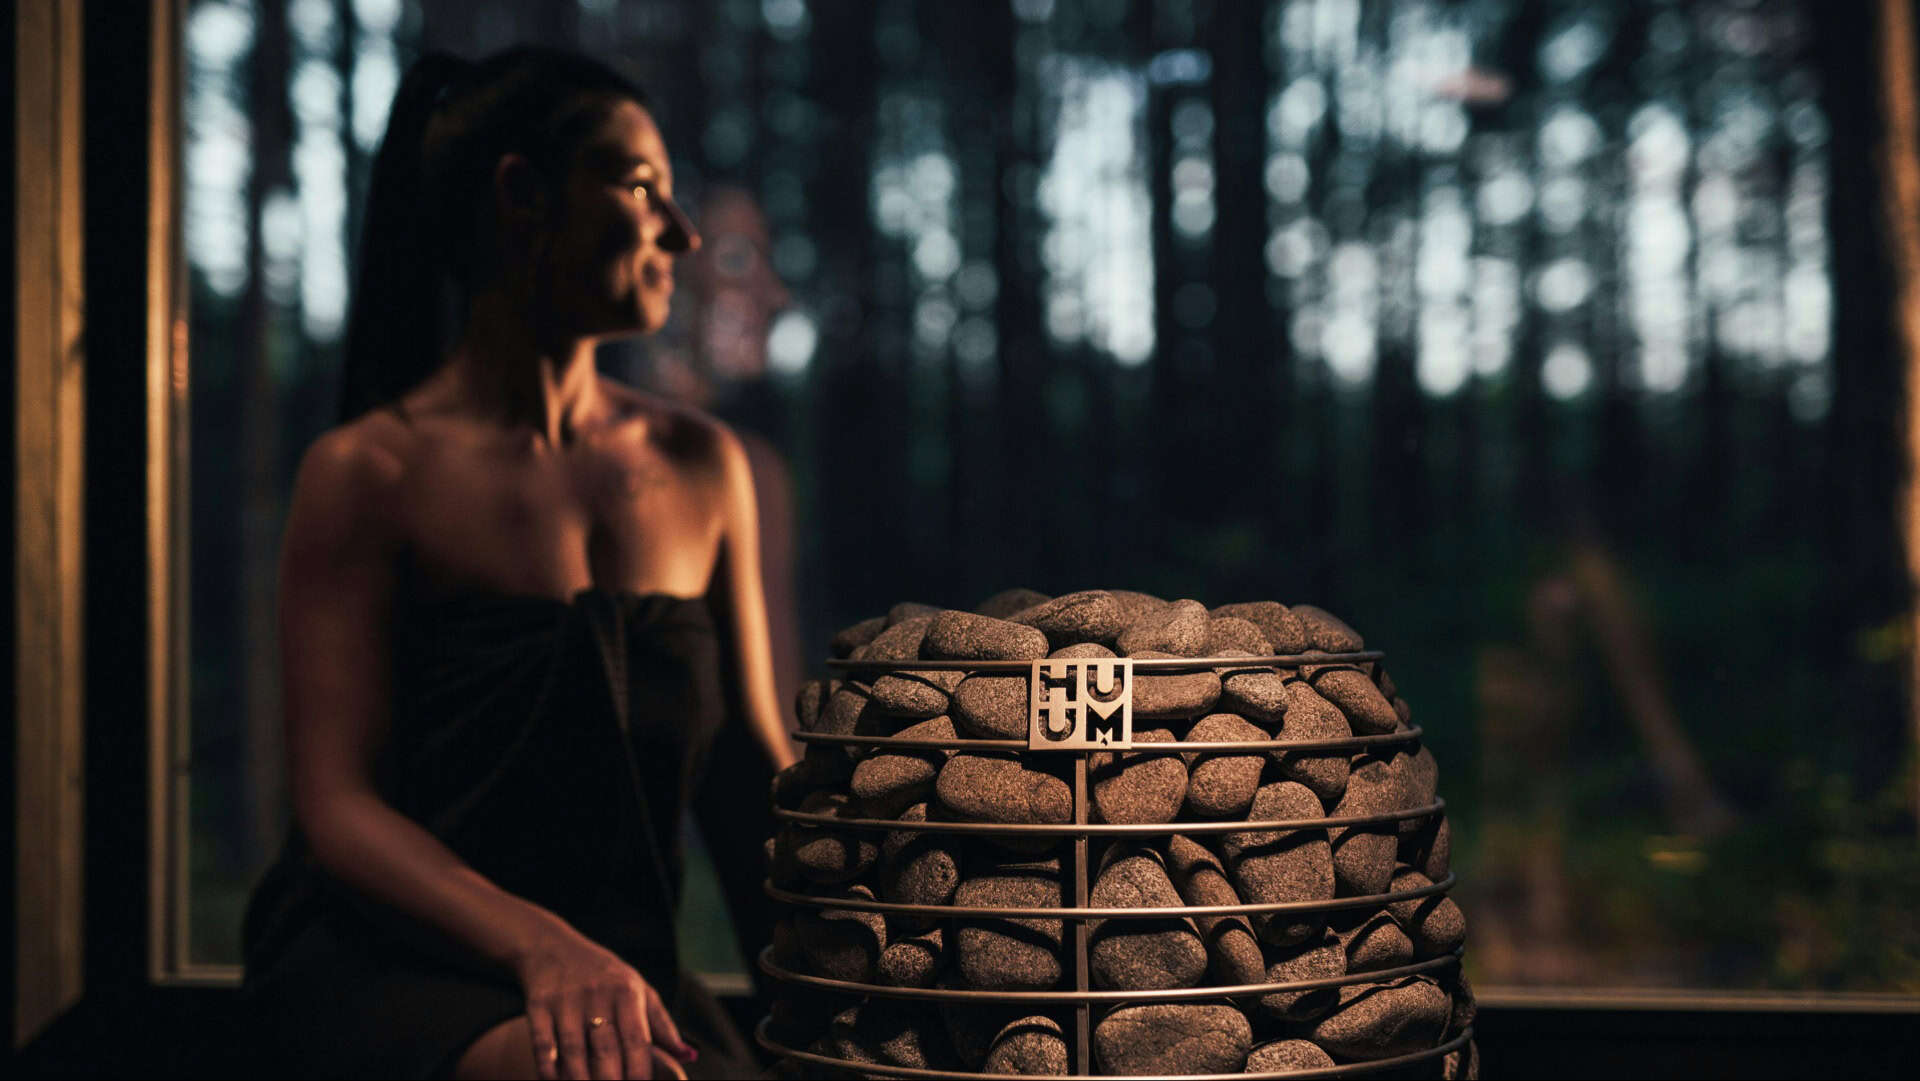
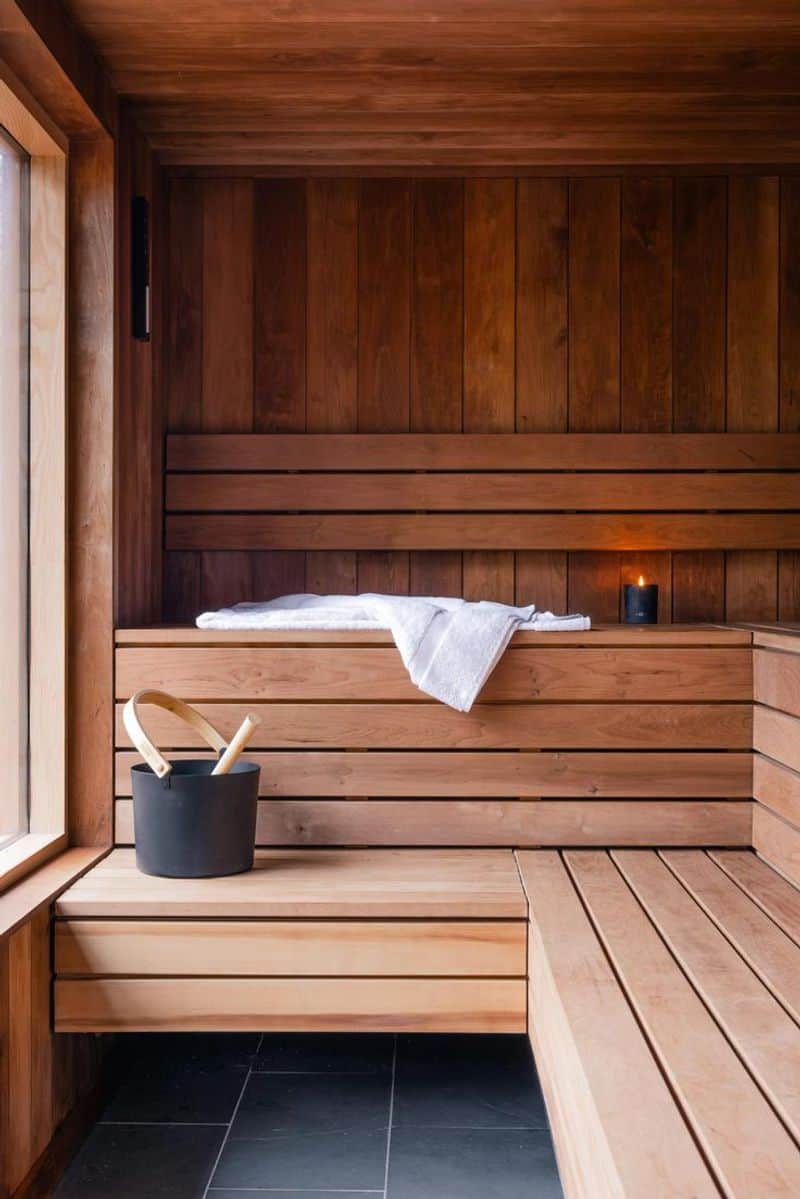
9. Final Steps
Complete your sauna with finishing touches. Add stones to the sauna stove, a vital element for heat distribution.
Install a thermometer and hygrometer to monitor temperature and humidity levels, ensuring optimal comfort.
Tighten all screws, especially those on the steel rods, to confirm stability. Clean the area thoroughly, making it ready for use.
These final adjustments ensure your sauna operates efficiently, providing a perfected personal retreat where you can relax and rejuvenate whenever desired.
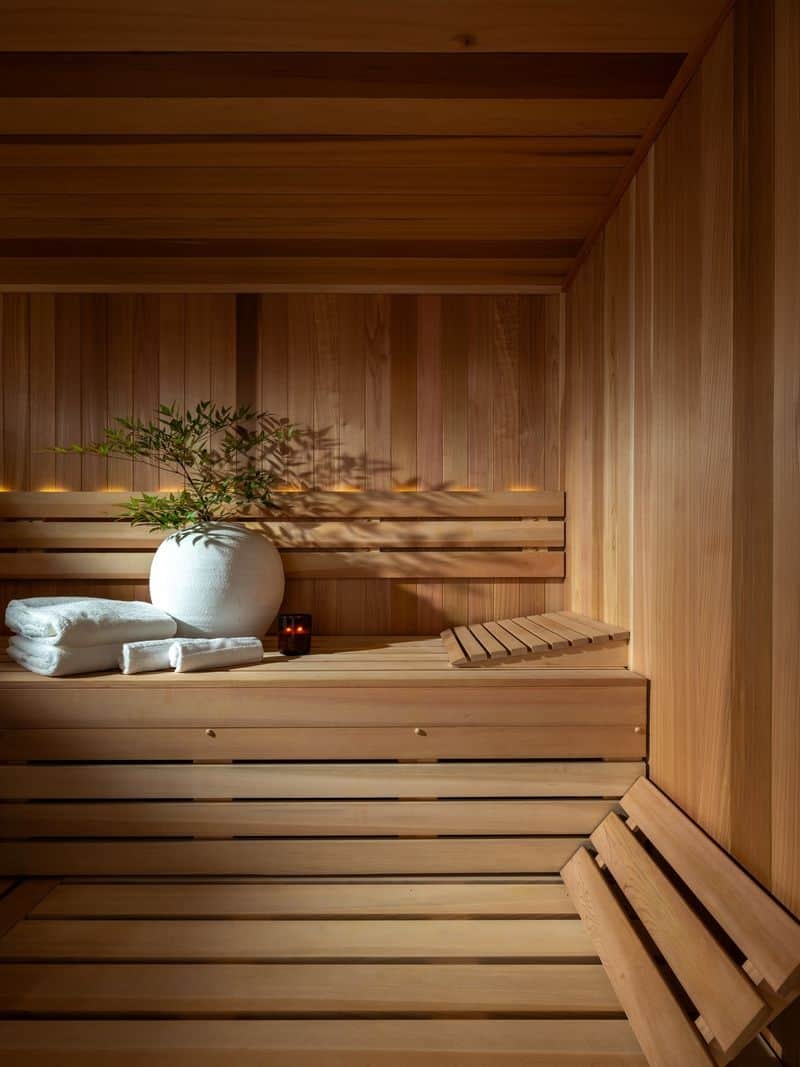
10. Enjoy Your Sauna!
With your DIY sauna complete, it’s time to enjoy the fruits of your labor. Enter your personal retreat and immerse yourself in the warm embrace of the wooden sanctuary.
Adjust the lighting and temperature to your preference, creating a personal spa-like experience.
This space now serves as a haven for relaxation and wellness, a testament to your hard work and dedication.
Enjoy the peace and tranquility as your sauna becomes a cherished corner of your home, offering rest and rejuvenation.