Creating a DIY sofa arm tray can be an exciting project that combines style, functionality, and personal creativity.
This guide will walk you through eight simple steps to craft a tray that fits perfectly on your sofa arm, offering a handy surface for drinks, snacks, or remote controls.
Whether you’re a seasoned DIY enthusiast or a beginner, these steps are designed to be accessible and enjoyable.
Let’s get started on making a stylish and functional addition to your living room!
1. Step 1: Gather Materials

Start by collecting all necessary materials: wood planks, nails, a hammer, sandpaper, measuring tape, and wood glue. Make sure the wood matches your sofa’s aesthetic for a cohesive look.
It’s essential to have everything at hand before starting, to keep the process smooth and efficient. Store all materials in a designated workspace.
Organize them neatly to save time and avoid any hassle during the construction phase.
By preparing your workspace and materials in advance, you set the stage for a focused and enjoyable DIY experience. Let’s move on to the next step!
2. Step 2: Measurement and Cutting
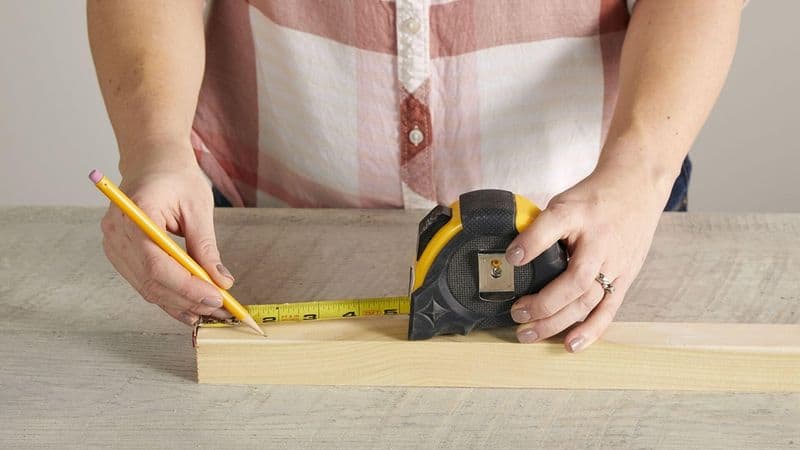
Measure the width and height of your sofa arm to ensure a snug fit for the tray. Using a saw, carefully cut the wood planks according to your measurements.
Precision is key here, as accurate cuts will determine the tray’s stability.
Work in a well-lit area to enhance visibility and safety. Take your time during this stage to avoid mistakes. Proper measurement and cutting set the foundation for a sturdy and visually appealing tray.
Once you’re satisfied with the cuts, it’s time to prepare the pieces for assembly. Ready for sanding?
3. Step 3: Sanding the Edges
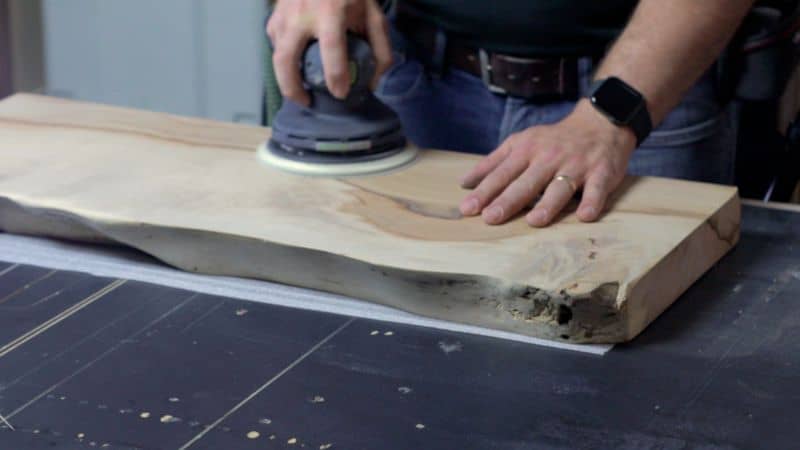
Smooth out the rough edges of the cut wood using sandpaper. This step is crucial for both aesthetics and safety, as it prevents splinters. Choose a fine-grit sandpaper for a polished finish.
Sand evenly, applying consistent pressure to achieve smooth surfaces. Focus on all edges and corners to ensure a comfortable touch.
An even finish not only enhances the tray’s look but also makes it safer to handle.
Once satisfied with the smoothness, brush off any dust. Now, you’re ready to join the pieces together in the next step.
4. Step 4: Assembling the Tray
Begin assembling the tray by aligning the wood pieces according to your design. Use nails and a hammer to secure the joints firmly.
Ensure the pieces align perfectly, as this will affect the tray’s balance and appearance.
A well-assembled tray provides stability for holding items. Take time to check the alignment before nailing each piece; small adjustments can make a big difference.
Once all pieces are joined, give the tray a gentle shake to test its sturdiness. With a solid frame in place, you’re ready to add any desired finishes or embellishments.
5. Step 5: Adding a Finish
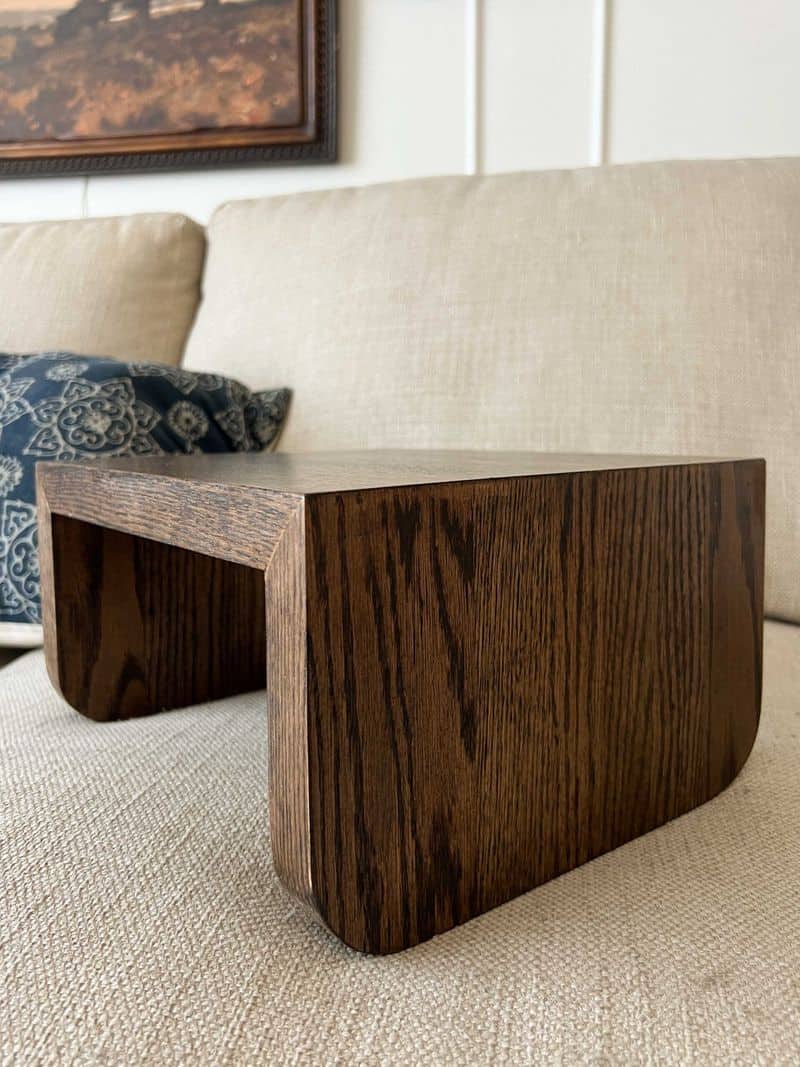
Choose a wood finish that complements your living room decor. Whether you prefer a natural varnish or a splash of paint, apply it evenly across the tray’s surface.
This step protects the wood and enhances its aesthetic appeal. Use a brush for even application, ensuring all areas are covered, including corners and edges. Allow the finish to dry fully before proceeding.
A well-applied finish not only adds style but also extends the tray’s lifespan. Once dry, you have a beautifully finished tray, ready to be a functional part of your living room.
6. Step 6: Adding Non-Slip Pads
Attach non-slip pads to the tray’s underside to prevent slipping or scratching your sofa arm.
These pads provide stability and protect both the tray and your furniture. Choose self-adhesive pads for easy application.
Carefully position them at the corners and center for balanced support. Non-slip pads are a subtle yet essential addition, ensuring your tray remains in place during use.
This step enhances the tray’s functionality, making it a reliable surface for holding drinks or snacks. With pads securely in place, your tray is almost ready for use.
7. Step 7: Personalizing the Tray
Make your tray unique by adding personal touches like paint designs, decals, or small decorations. This step allows you to express creativity and match the tray with your home aesthetic.
Use stencils or freehand painting for intricate designs. Consider adding a monogram or favorite quote for a personal touch.
Personalization not only makes the tray special but also shows off your style.
It’s a wonderful opportunity to let your creativity flow and create something truly bespoke. Once satisfied with your design, let the tray dry completely before use.
8. Step 8: Using Your Tray

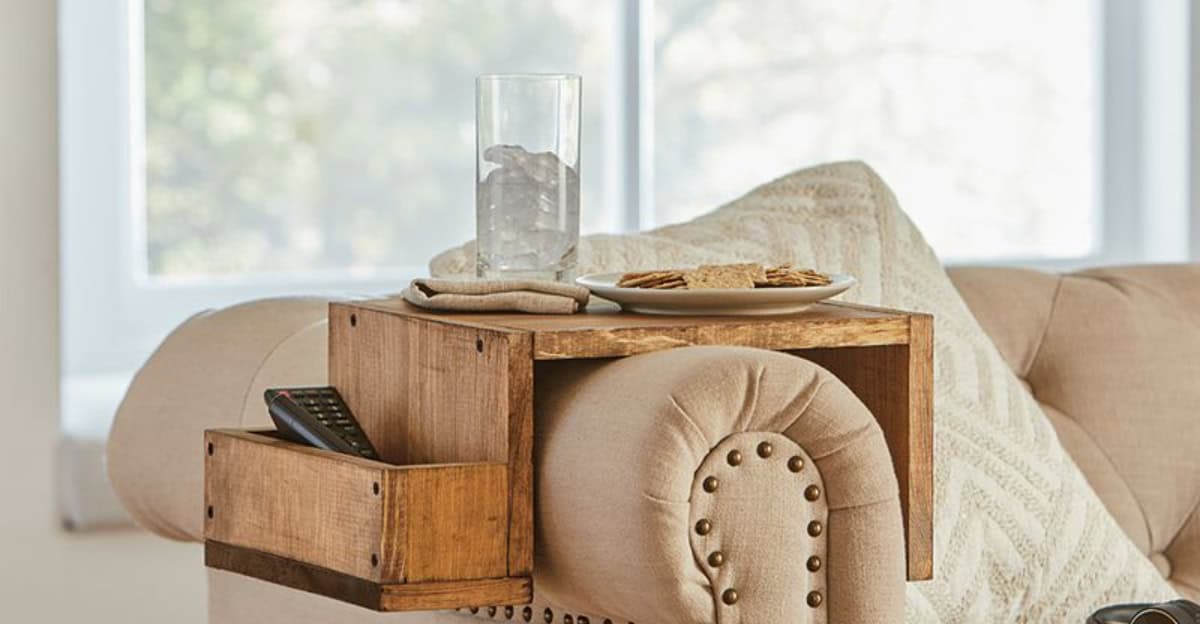
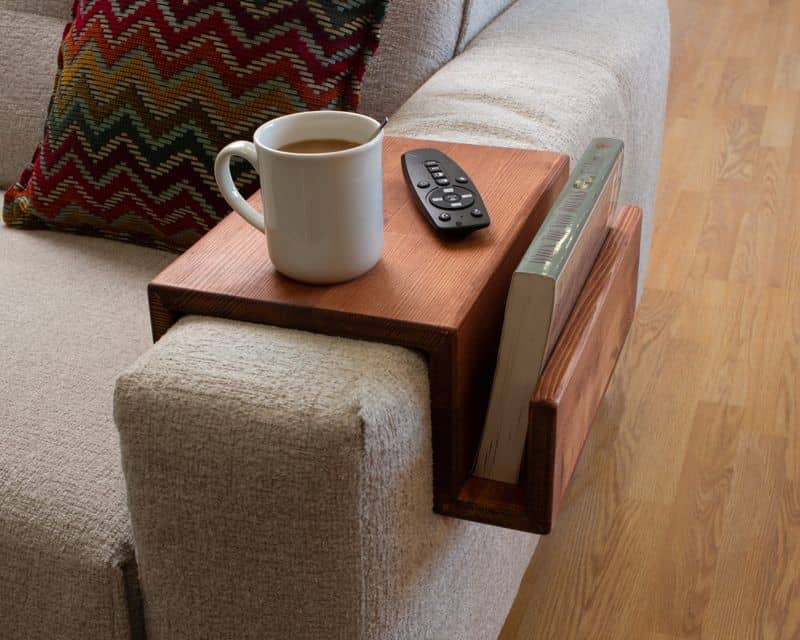
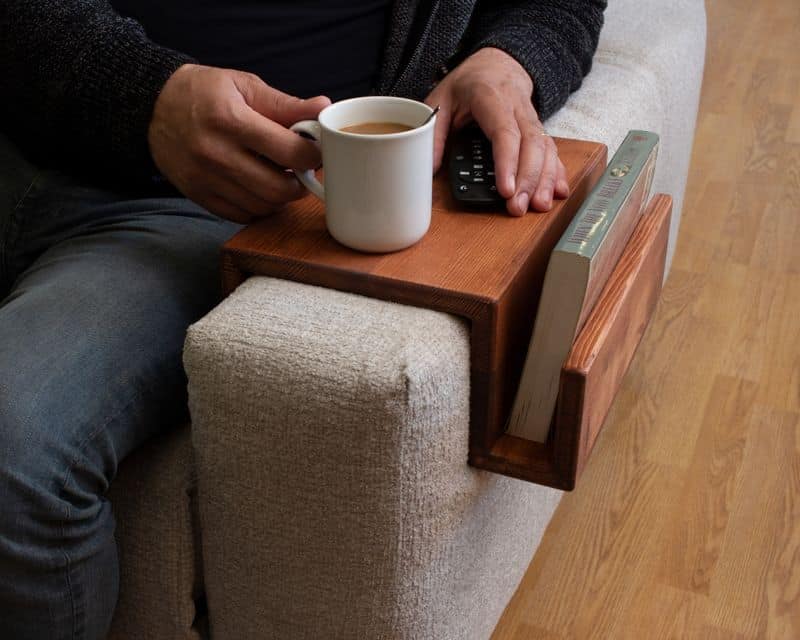
Your DIY sofa arm tray is complete and ready for use! Place it on your sofa arm, checking for stability. The tray is perfect for holding coffee, books, or remote controls.
It’s a stylish addition that enhances the functionality of your space. Enjoy the convenience it brings to your lounging experience.
Whether you’re watching a movie or enjoying a book, the tray keeps essentials within easy reach.
Its blend of style and practicality makes it a must-have accessory. With your tray in place, relax and enjoy its benefits in your home.