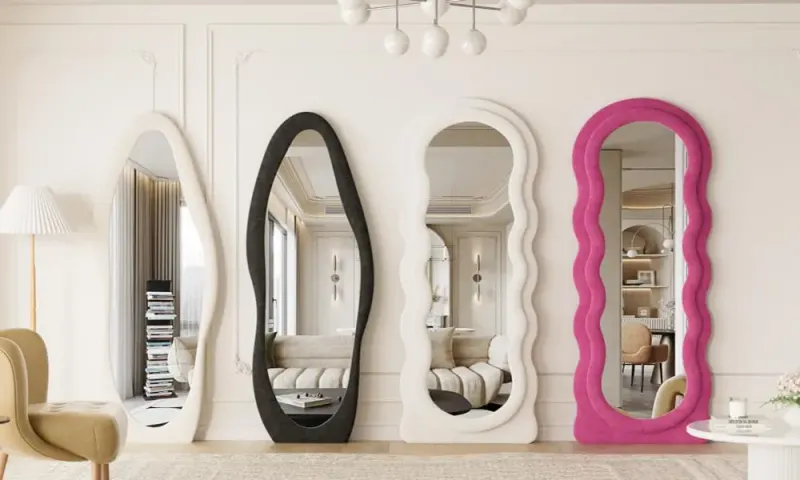
Crafting a wavy mirror can be an exciting and rewarding project, transforming a simple mirror into a stunning piece of art.
By following these carefully outlined steps, anyone can achieve a beautiful wavy pattern that enhances the aesthetics of any room.
Dive into your creativity and let’s begin this artistic journey.
1. Prepare Workspace & Mirror

Imagine a clean, well-organized workspace, the cornerstone of a successful project. Lay down a drop cloth to protect your surfaces.
Carefully clean your mirror and its frame, ensuring dust and grease are removed. If the frame appears rough, lightly sand it to allow better paint adherence.
This preparation sets the stage for creativity.
2. Plan Your Wavy Pattern

Envision your mirror’s future design by planning a wavy pattern along the edges.
Use a ruler and pencil to mark the waves’ width and amplitude, ensuring balance and symmetry.
This thoughtful planning phase breathes life into your artistic vision, allowing for a smooth transition into the painting process.
3. Tape the Wavy Pattern

The magic begins as you apply painter’s tape to outline your waves. Carefully follow your pencil lines, ensuring precision in every curve.
This step not only secures areas you want untouched but also guarantees crisp edges. The tape acts as a guide, preserving the integrity of your intricate design.
4. Paint the Wavy Pattern

It’s time to bring color to your creation. Choose vibrant shades that reflect your personality and apply them with precision.
Use fine brushes for detailed lines and larger ones for broad areas.
Allow each coat to dry fully before adding more layers. This step breathes vivid life into your artistic endeavor.
5. Create Texture or Effects

Adding textures and effects elevates your design to another level. Consider metallic accents or glitter for a dazzling appearance.
Experiment with sponges or stippling brushes to achieve unique textures.
Each detail adds depth and character, turning your mirror into a captivating centerpiece that draws attention.
6. Remove Painter’s Tape

As the paint dries, the moment to reveal your masterpiece arrives. Carefully peel away the painter’s tape, uncovering sharp, precise wavy lines.
Adorn your creation with final touches, ensuring perfection. This step culminates in a striking visual that showcases your meticulous attention to detail.
7. Seal the Painted Frame

Protect your design with a clear sealant or varnish. Apply it evenly over the painted areas to ensure longevity and vibrancy.
This protective layer adds a sheen and safeguards your hard work from wear and tear.
Let it dry thoroughly, embracing the glossy finish that enhances your artwork.
8. Attach the Mirror

If your mirror isn’t attached, now is the time to secure it to the frame. Utilize painter’s putty or robust mounting hardware for a firm, level fit.
Ensuring stability is paramount, so double-check for evenness. This step prepares your mirror for its final home, where it will shine brightly.
9. Final Touches

Ensure your mirror is immaculate by cleaning the glass gently. Inspect the frame for any touch-ups needed, refining every aspect.
This final scrutiny guarantees that your creation is flawless. With everything polished and pristine, your mirror becomes a reflection of your creativity and effort.
10. Display Your Wavy Mirror

With everything complete, select the perfect spot to display your creation.
Whether hung in a hallway or set atop a dresser, your wavy mirror adds a touch of elegance and creativity.
Enjoy the fruits of your labor, as it becomes a focal point that captivates and enhances your space.

