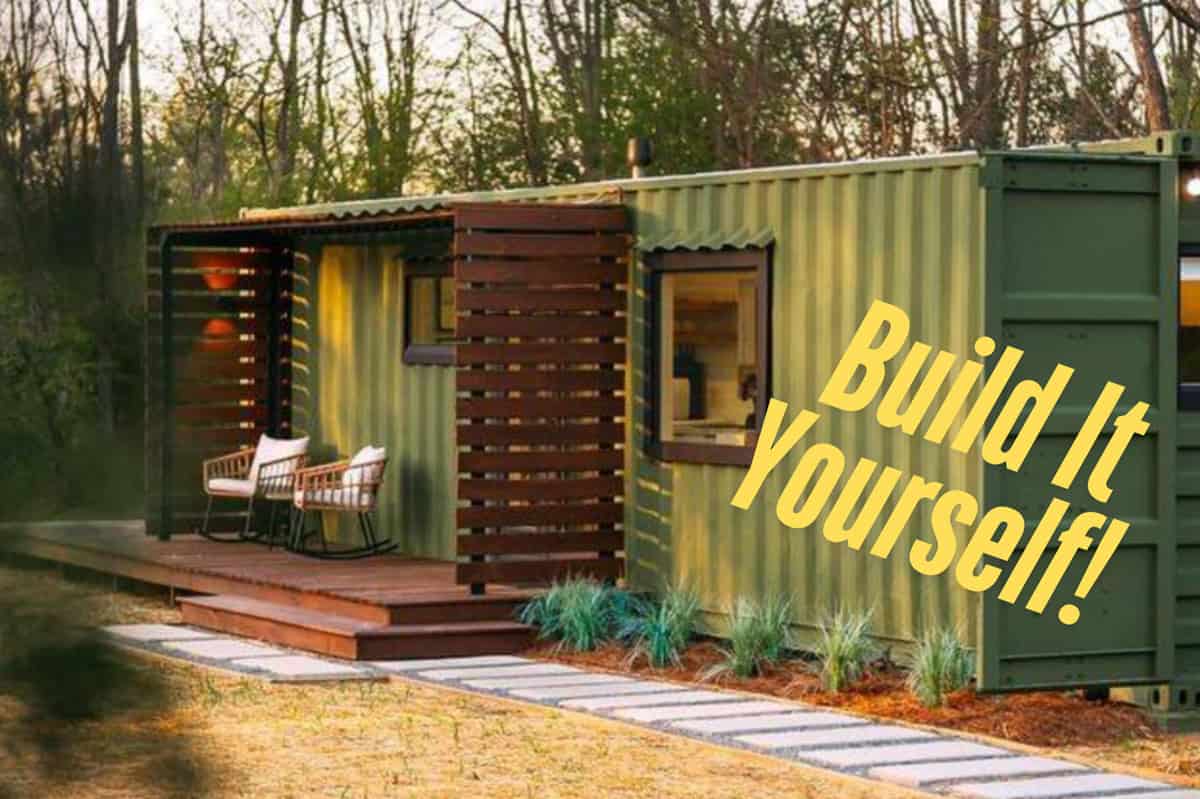
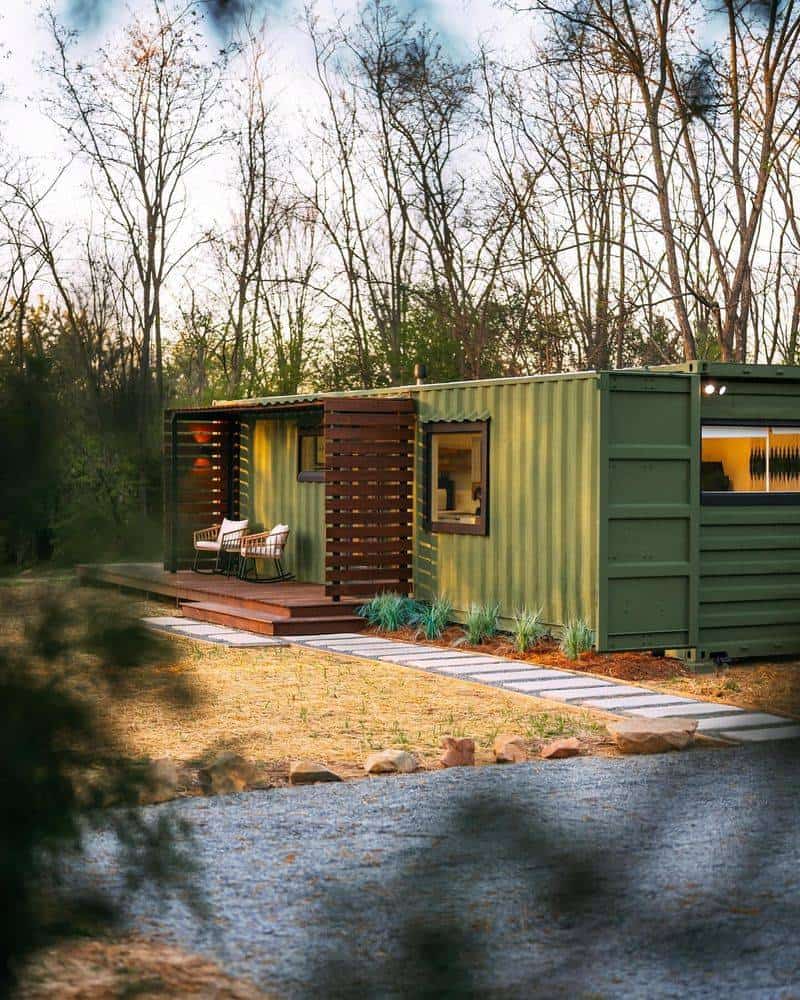
Building your own container home is an innovative and exciting journey.
These homes offer a sustainable and cost-effective alternative to traditional housing, while also allowing for a high degree of customization.
Follow these 10 simple steps to transform shipping containers into your dream living space, and enjoy the process of creating a unique home environment from scratch.
With careful planning and the right tools, you can have a stylish and functional container home that meets all your needs.
1. Planning and Design
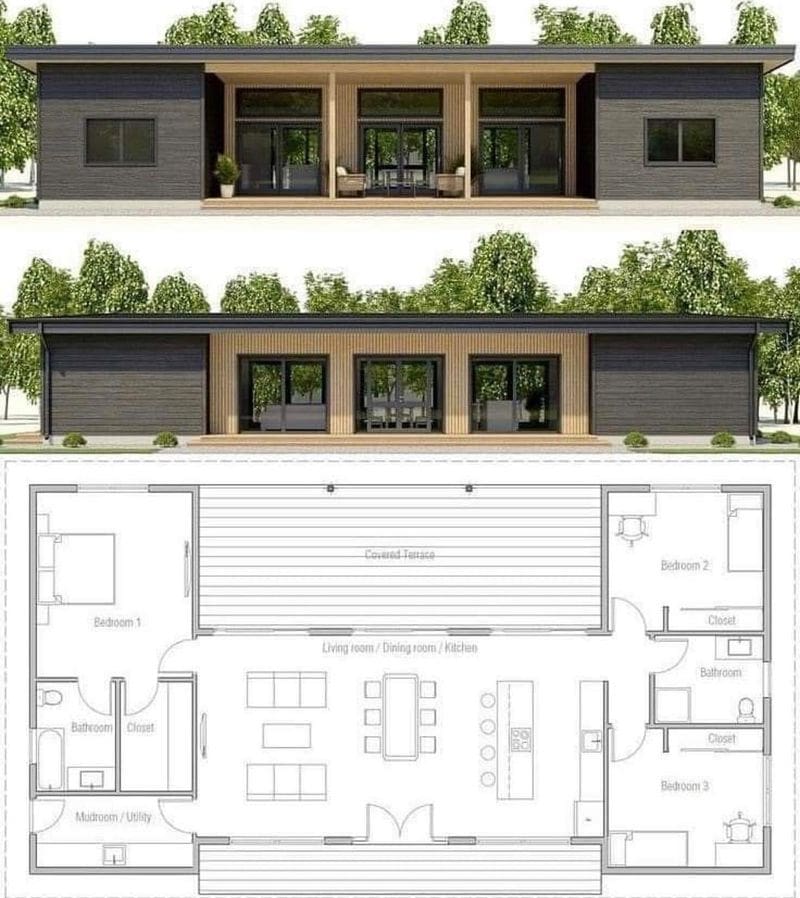
First, consider your container home’s purpose and layout. Plan carefully, focusing on the number of rooms, the layout, and any features you desire. Consult with architects who specialize in container homes to ensure your ideas are feasible.
Use design software to visualize your home and make adjustments as needed. This stage sets the foundation for your entire project, so take your time and be thorough.
Collaboration with experts can help you foresee potential challenges and address them early on.
2. Purchase the Land and Your Container
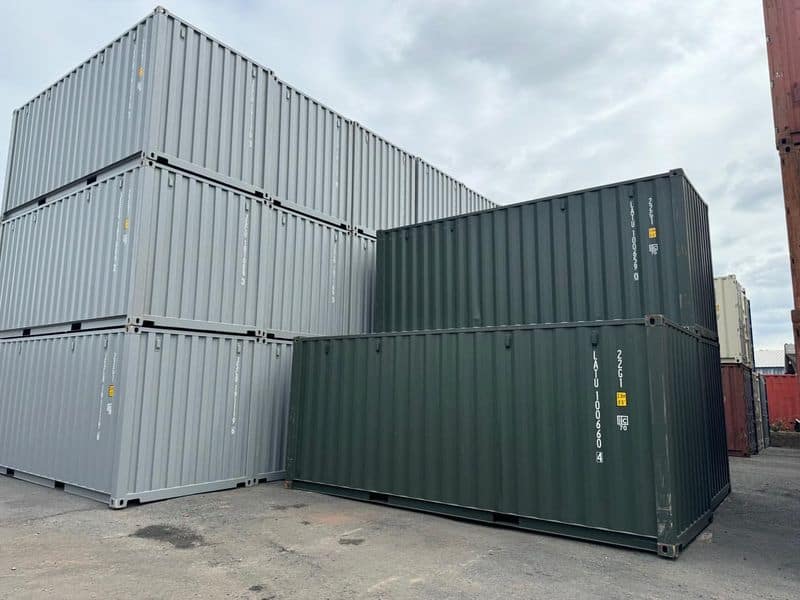
Securing land that suits your needs and obtaining the right shipping containers is crucial. Consider factors like location, accessibility, and local zoning laws.
Once the land is yours, choose containers that are structurally sound and fit your design specifications. Inspect them thoroughly to avoid future issues.
Engage with reliable suppliers to ensure quality. Purchasing second-hand containers can be cost-effective but requires more detailed inspections.
3. Prepare the Foundation
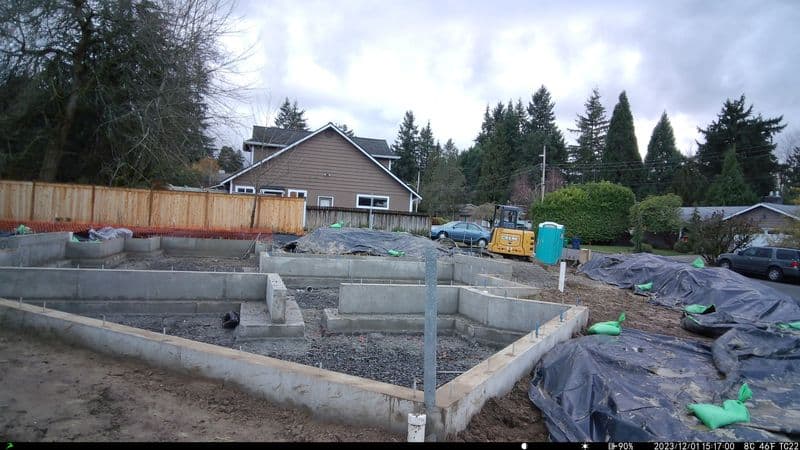
A solid foundation is key to a stable container home. Choose between concrete slabs, piers, or a raised steel frame, depending on your land’s conditions.
Hire professionals to ensure the foundation is level and strong enough to support your containers. This step often involves excavation and leveling, which prepares the site for placing your containers.
It’s essential to address drainage issues at this stage to prevent future water problems.
4. Place Your Container
Positioning containers requires careful coordination. A crane is often necessary to lift and place the containers accurately.
Secure the containers onto the foundation to ensure stability. Ensure they’re aligned as per your design plans to avoid future structural issues.
This step may involve welding and bolting containers together for added strength. Double-check measurements and positions before finalizing.
5. Cut Out Openings for Doors and Windows
Creating openings for doors and windows transforms your container into a functional living space. Use a professional welder to ensure precise cuts without compromising the container’s structural integrity.
Plan the positions of openings to maximize light and ventilation. Double-check measurements and use templates for accuracy.
This stage sets the stage for installing doors and windows, which will enhance your living experience.
6. Add Electric and Plumbing
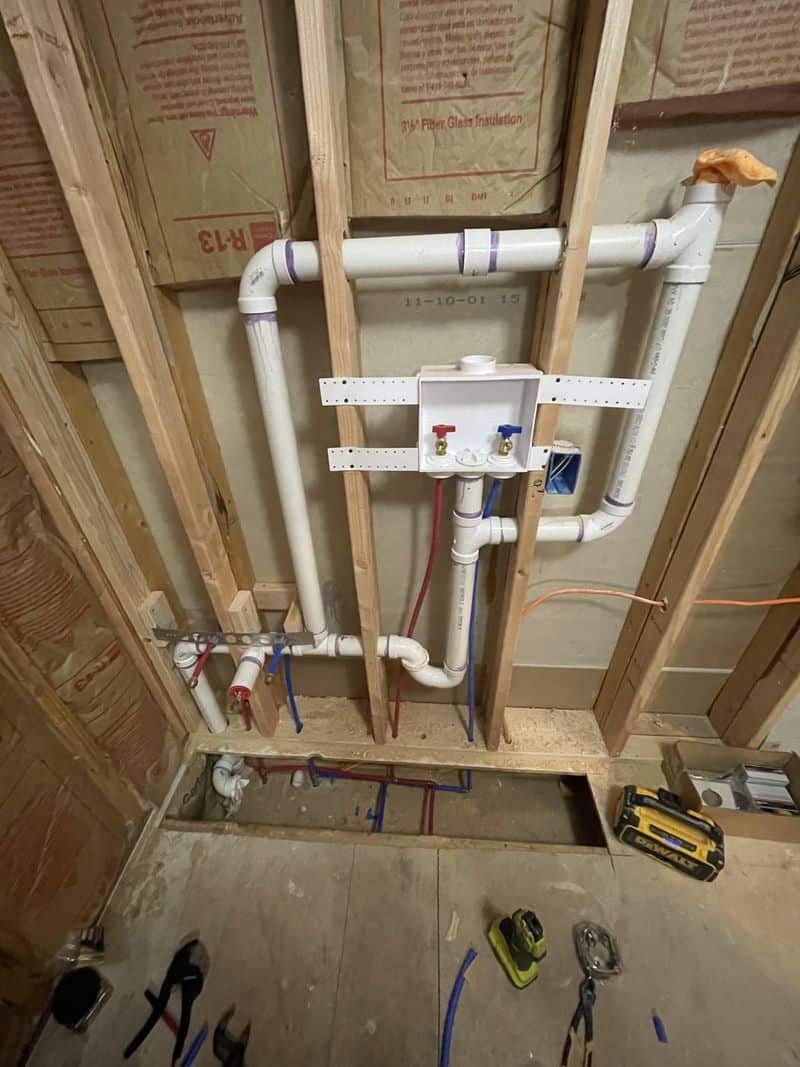
Integrating electrical and plumbing systems is essential for a livable home. Collaborate with licensed professionals to install these systems safely and up to code.
Plan the layout of outlets, switches, and fixtures to complement your interior design. Proper insulation of wires and pipes is crucial to prevent future issues.
This stage can be complex, requiring careful coordination between various contractors.
7. Install Insulation
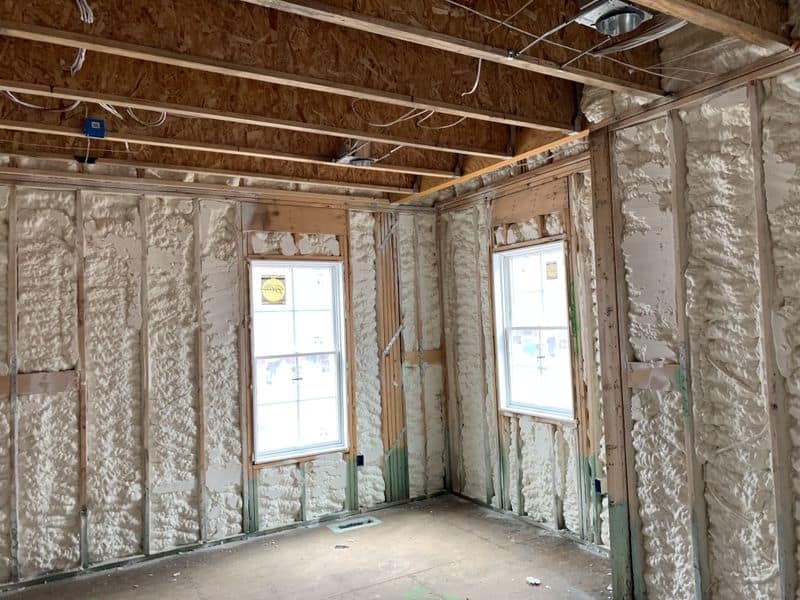
Insulating your container home is vital for comfort and energy efficiency. Choose materials like spray foam, which provides excellent coverage and noise reduction.
Proper insulation regulates temperature and prevents condensation, crucial for metal structures. Focus on walls, ceilings, and floors to ensure a consistent thermal barrier.
Engage professionals for an even application, enhancing both comfort and energy savings.
8. Install Drywall and Flooring
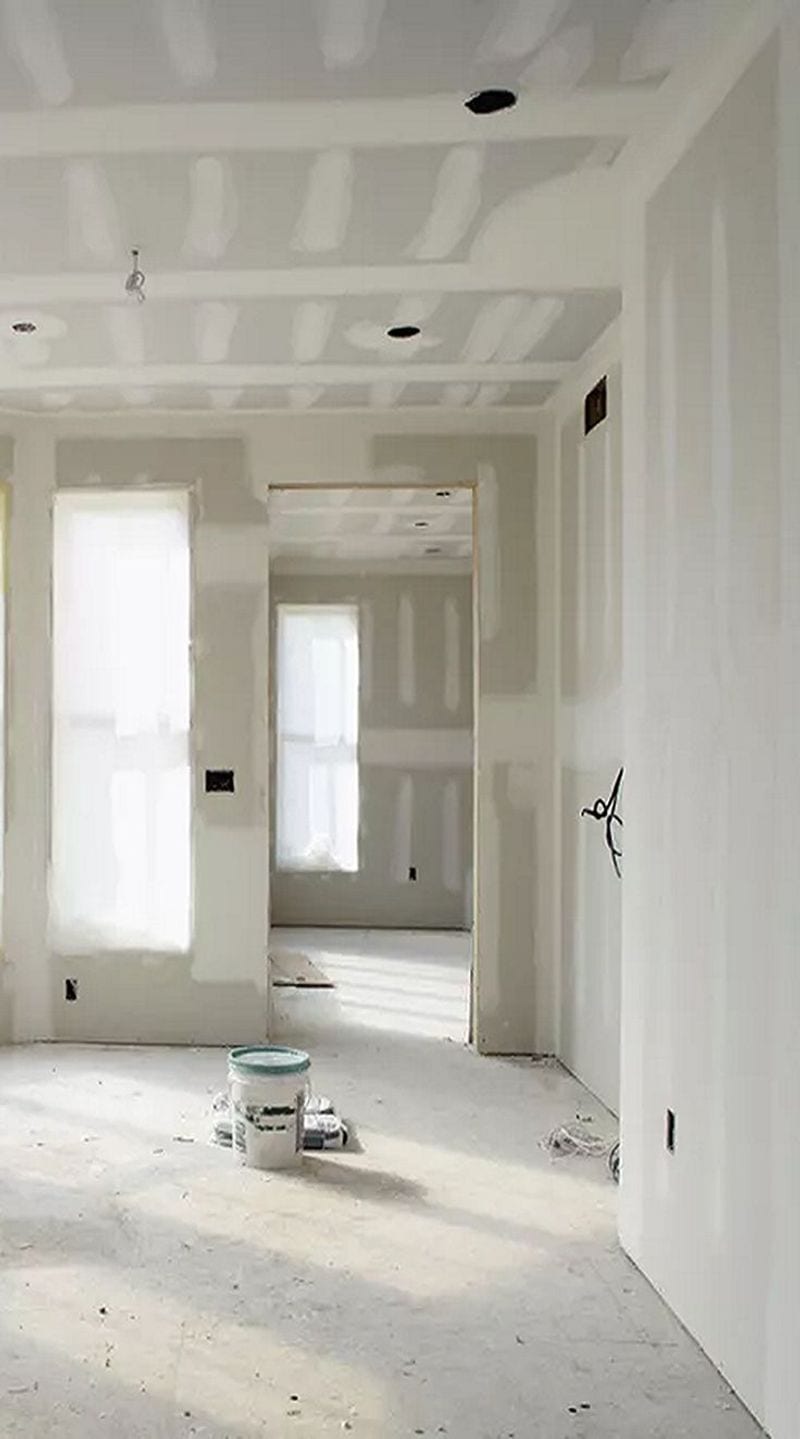
Creating a finished interior involves installing drywall and flooring. Choose materials that suit your style and budget.
Drywall provides a smooth surface for painting and decorating, while flooring adds style and comfort. Ensure that installations are secure and well-finished.
This phase transforms the raw container into a homey environment, ready for further customization.
9. Install Your Appliances
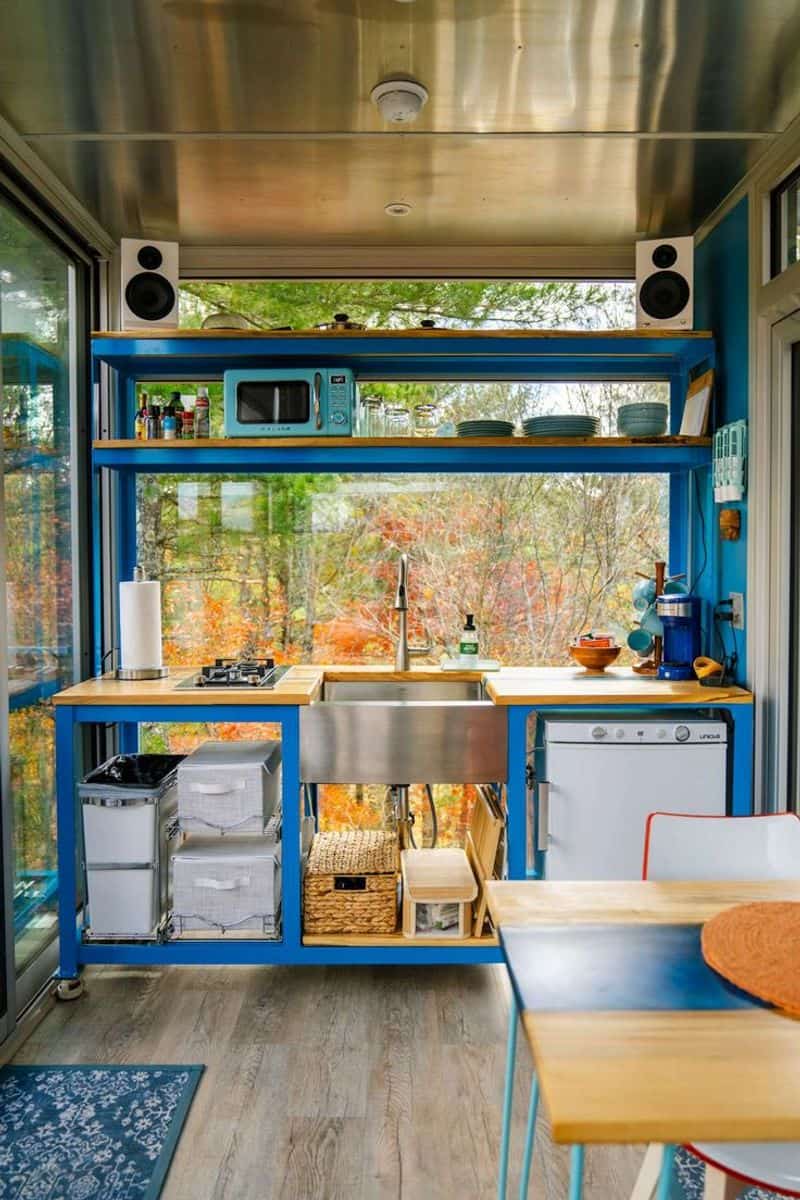
Equipping your home with appliances is the final step toward livability. Select energy-efficient models to save on utilities and reduce your carbon footprint.
Position appliances for optimal functionality, making the most of your space. Professional installation ensures safety and performance.
This stage adds convenience and comfort, making your container house feel like a home.
10. Furnish
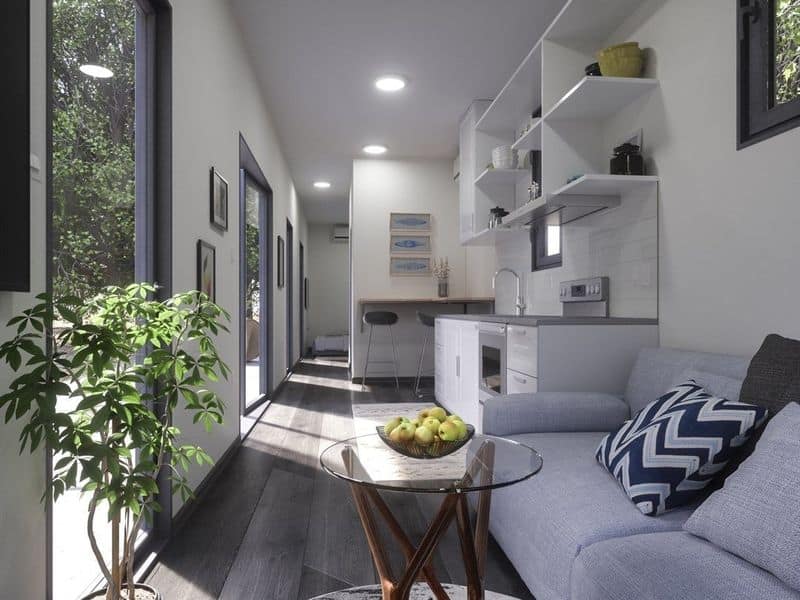
Furnishing your container home personalizes your space and makes it truly yours. Choose furnishings that reflect your style and fit within the compact space.
Consider multifunctional furniture to maximize utility and comfort. Add personal touches with decor and artwork.
This step is where your home comes to life, reflecting your personality and creating a welcoming atmosphere.