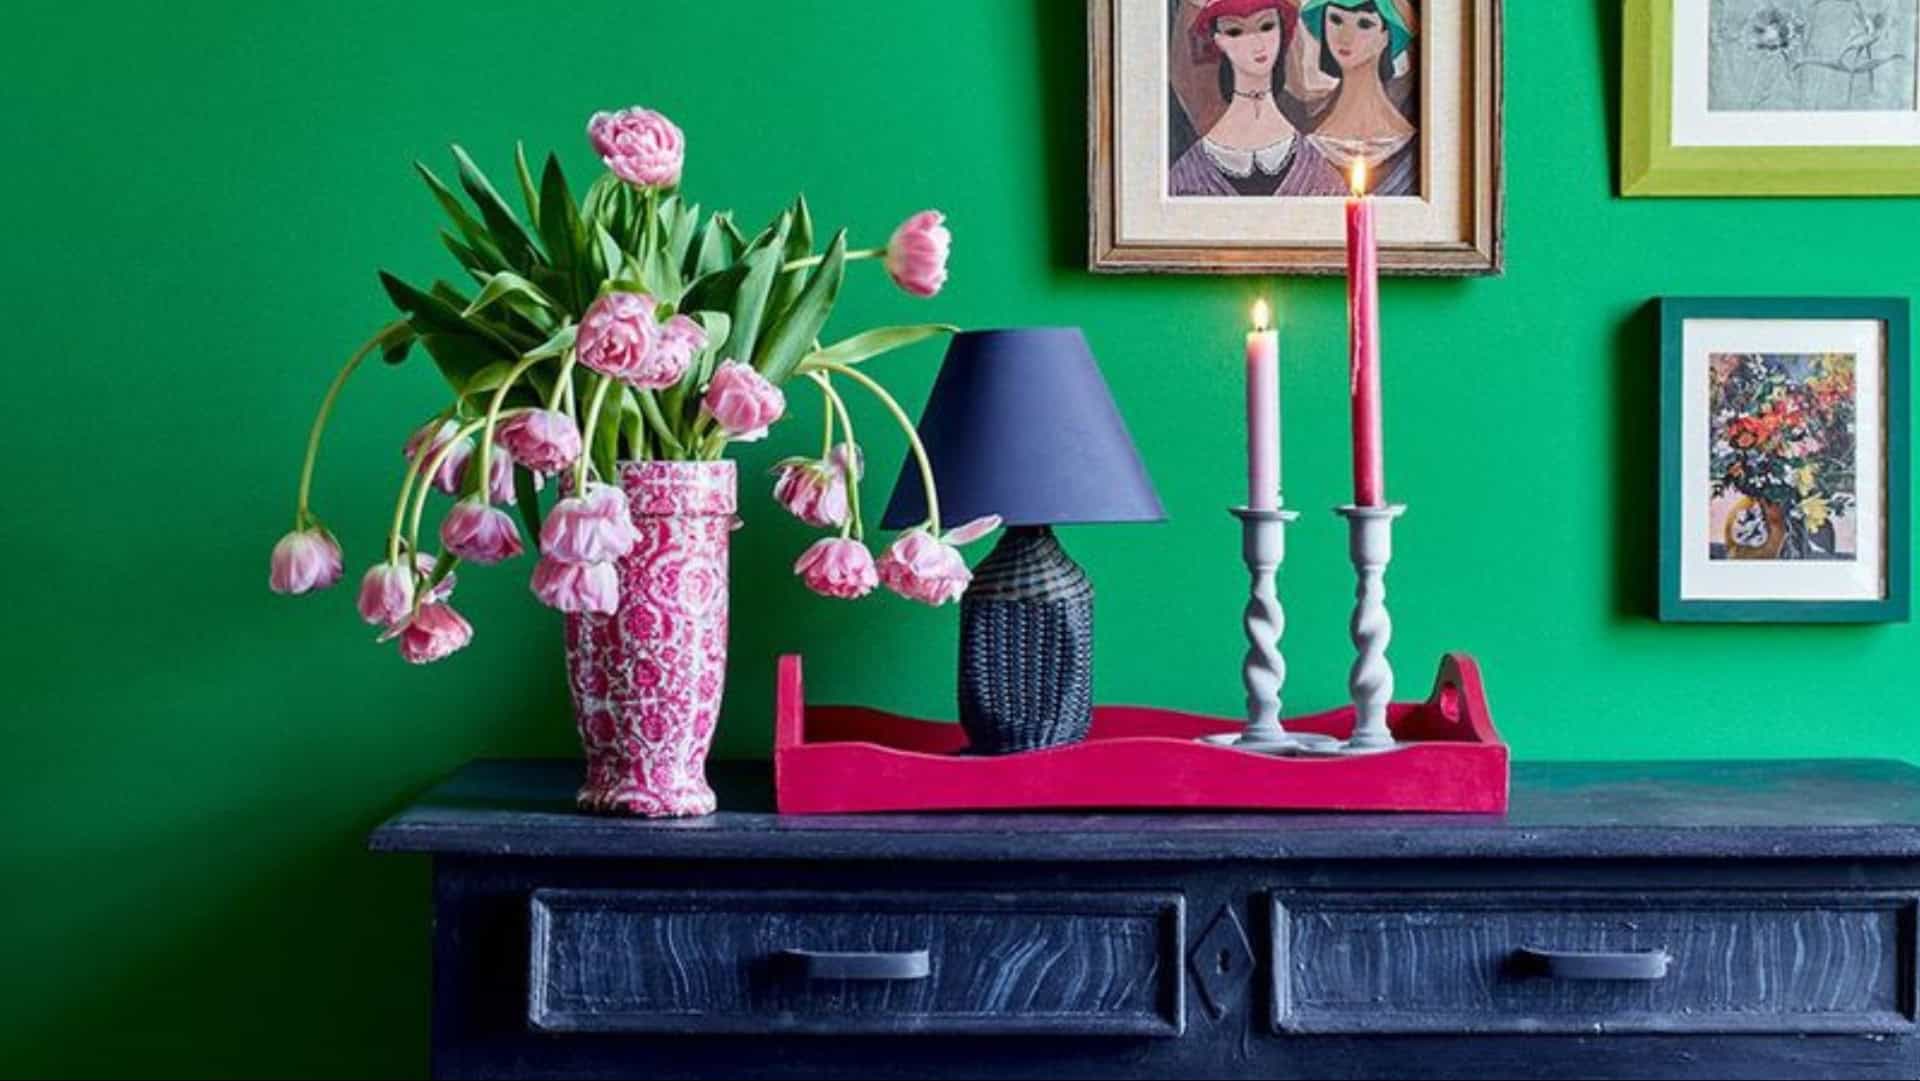
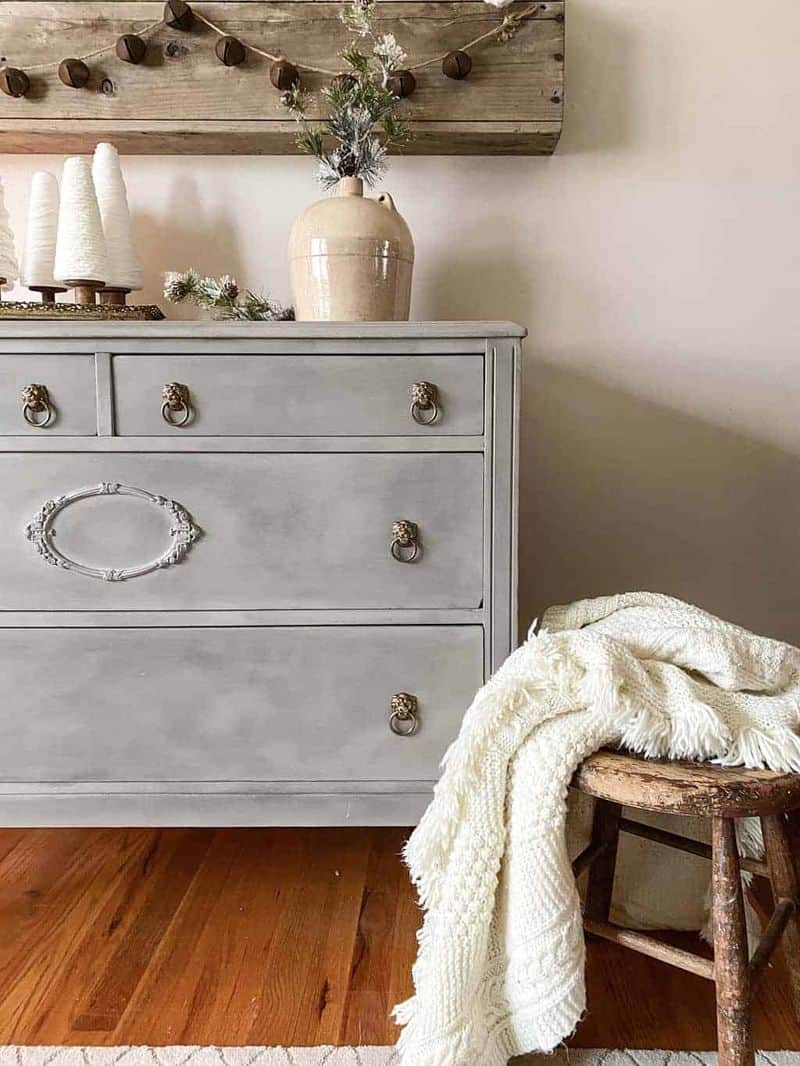
Chalk paint, a revolutionary product for furniture makeovers, is ideal for achieving a vintage or aged look.
With no harsh odors, it allows you to paint indoors effortlessly. Minimal prep work and fast drying times make it a favorite among DIY enthusiasts.
Learn how to transform furniture while ensuring longevity and beauty with these insightful tips.
1. Understanding Chalk Paint
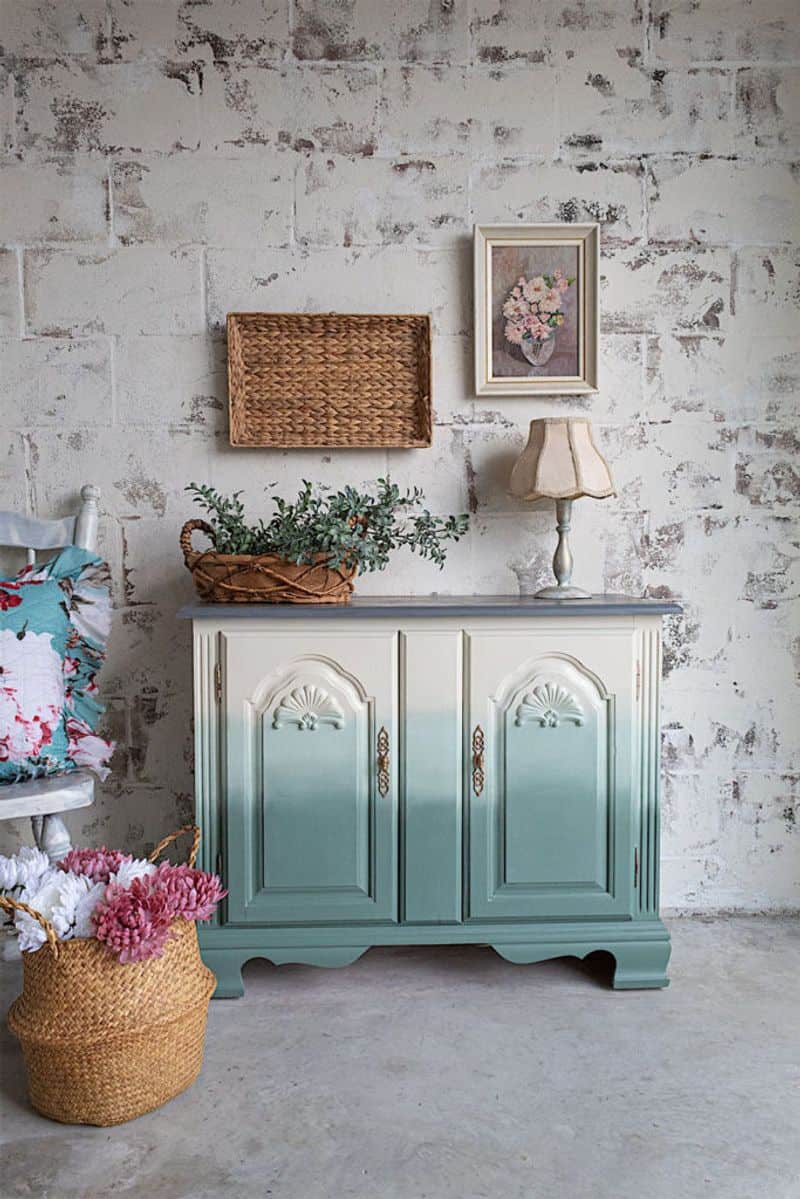
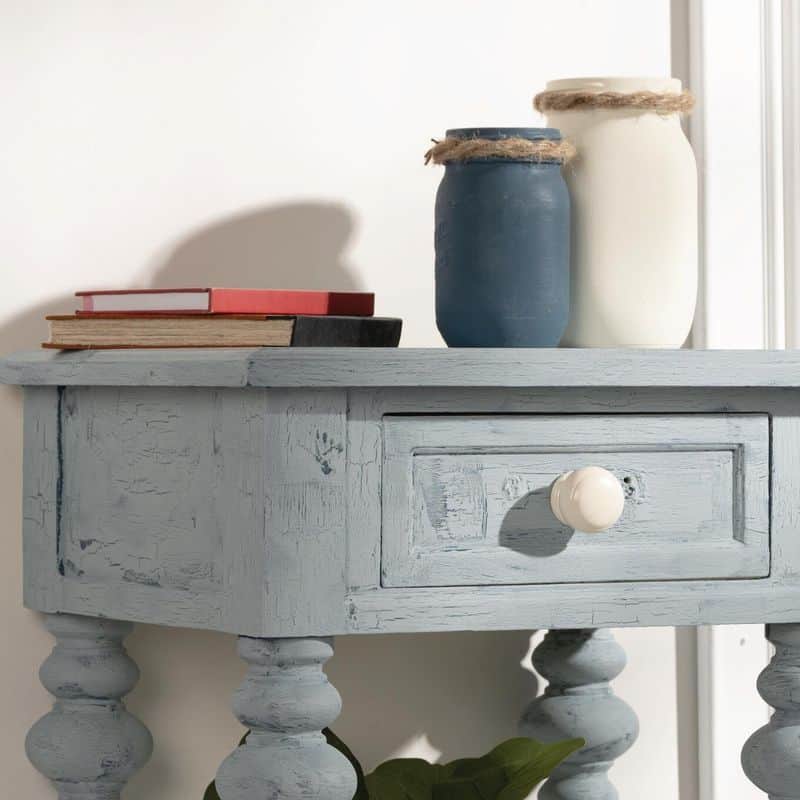
Chalk paint is a marvelous tool for furniture transformations, offering a matte, chalky finish. It’s perfect for creating a weathered, vintage style.
No strong smells mean you can work indoors. Also, it dries quickly, allowing two to three coats in a day.
This makes your furniture revamping faster and easier!
2. Preparation is Key
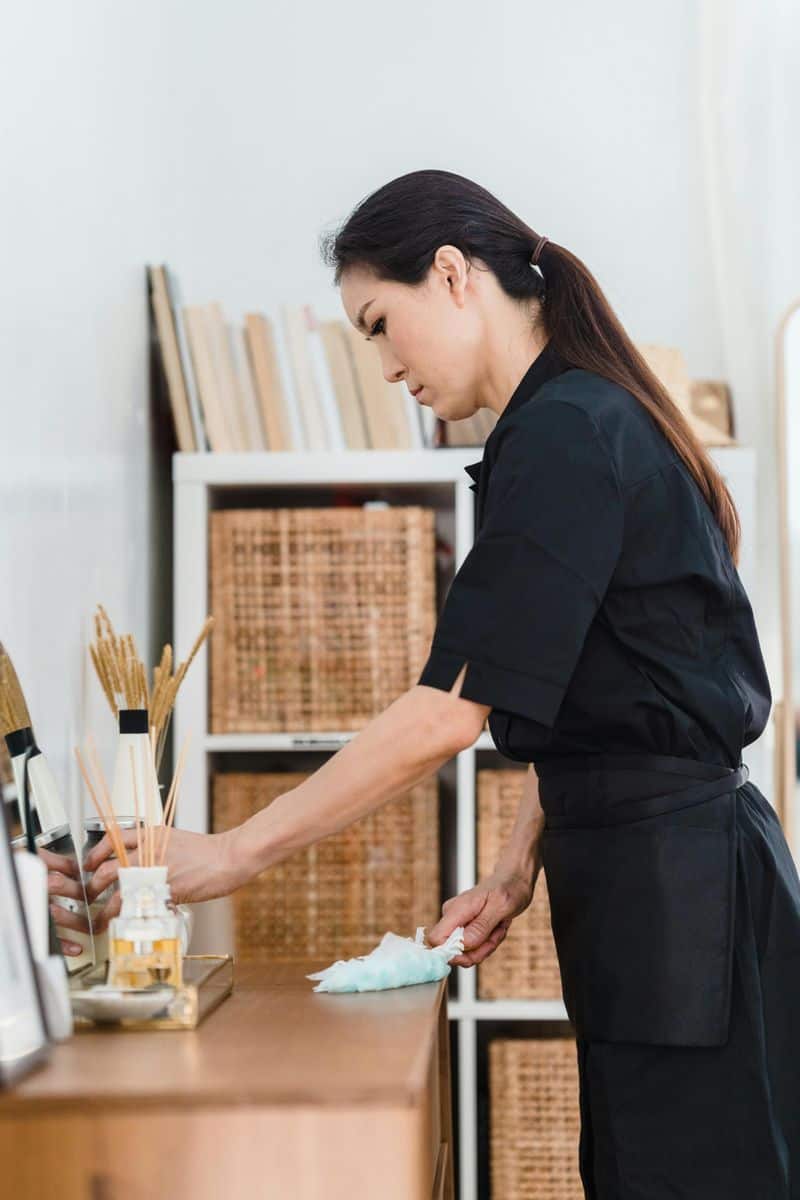
Begin your chalk paint project by cleaning your furniture with a damp cloth to remove dust and grime.
Ensure no residue from treatments like furniture oil remains. If paint is chipping, light sanding is needed.
For older pieces, priming is essential to prevent stains from seeping through. Proper prep sets the stage for a flawless finish.
3. Shake and Stir
Vigorously shake your chalk paint before use; its thicker consistency necessitates frequent stirring.
Some prefer pouring paint into a separate container for easy stirring and resealing.
Regular agitation ensures a consistent texture for even application. This simple step prevents pesky lumps and guarantees a smooth, professional result.
4. Mastering Brush Strokes
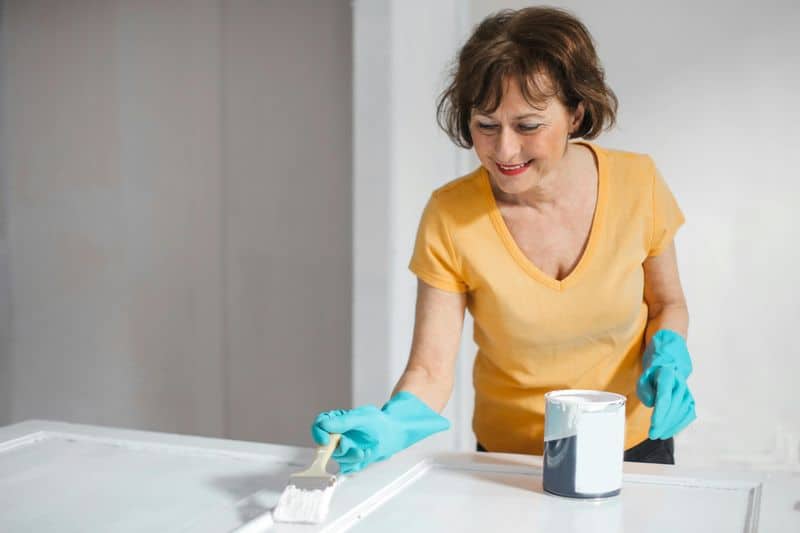
Use brisk, varied brush strokes to apply chalk paint efficiently. Work in small sections to manage its quick drying nature.
Resist the urge to repaint wet areas, as chalk paint dries rapidly. Overlapping can ruin the finish. Embrace visible strokes; they add character.
The second coat will cover any unevenness, revealing a seamless surface.
5. The Art of Drying
Allow your first coat of chalk paint to dry for at least two hours. This interval is perfect for a break! Afterward, apply the second coat, ensuring even coverage.
Watch for drips, which dry swiftly, requiring sanding to fix. Proper drying time ensures durability and the desired visual effect.
6. Dealing with Stains

Older furniture may bleed stains through new paint. Applying clear shellac effectively blocks this. For pieces from the 1930s or 1940s, shellac is crucial.
It’s quick to dry, allowing you to continue painting promptly. This step preserves the integrity of your makeover, ensuring vibrant color and a clean finish.
7. Distressing Techniques
Create a charming, distressed appearance with chalk paint. Use a damp cloth for wet distressing or sandpaper for dry distressing.
Post-painting, lightly sand with 600-grit paper to smooth the surface, enhancing the final look.
Distressing adds character, making each piece unique and full of personality.
8. The Role of Wax
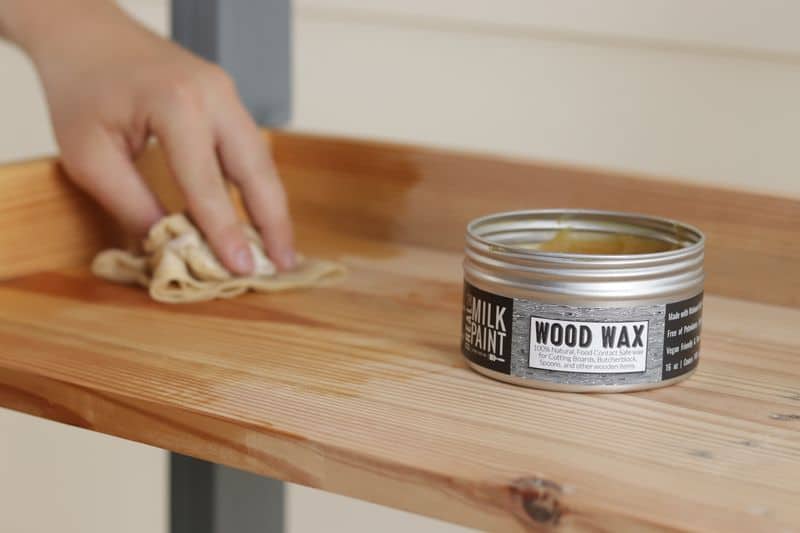
Although not essential, applying wax over chalk paint enhances durability and provides a subtle sheen.
Without wax, your piece retains a more rustic, unfinished quality. Waxing ensures protection, preserving the chalky feel while offering a polished look.
It’s a simple step that significantly elevates your furniture’s transformation.
9. Embrace Imperfections
Chalk paint projects celebrate imperfections. Visible brush strokes and distressing contribute to a piece’s charm.
Don’t fret over minor flaws; they add to the story. Each stroke and scuff marks a chapter in your furniture’s new life.
Embrace the uniqueness that comes with handmade artistry.
10. Experiment with Styles
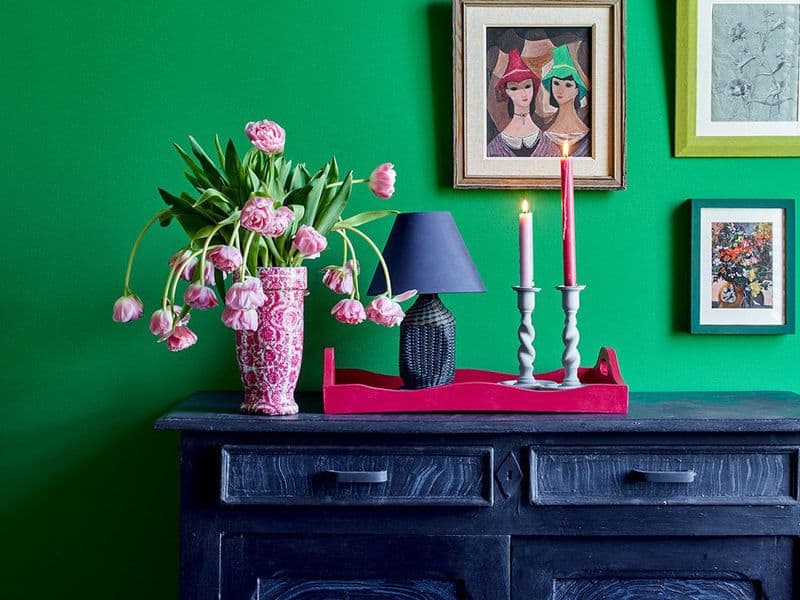
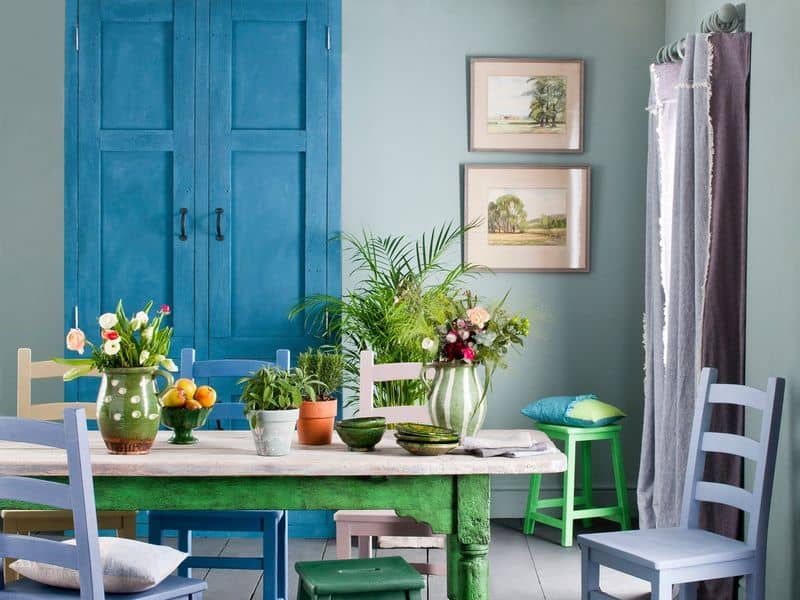
Chalk paint invites creativity with its versatility. Experiment with different colors and techniques.
Whether a bold hue or a subtle shade, let your imagination guide your project. Each piece can reflect your style, making it a delightful addition to your space.
The possibilities are endless, and the results uniquely yours.