The open shelving trend has been going on strong for a couple of years now.
There’s no doubt that open shelving will give you an open, stylish kitchen, so we’re here to give you a full guide on how to install floating shelves and make them look amazing for your space!
But before we start our guide let’s talk storage!
Open Shelving Storage
Before we start taking down cabinets and drilling walls, let’s talk about storage.
If you’re someone who enjoys entertaining and you have tons of kitchenware, from dishes to pots and pans, open shelving might not be for you.
It’s the same deal if you have a tiny kitchen with minimal bottom cabinet storage, you just need those upper cabinets!
However, if you’re someone who doesn’t have much kitchenware or you’re ready to sacrifice storage for aesthetics, read on!
1. How to Install Floating Shelves
If you’re comfortable with taking down your upper cabinets, then you’re probably ready for floating shelves. There are a couple of things you need to take into consideration:
- How do you want to hang the shelves?
You can choose invisible shelf mounts so that you can’t see any hardware or you can use brackets that can be mounted on tiles.
- What type of shelves do you want?
Think about the thickness of the shelves, do you want thinner shelves or thicker ones?
- What type of wood do you want?
You can choose from a myriad of options: ash, oak, cherry, elm, maple, walnut wood, etc.
Installing Floating Shelves
Now that you’ve taken everything into consideration, let’s get to installing your shelves!
What you’ll need:
- heavy-duty shelf brackets
- measuring tape
- heavy duty anchors
- mallet
- drill
- wood shelves
- stud finder
The dimensions of your shelves will vary depending on your space and the style you want to go for!
Decide where you want your shelves to hang and using a stud finder, mark where the shelf will sit.
Next, hang up your brackets and use heavy-duty anchors to secure the brackets.
Use the drill to create holes in shelves where the brackets will go in (if you’re using floating shelves).
Slide the shelves on the brackets and it should be a very tight and firm squeeze.
Watch this quick video by creator @nataliedoef on how she installed floating shelves above her bed!
Note: if your kitchen has tile, it’s best to install shelves above them or work around the tile!
2. Floating Shelves Height

The height on which you put up your shelves depends on how you use the space and what is on your countertop!
You can opt for a higher shelf setting which would be at around 25” between the countertop and the bottom shelf.
If you don’t like your shelves to be too high up, then the ideal space between the countertop and bottom shelf is around 20”.
And if you like your shelves to be really close to the countertop, the ideal distance is 15”.
Of course, you need to think about spacing your shelves out, the ideal distance ranges from 12” to 17”.
3. Styling Your Floating Shelves
Open shelving will definitely give you a stylish kitchen on a budget, so let’s look at some kitchens with open shelving that will make you fall in love with open shelves!
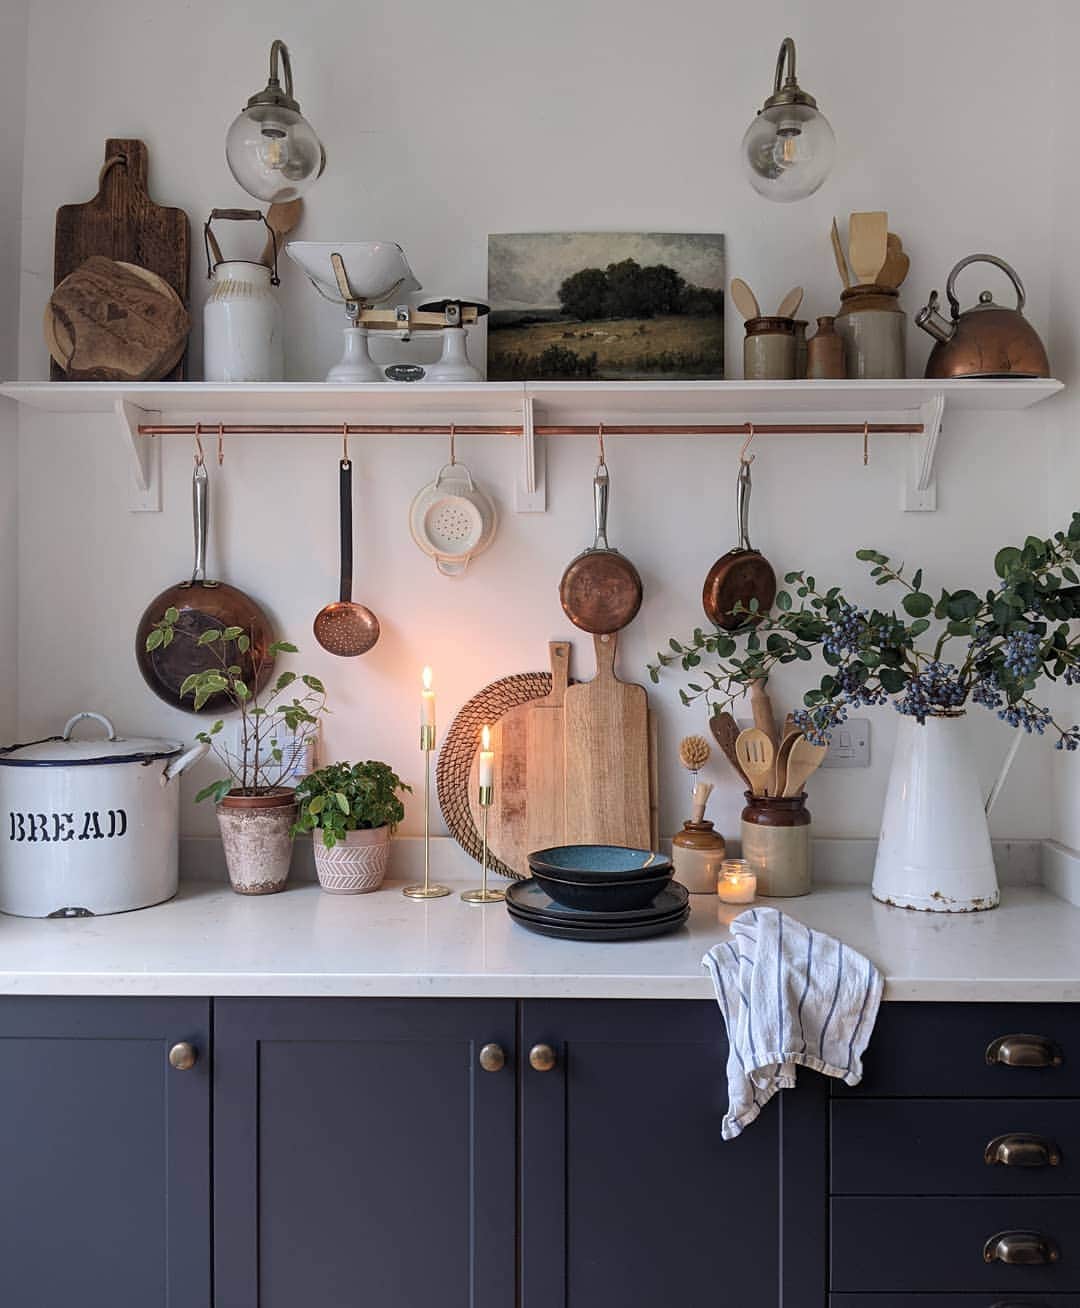
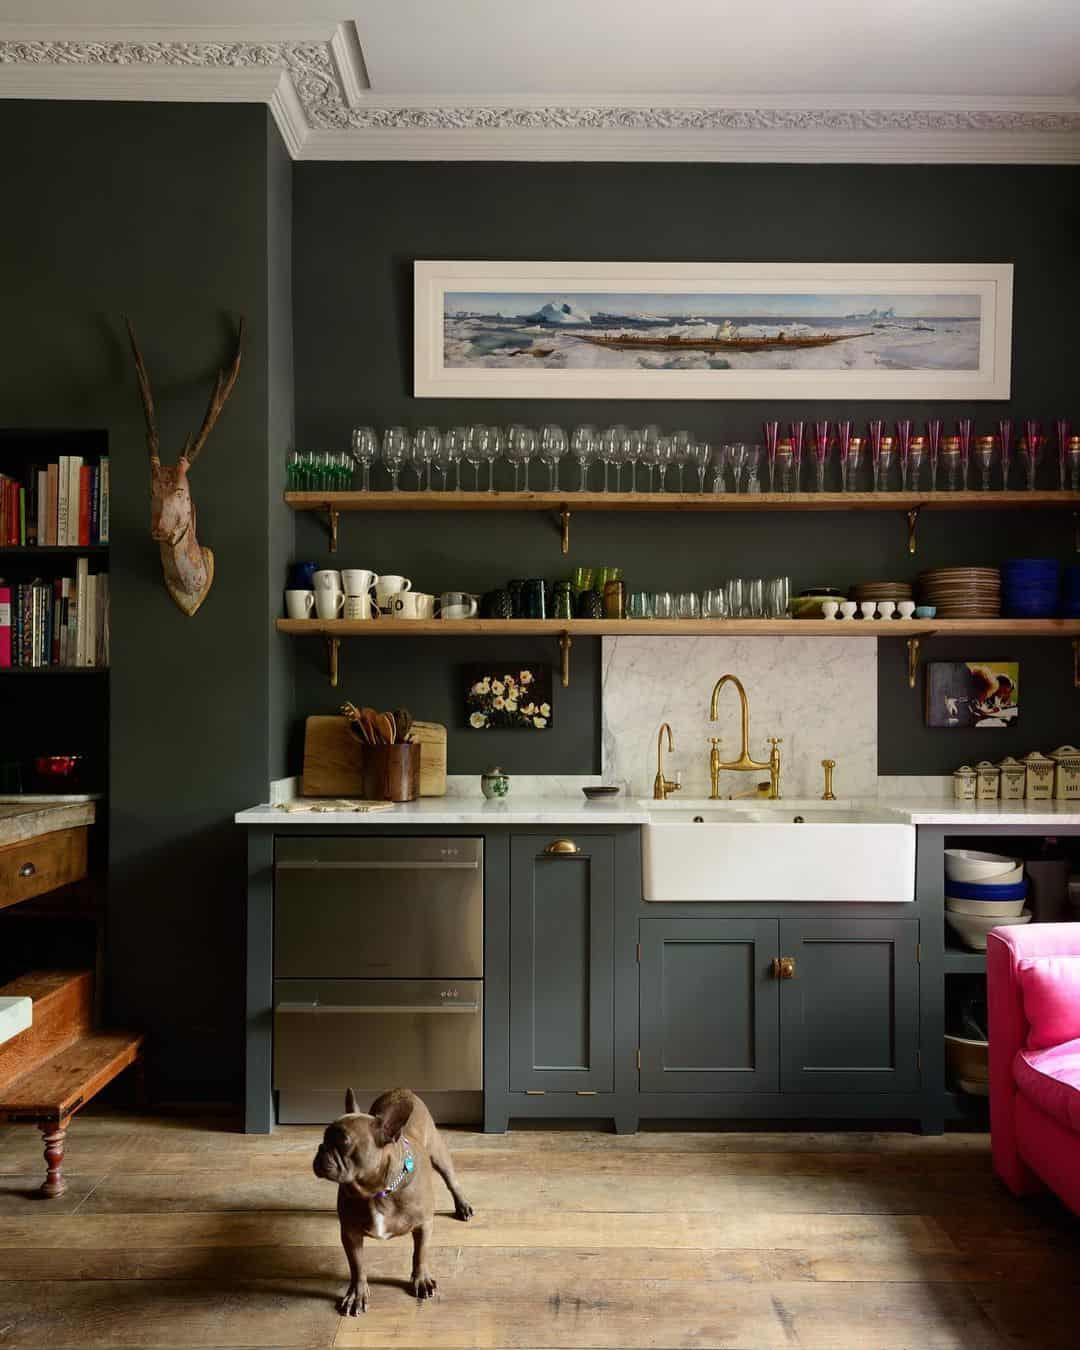
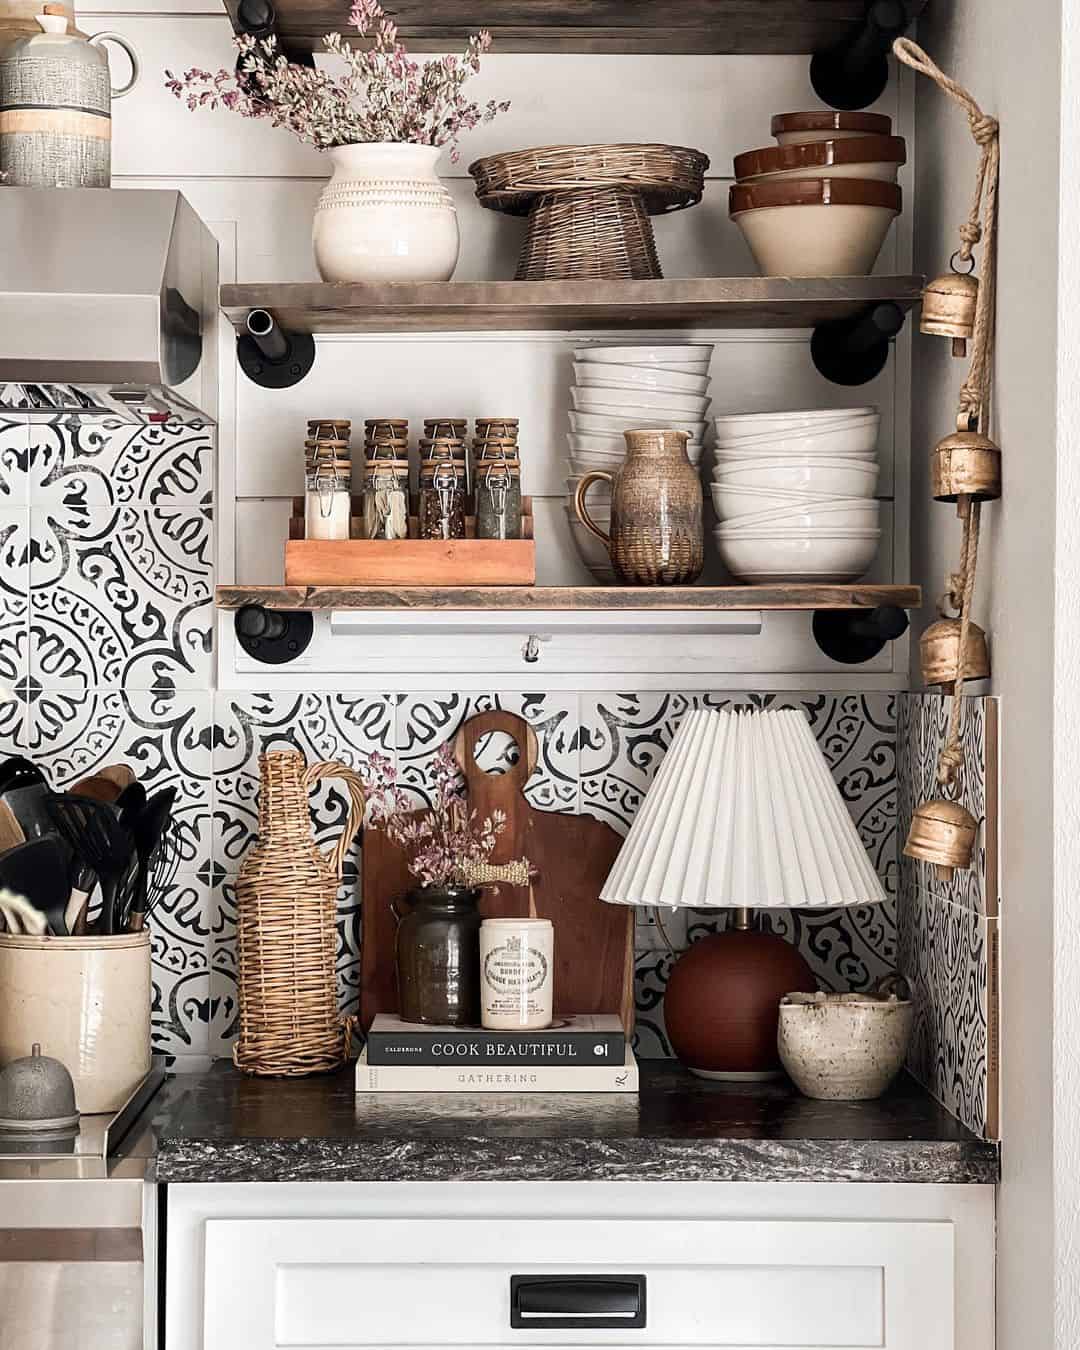
This navy blue kitchen exudes certain cottage core vibes from the decoration on the floating shelf. And the brass rod gives it a special touch!
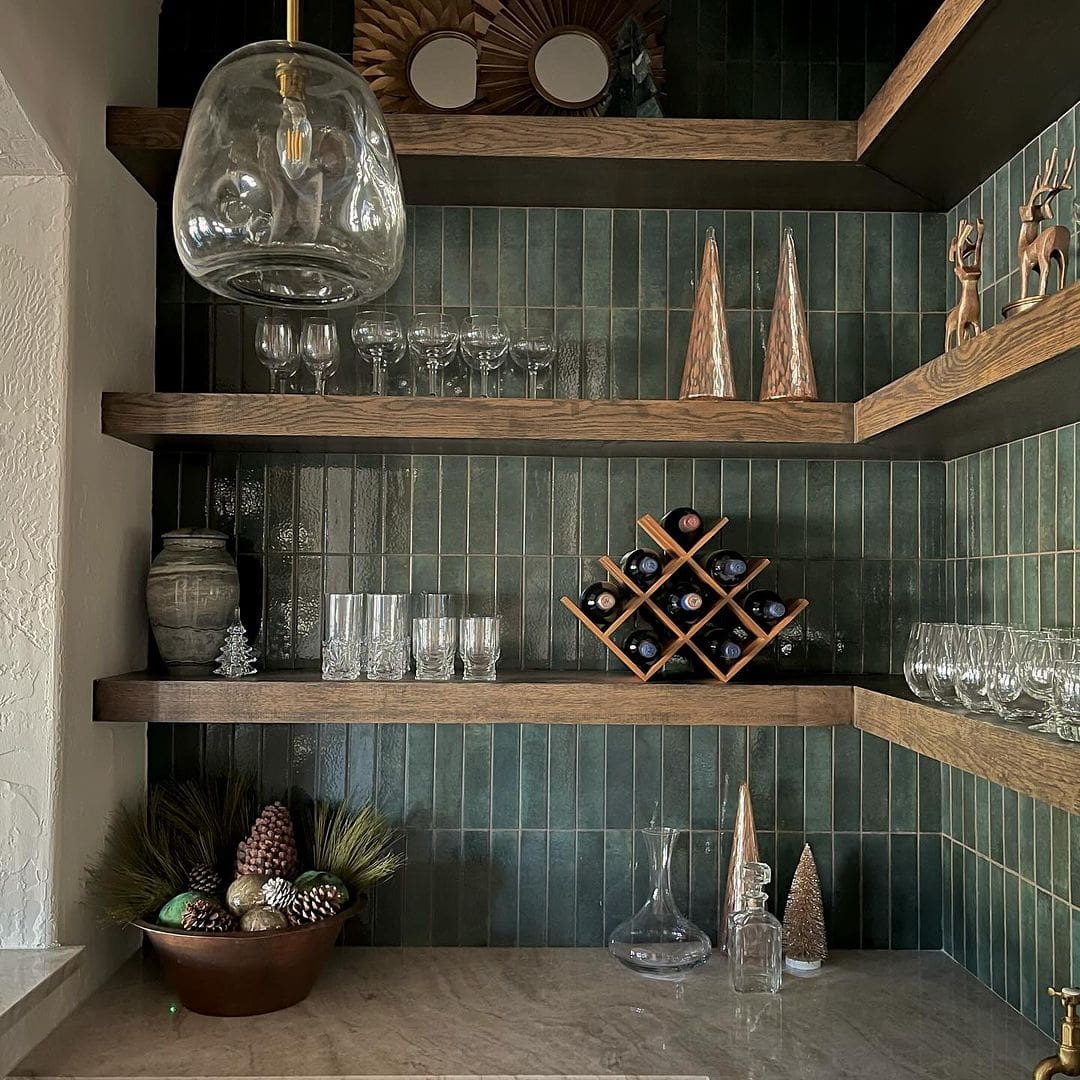
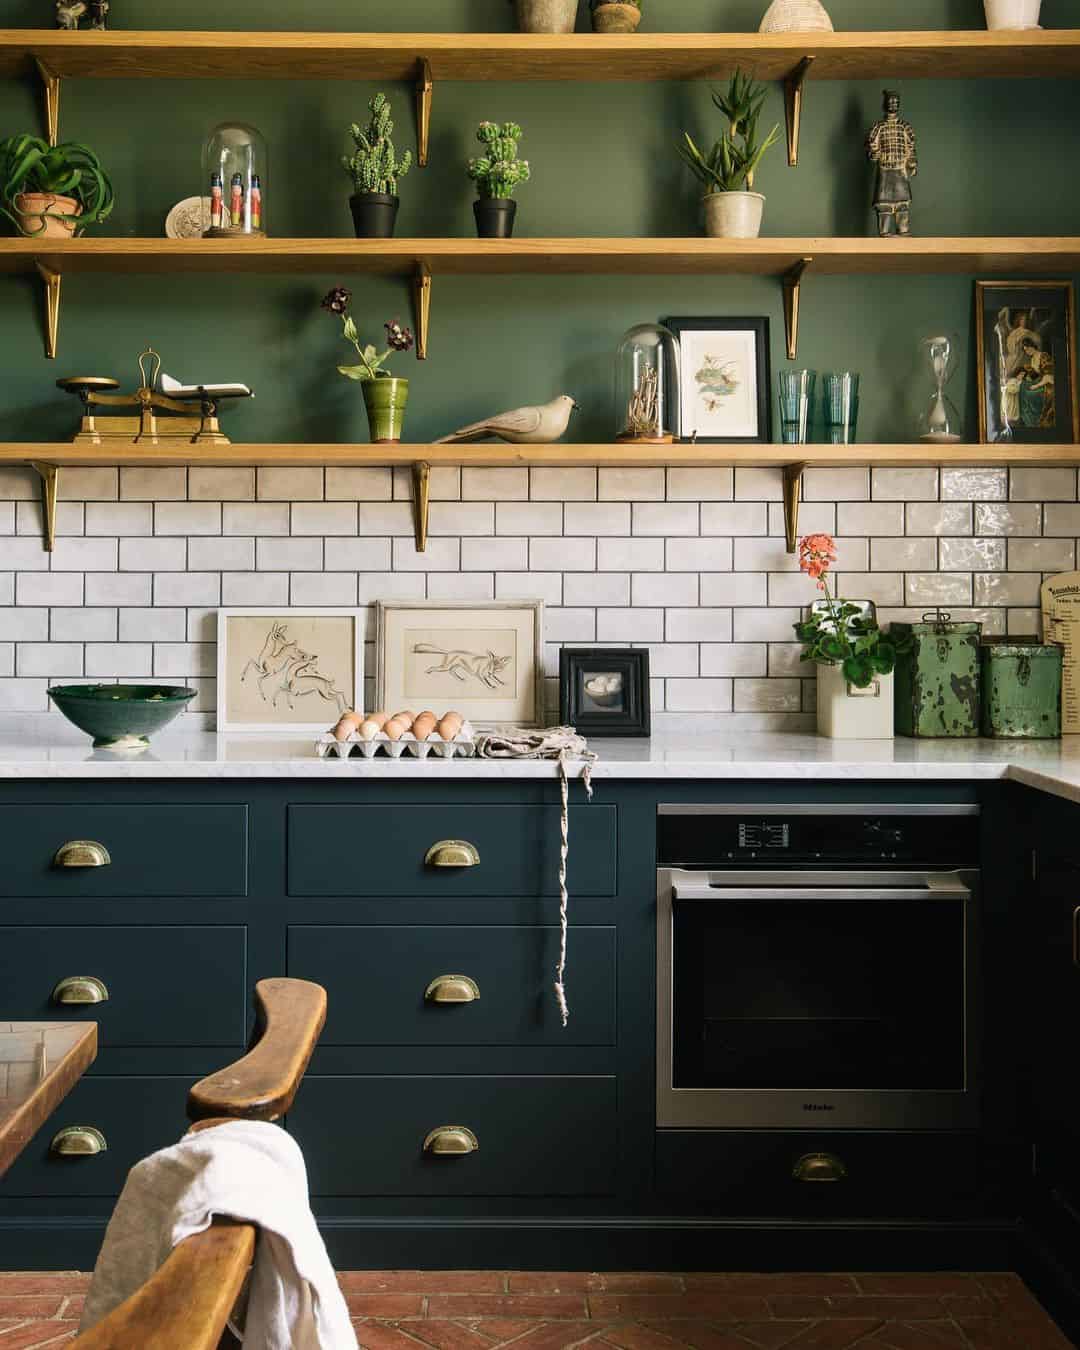
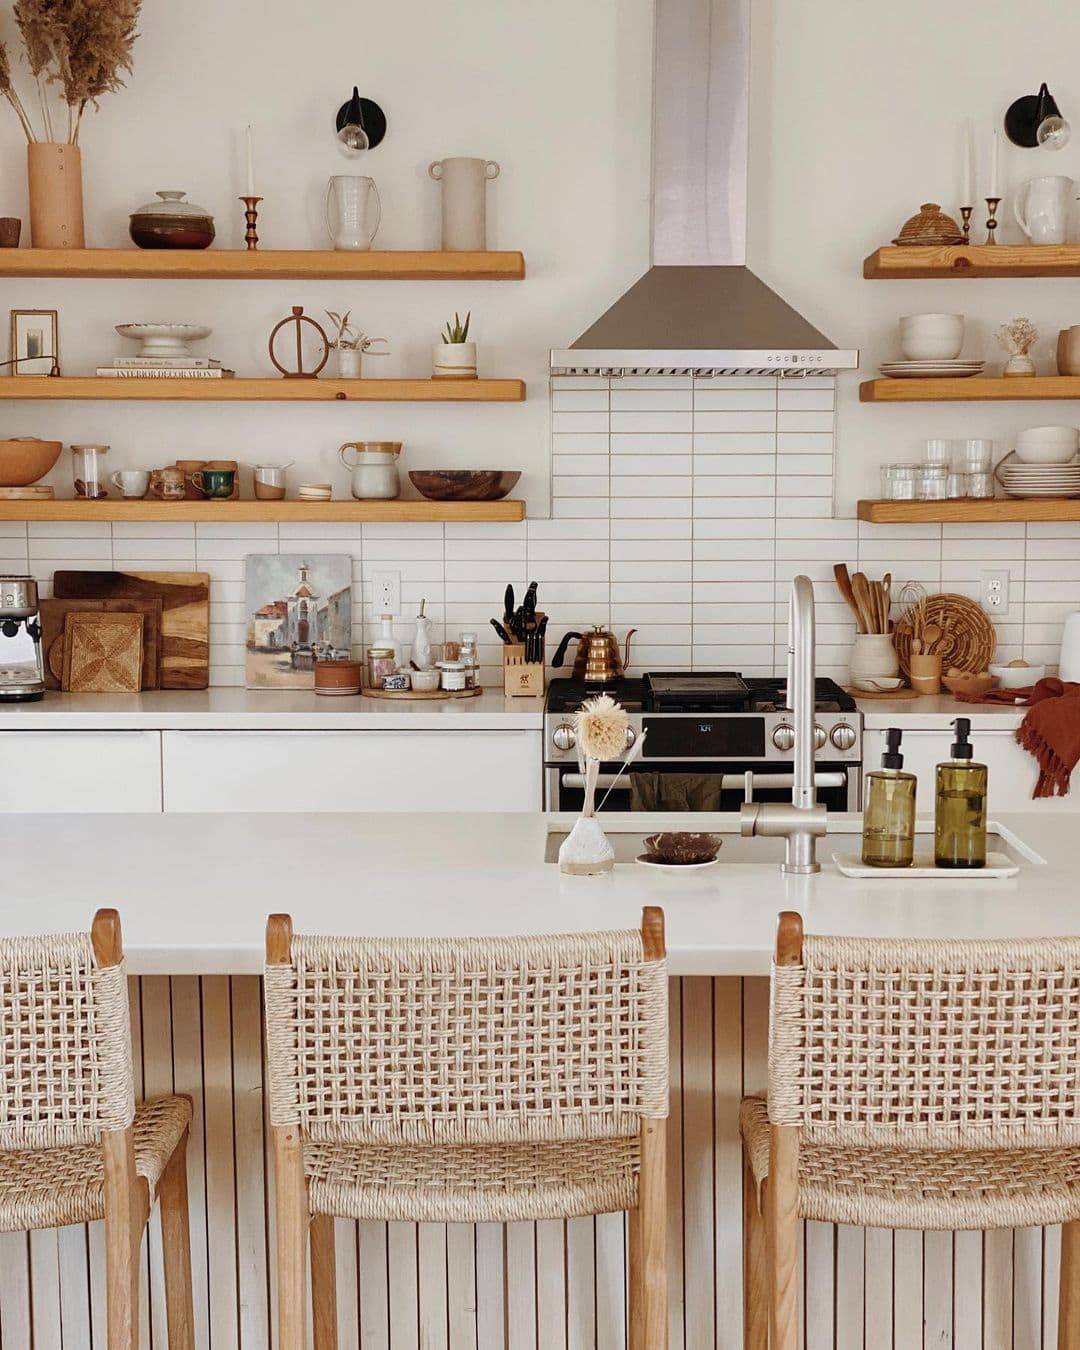
These stained floating shelves go perfectly with the moody green tile. They are also used practically to store glasses for everyday use!
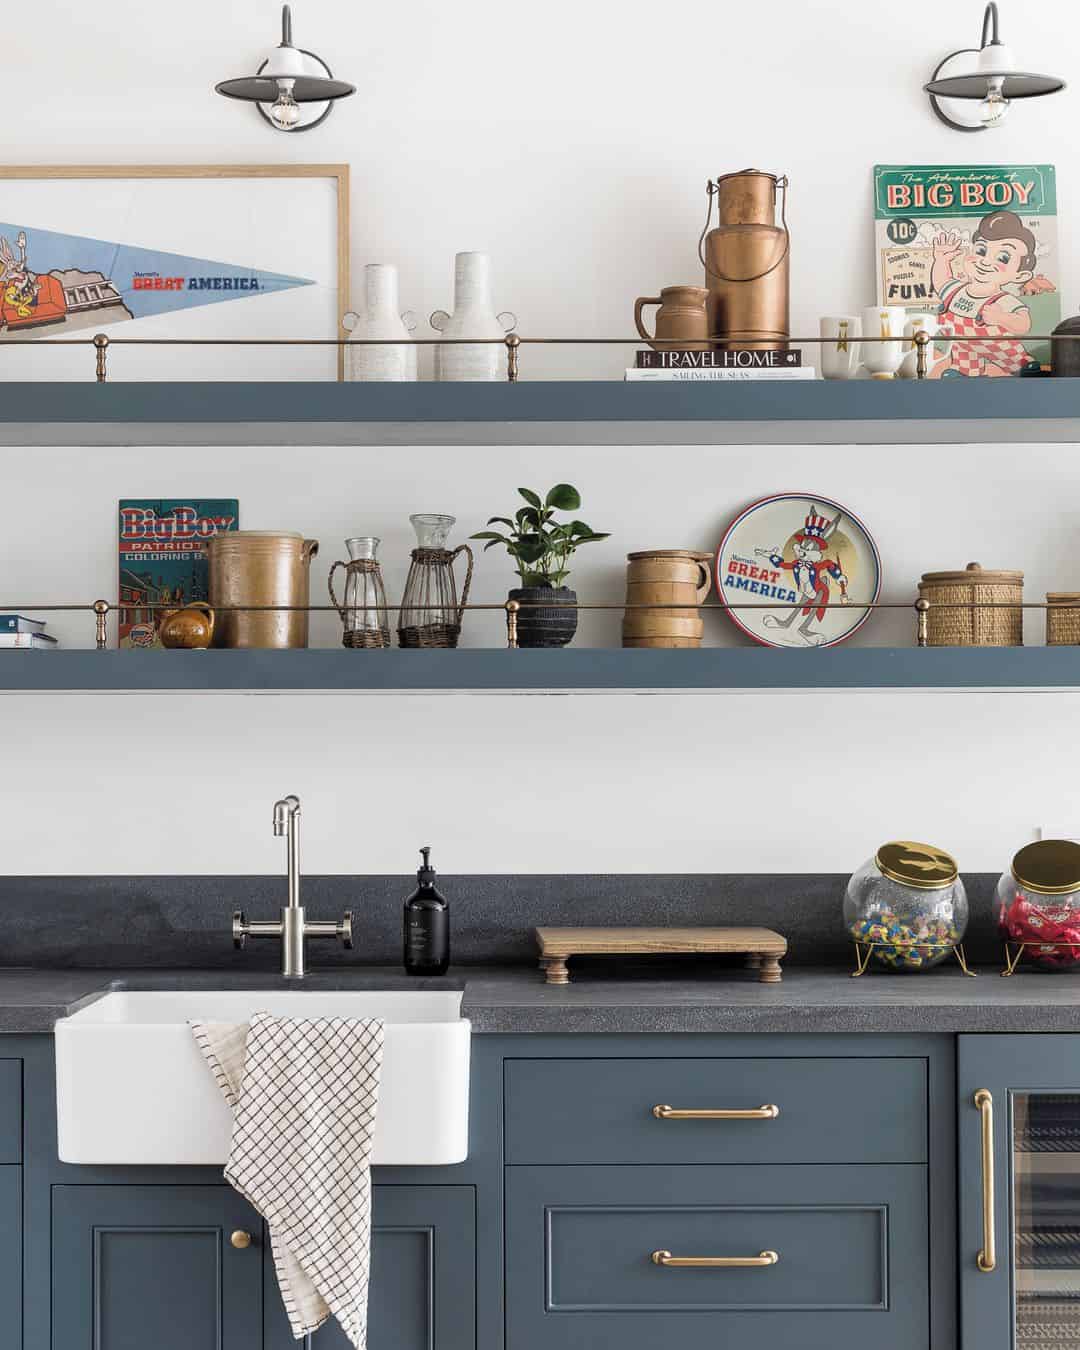
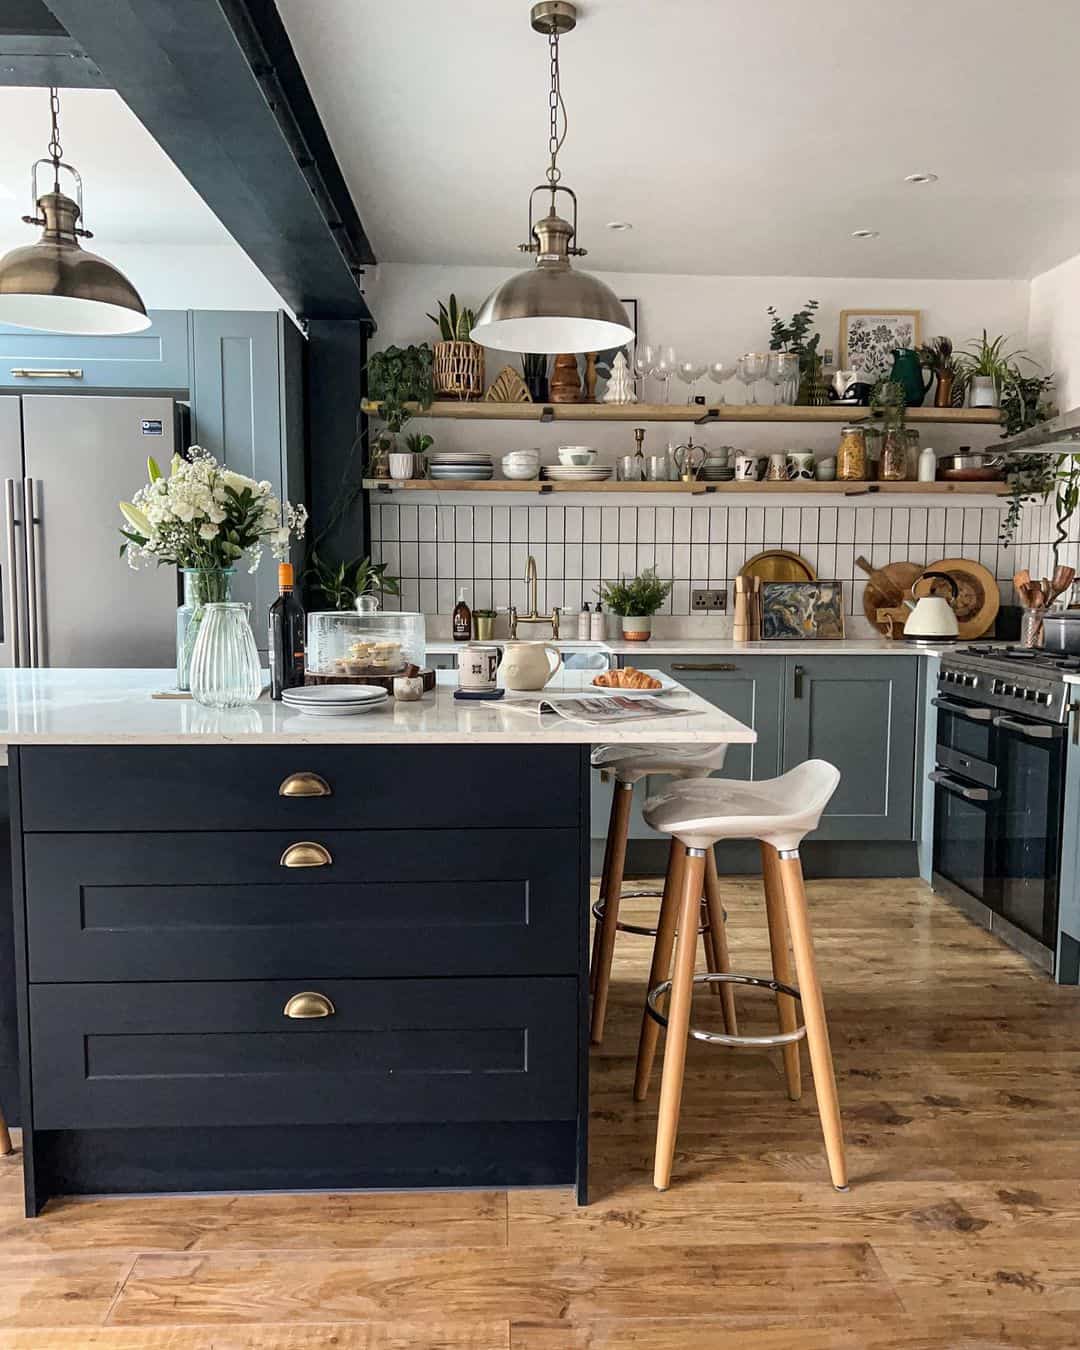
These blue floating shelves match perfectly with the light blue cabinets. The brass railing is a beautiful touch on the floating shelves!
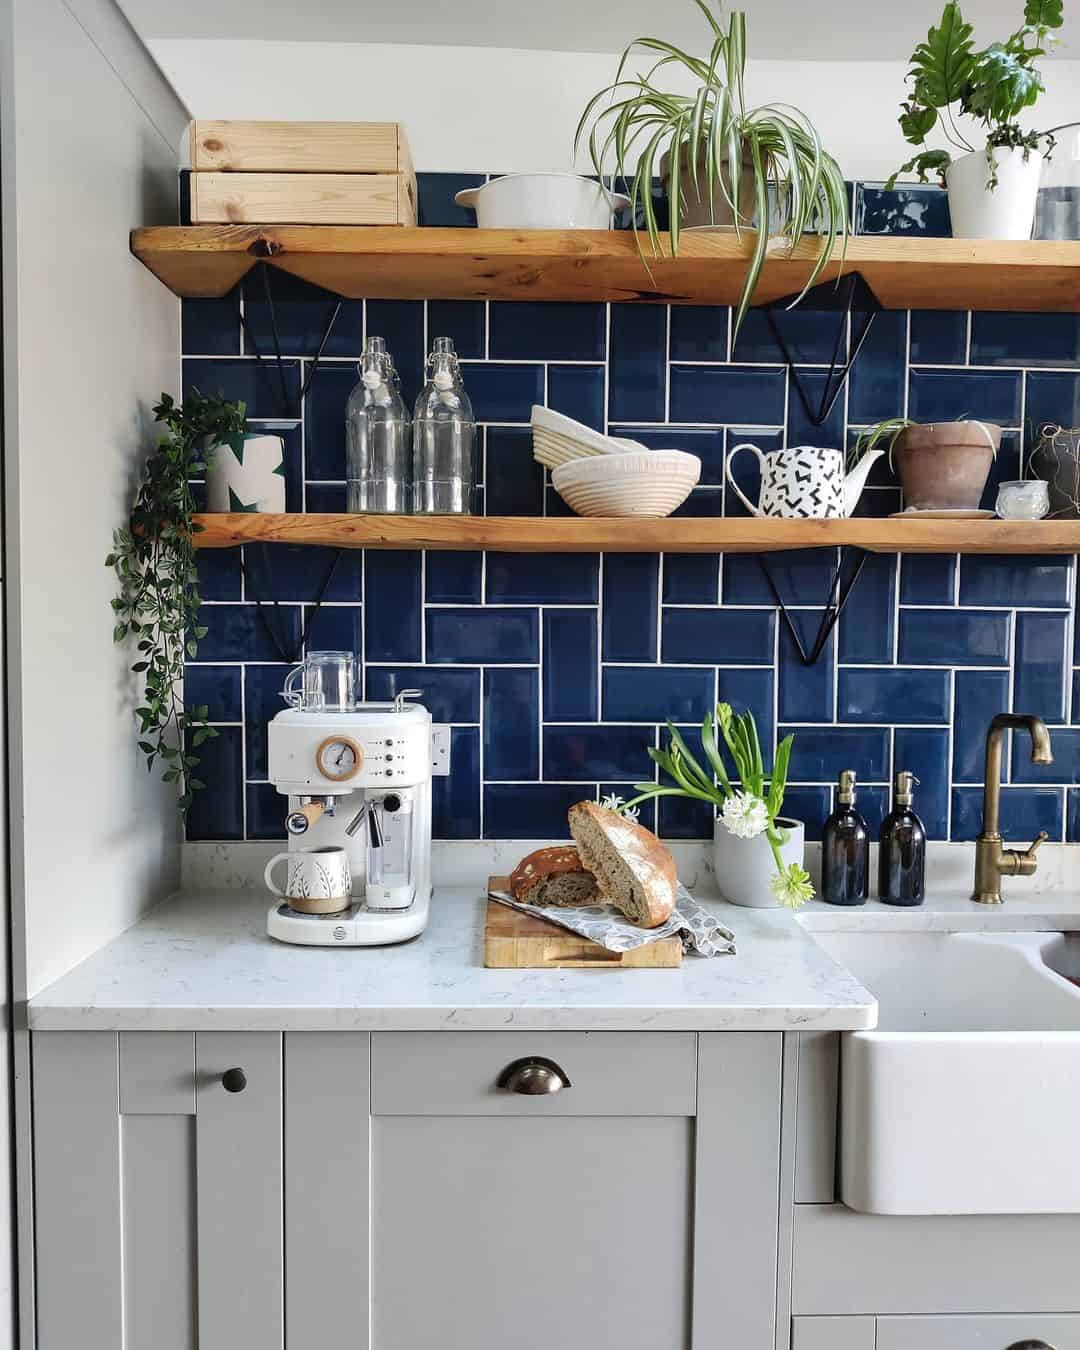
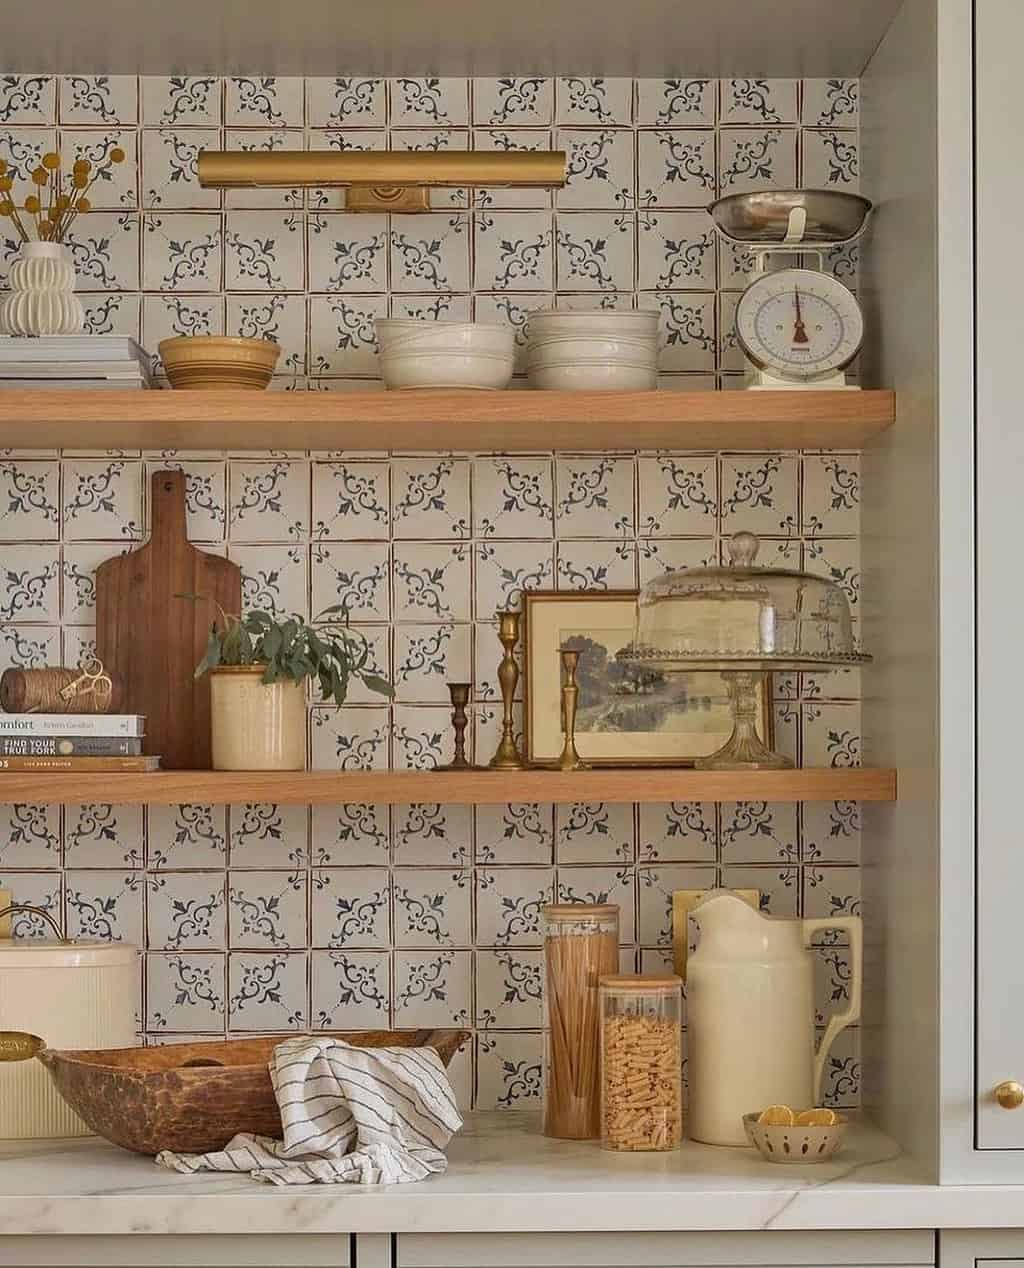
These shelves break up the stark blue tile and give the room some balance!
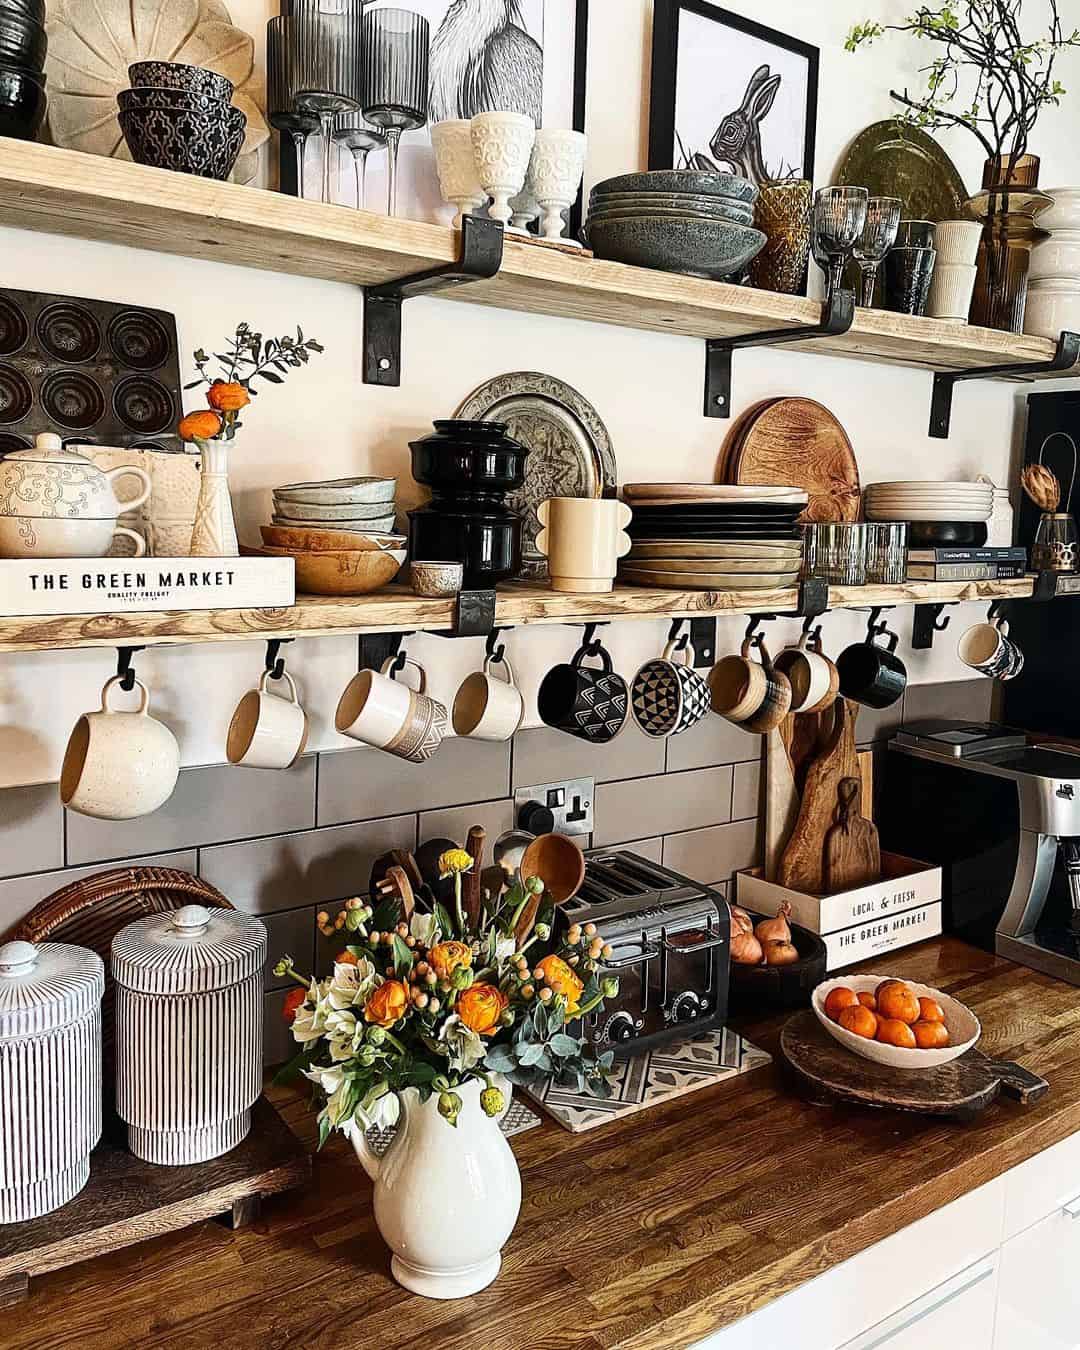
Having floating shelves means you’ll have to give up storage space, but not all the storage space. You can still store everyday dishes and glasses on your open shelving!
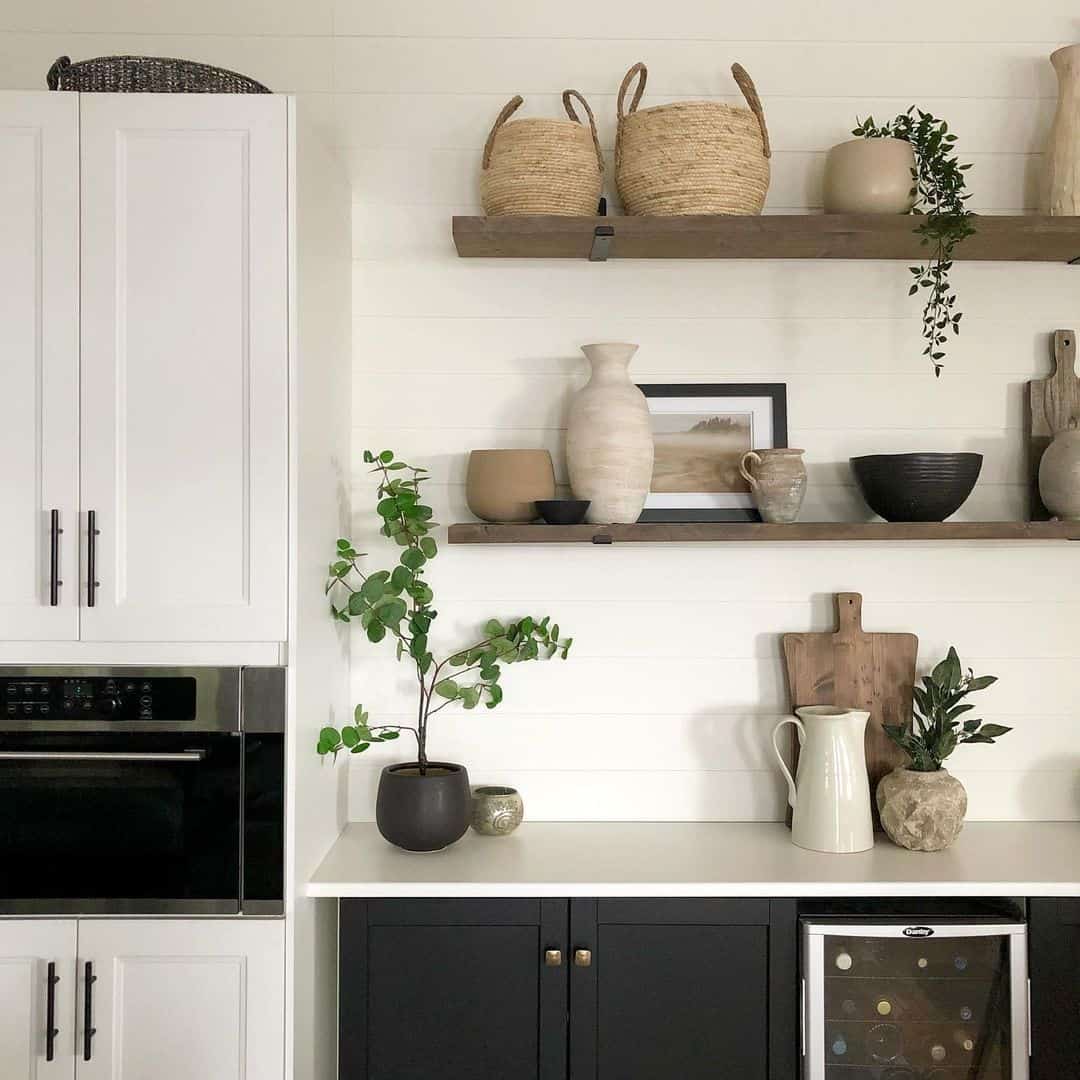
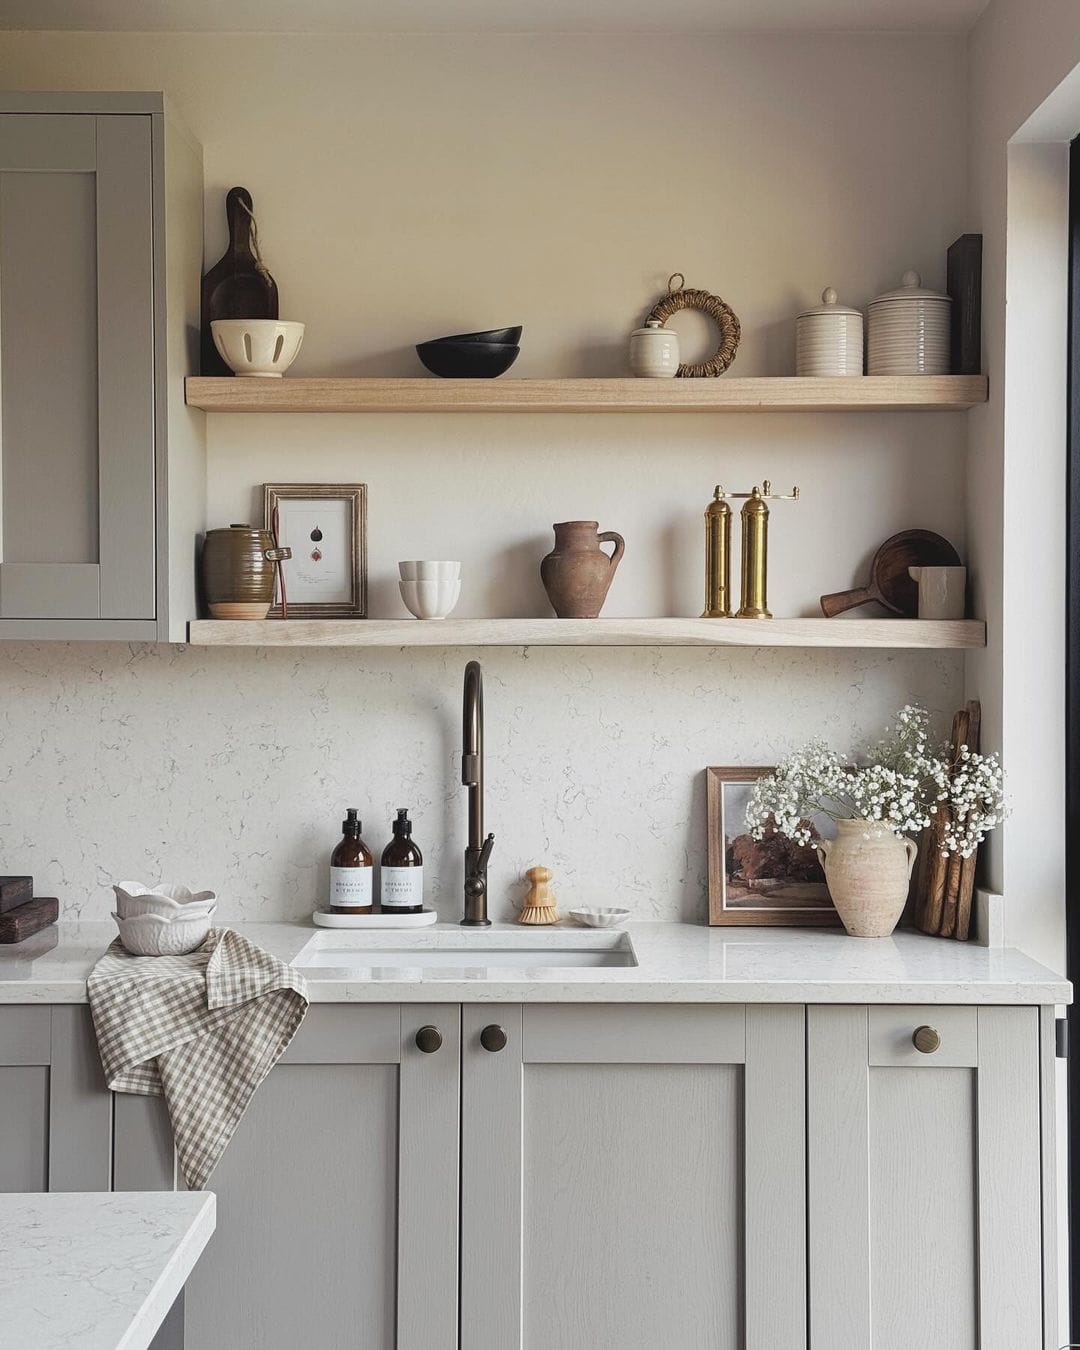
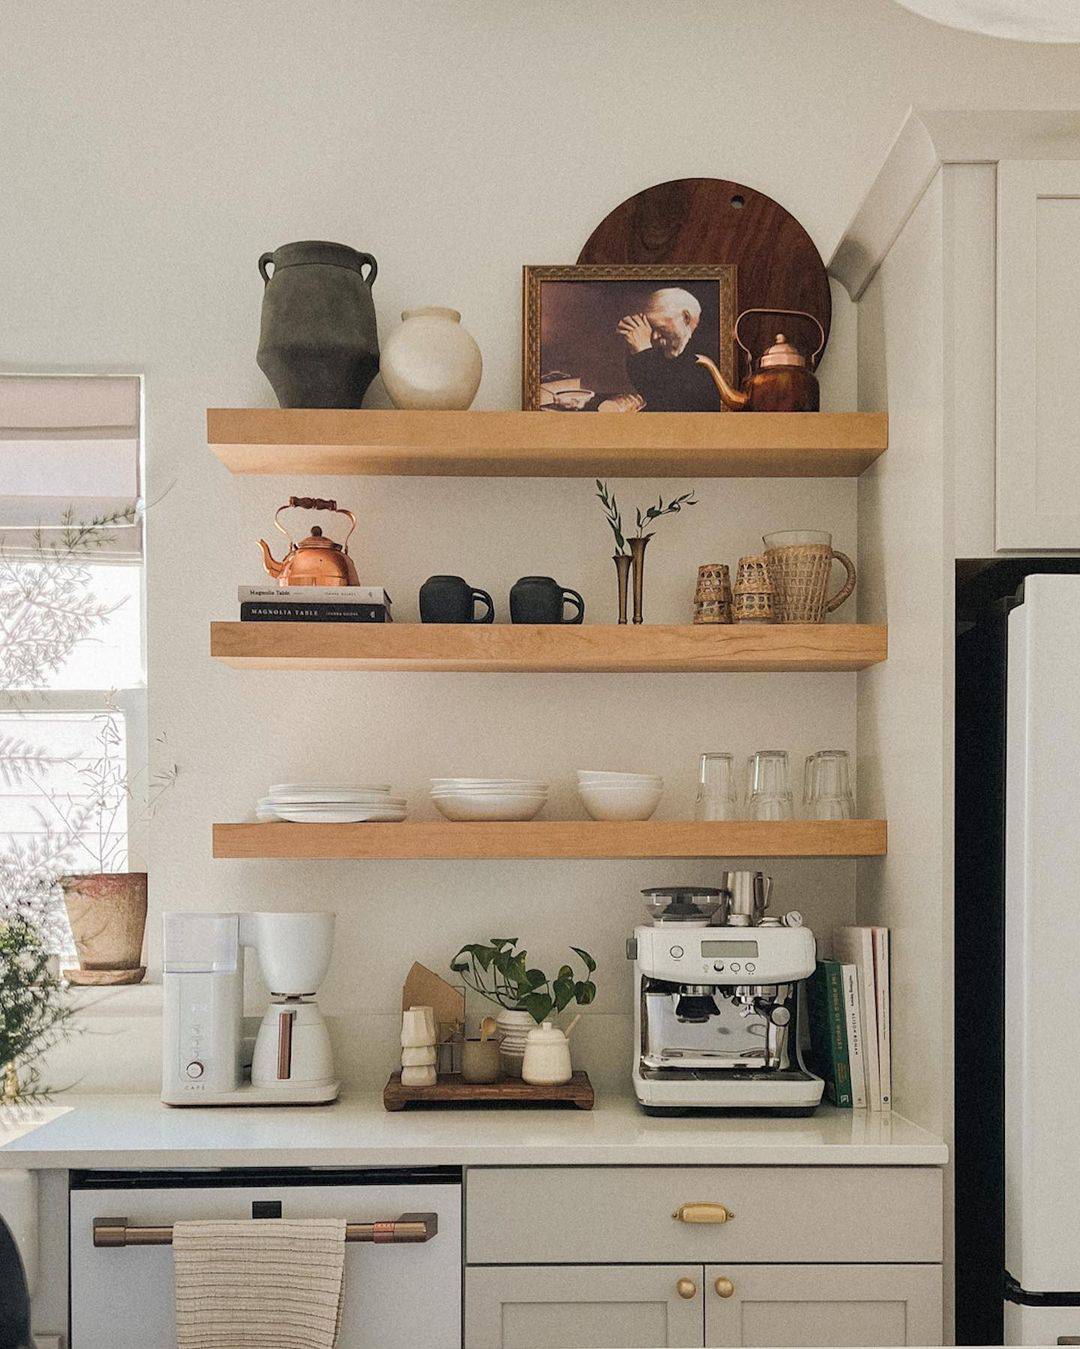
Or you can just use them for displaying decor!
You can even mix aesthetics and practicality!
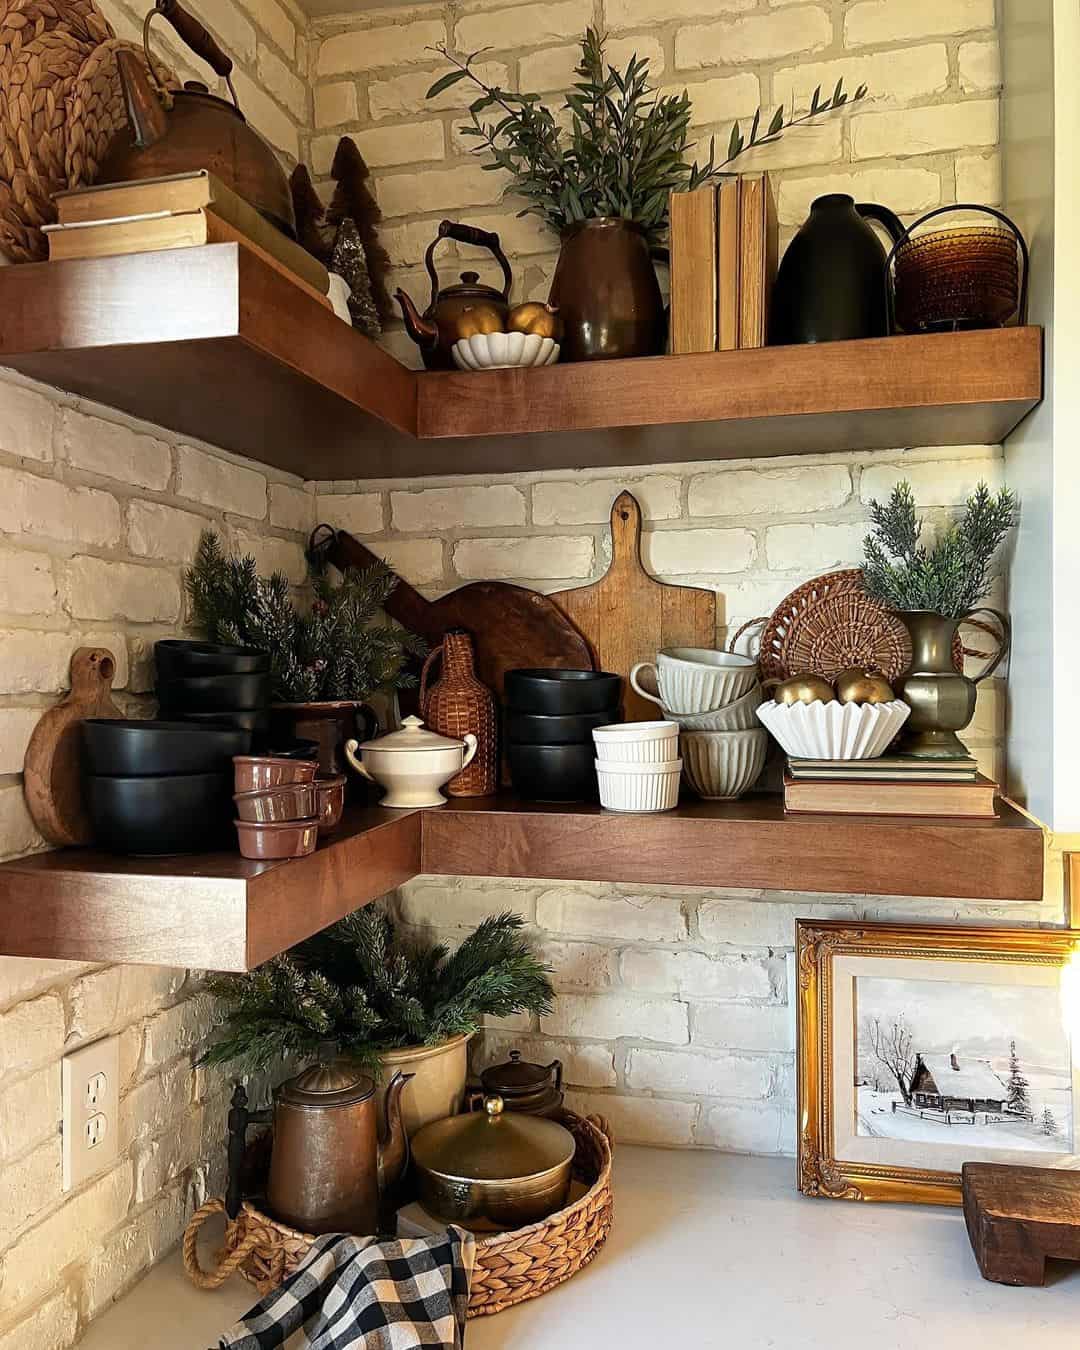
Floating shelves blend beautifully with any style of kitchen, from vintage to modern!
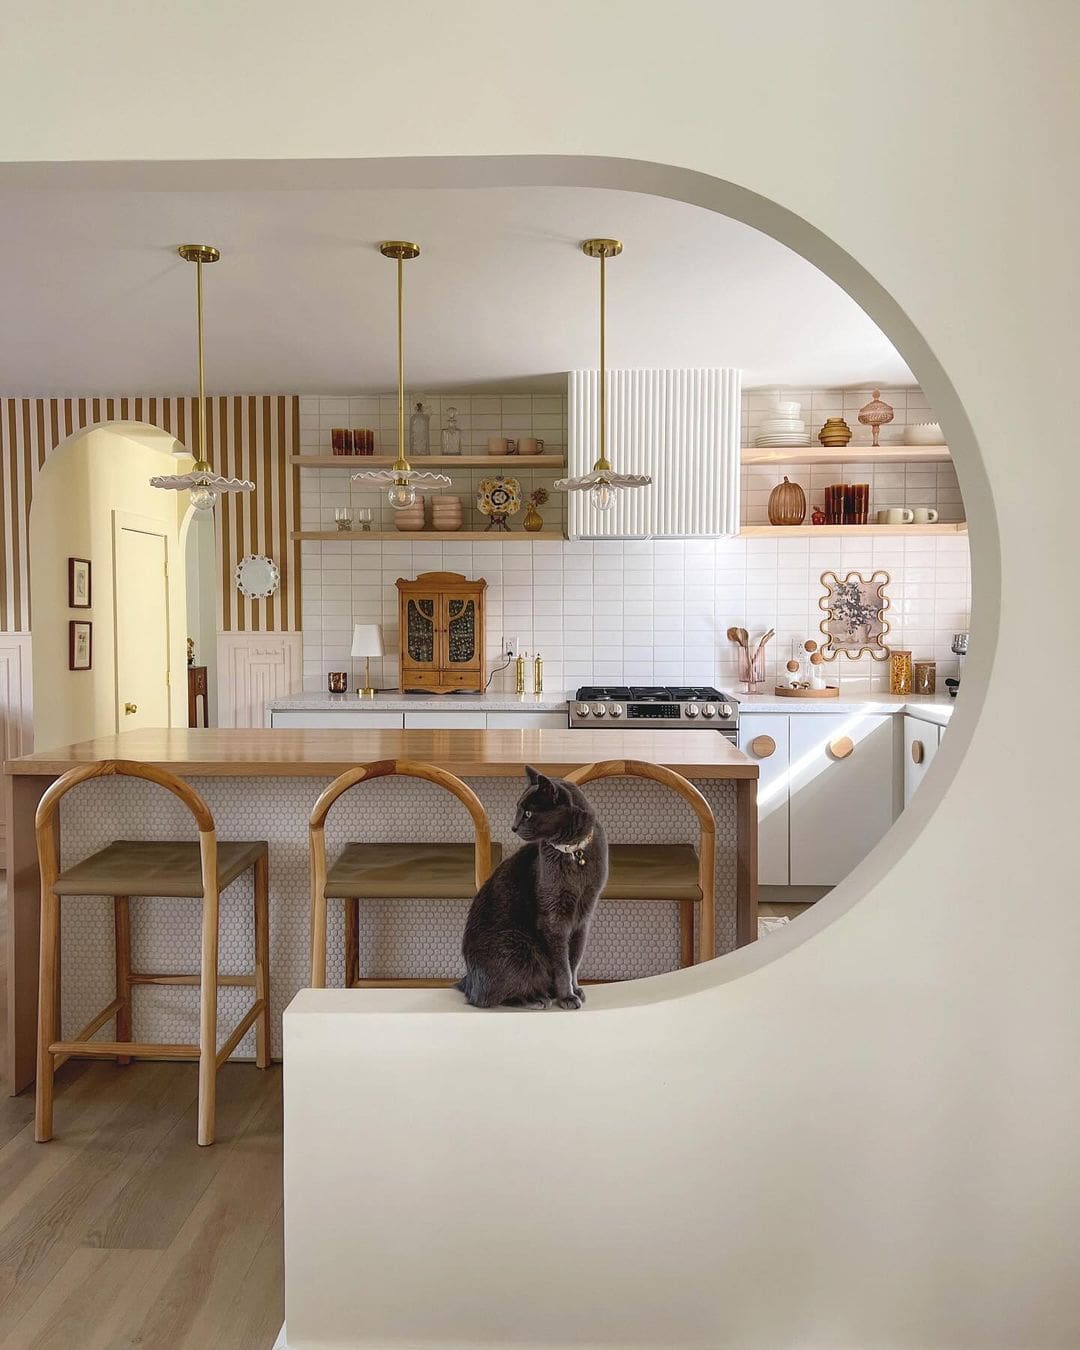
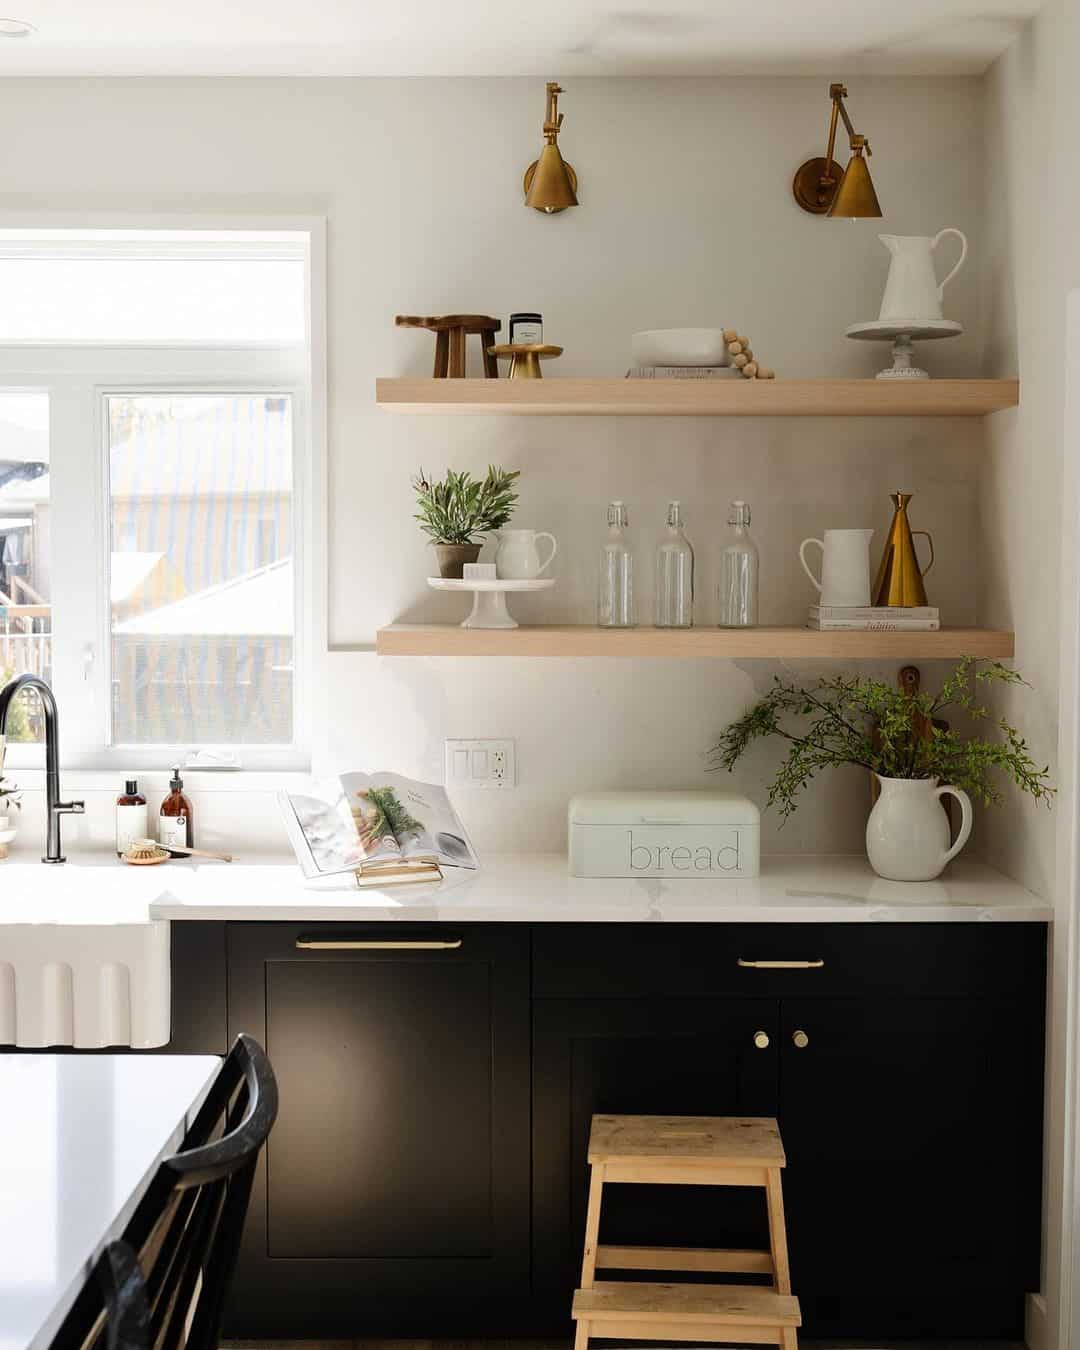
And they blend in with any color kitchen as well! From simple black and white to bold blues and greens!