Keeping your floors looking fresh and new can be a challenge, but with the right techniques, your floors can sparkle like never before.
1. Tip 1: Baking Soda & Vinegar

Start your grout-cleaning adventure with a simple mixture of baking soda and vinegar.
This natural powerhouse duo lifts stains and brightens grout lines effortlessly.
Sprinkle baking soda along the grout lines and then spray with vinegar. Allow it to fizz for a few minutes before scrubbing gently.
This is a cost-effective and eco-friendly solution for sparkling floors. Repeat the process weekly for the best results.
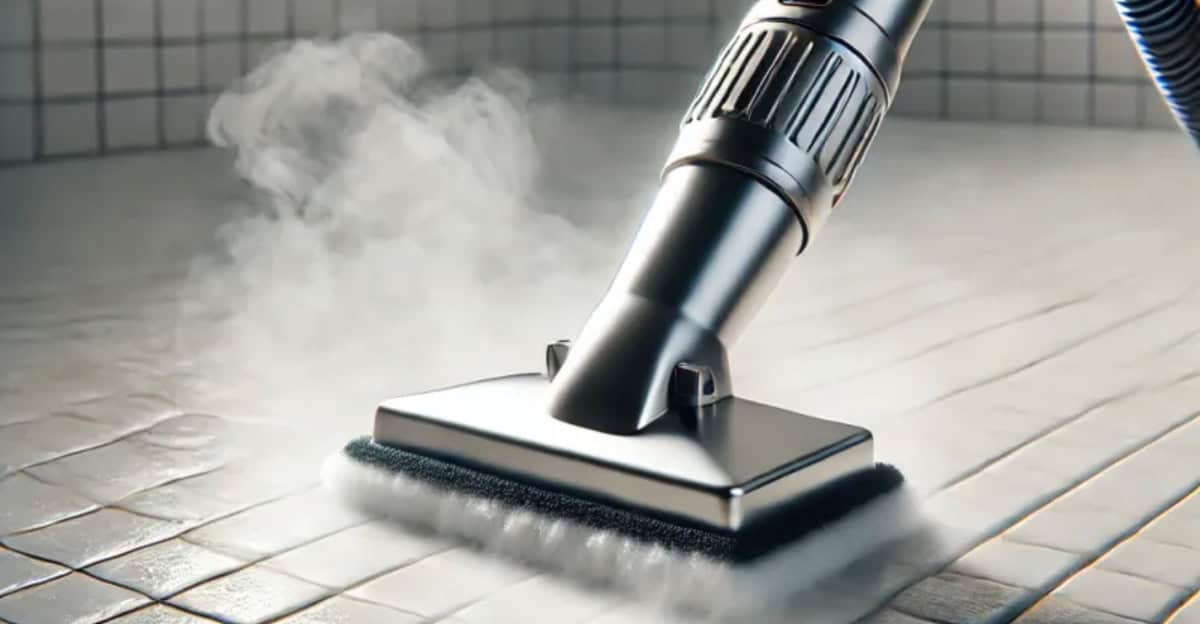
2. Tip 2: Steam Cleaner Magic
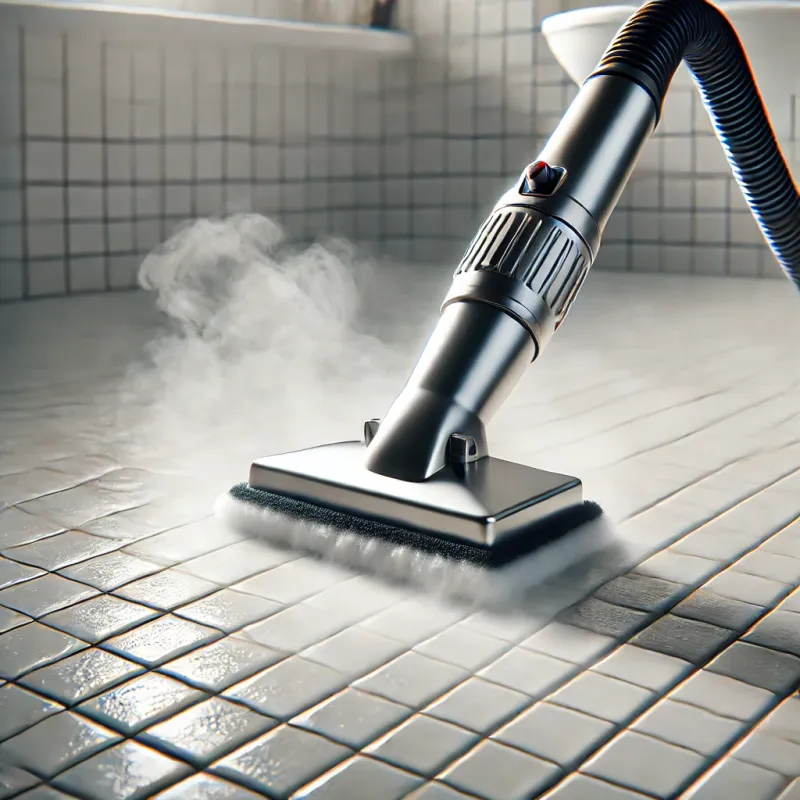
For those who prefer a gadget-friendly approach, a steam cleaner is your best friend.
It penetrates deep into grout, removing dirt and bacteria without harsh chemicals.
Slowly glide the steam cleaner along the grout lines for thorough cleaning.
It’s ideal for high-traffic areas like kitchens and bathrooms. Regular use of a steam cleaner can maintain grout brightness and floor hygiene.
3. Tip 3: Hydrogen Peroxide & Baking Soda Paste

For tough stains, mix hydrogen peroxide with baking soda to form a paste.
This combination is excellent for stubborn spots and discolored grout. Apply the paste using a toothbrush, focusing on stained areas.
Let it sit for 10 minutes before scrubbing away the residue. This method is effective for revitalizing grout and leaving your floors looking pristine.
4. Tip 4: Oxygen Bleach Solution

Oxygen bleach is a safe and powerful grout cleaning solution. Mix it with warm water, then apply generously along grout lines.
Let it soak for 15 minutes for maximum effectiveness. Scrub away loosened dirt with a brush.
Unlike chlorine bleach, oxygen bleach won’t damage colored grout. This method is perfect for restoring heavily soiled floors.
Use it bi-monthly for deep cleaning and lasting sparkle.
5. Tip 5: Lemon Juice Brightener

Revitalize dull grout with the natural acidity of lemon juice. It acts as a gentle bleach, lifting stains and imparting a fresh scent.
Apply lemon juice directly to grout lines and scrub with a soft brush.
This method is ideal for light-colored grout in need of a quick refresh.
Plus, the citrus aroma leaves your home smelling delightful. It’s a simple, yet effective, cleaning hack.
6. Tip 6: Grout Sealers for Longevity

To maintain clean grout, consider applying a grout sealer after cleaning.
Sealers protect against stains and moisture, prolonging the life of your grout. Apply the sealer with a brush, ensuring even coverage.
This preventive measure keeps grout looking fresh and reduces the frequency of deep cleaning.
It’s a smart investment for busy households. Apply sealer annually for best results and long-lasting shine.
7. Tip 7: Toothbrush Scrubbing Technique

Sometimes, all you need is a common toothbrush to rejuvenate your grout.
Its small head and soft bristles are perfect for detailed scrubbing. Use it to apply any cleaning solution, focusing on grout lines.
The toothbrush technique is great for hard-to-reach areas and intricate tile designs.
Do this regularly to prevent dirt build-up and keep your floors gleaming. It’s simple, effective, and budget-friendly.
8. Electric Grout Cleaner

For tech-savvy cleaners, an electric grout cleaner can be a game changer.
These devices use rotating brushes to scrub grout lines thoroughly.
They are easy to use and save time, making them ideal for large areas. Just guide the cleaner along each grout line for sparkling results.