Embarking on a home renovation journey can be both exciting and daunting. Knowing the optimal order of tasks ensures a seamless transition from concept to completion.
This 10-step guide offers clarity on where to start and how to finish, ensuring efficiency and effectiveness.
Each step is designed to minimize disruptions and maximize results, making your renovation experience smoother and more rewarding.
Let’s explore this structured approach to transform your living space aesthetically and functionally!
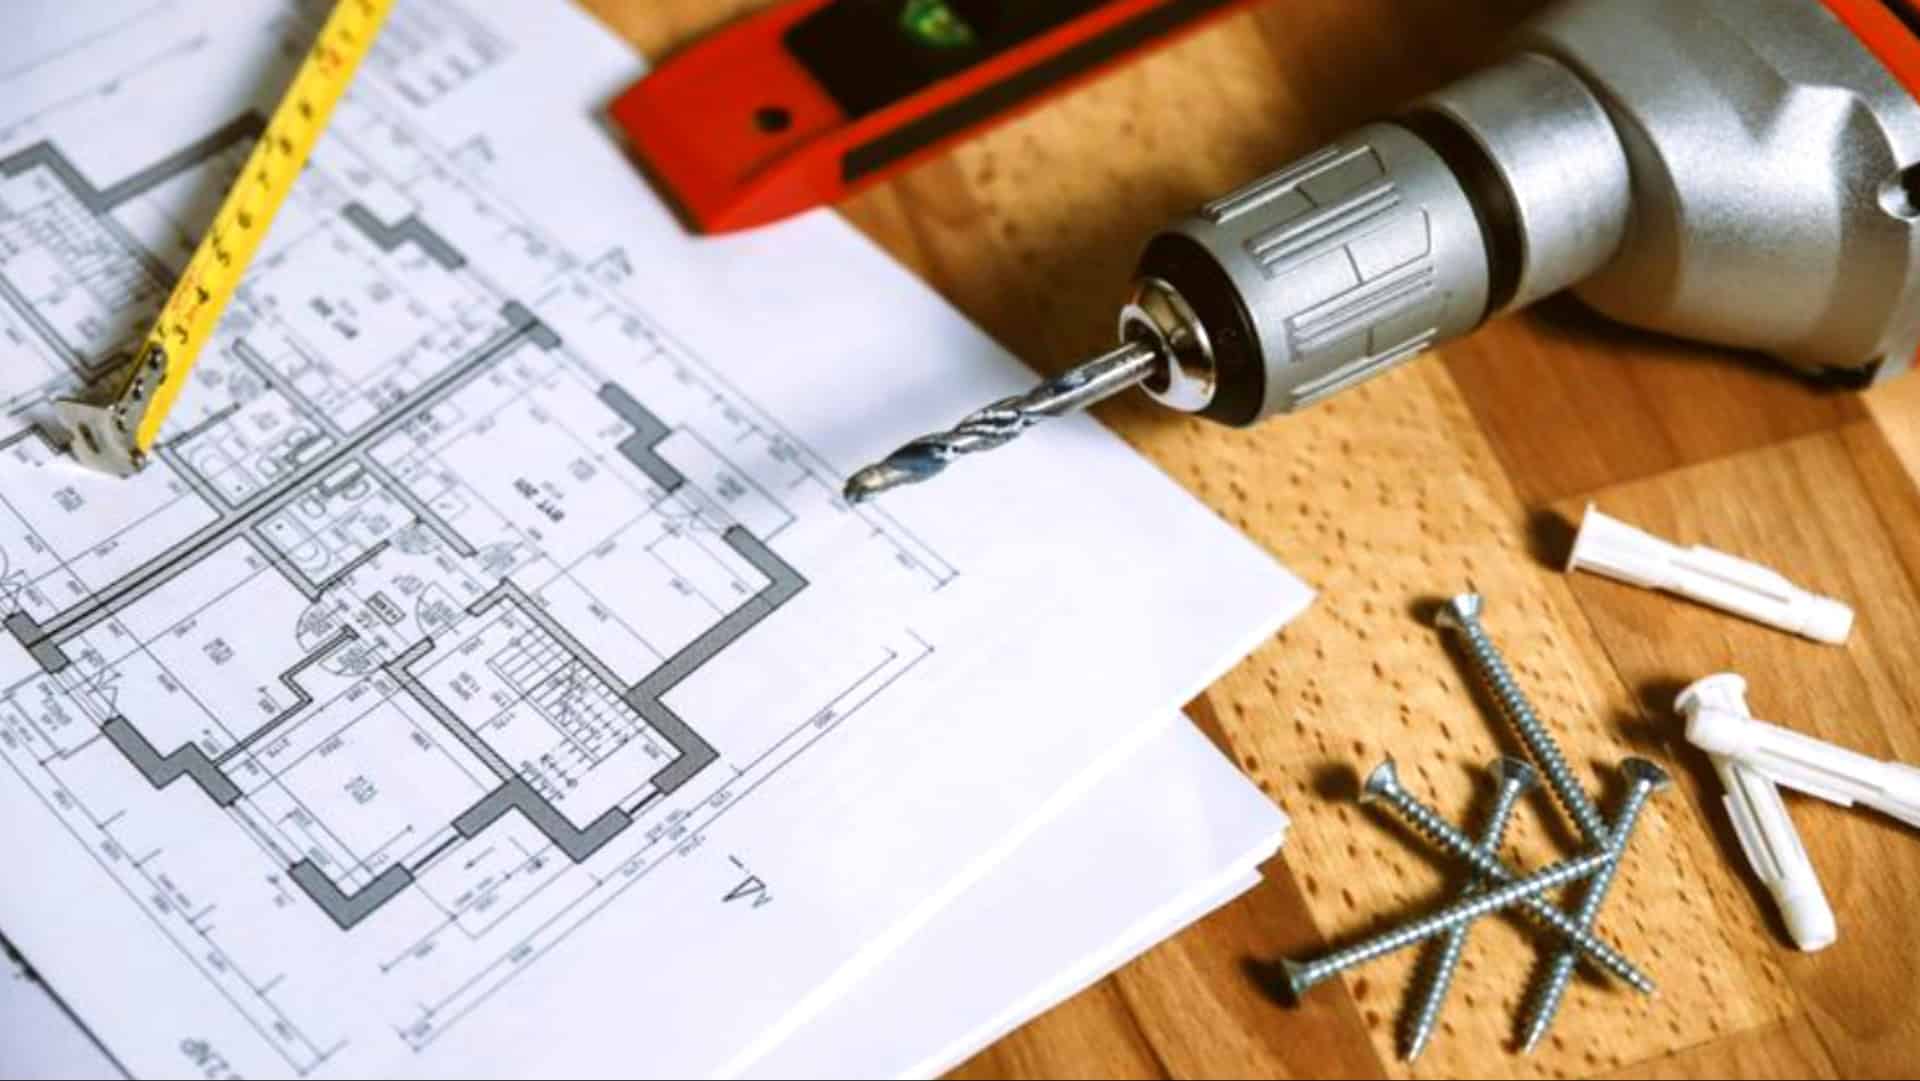
1. Planning and Design
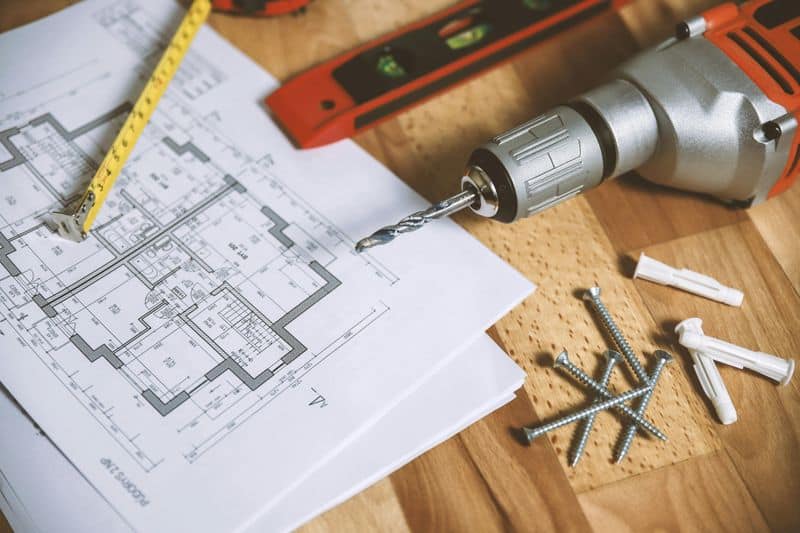
Start by meticulously planning your renovation. Gather ideas and work with an architect or designer to sketch out your vision.
This stage involves setting budgets, timelines, and selecting materials. Engage with various professionals to get their insights and ensure all permits are sorted.
A well-thought-out plan prevents costly changes later and aligns everyone involved with the project’s goals, setting the foundation for a successful renovation.
2. Demolition
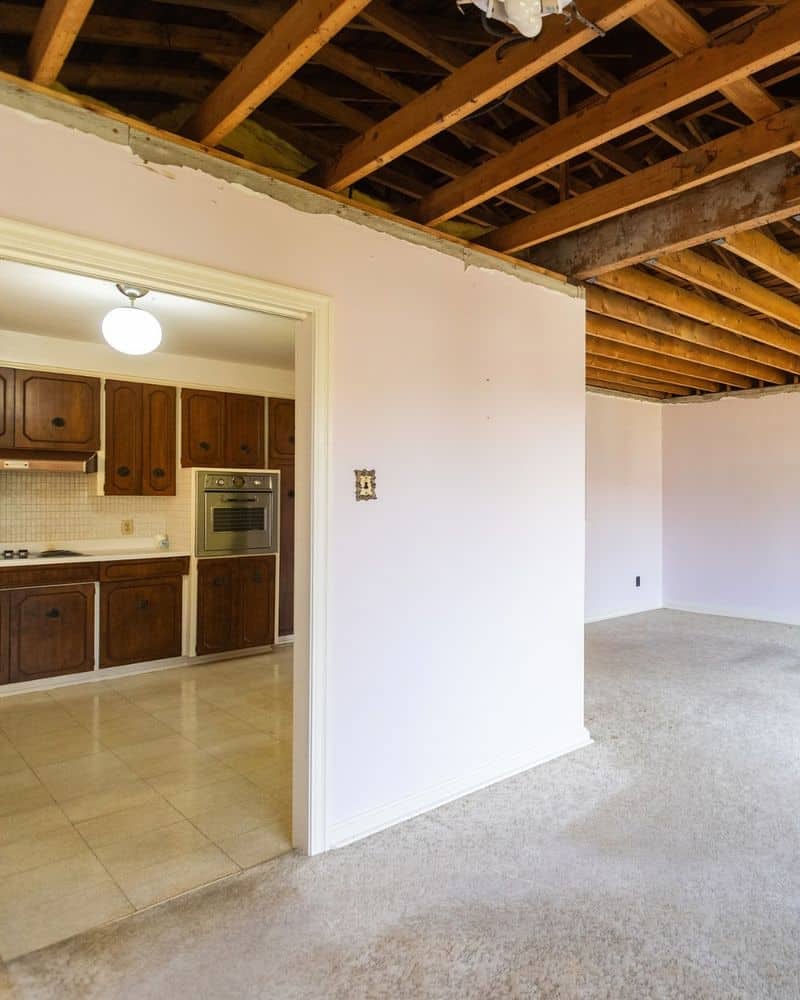
With plans in place, it’s demolition time. Remove unwanted walls, fixtures, and fittings to start with a clean slate.
Ensure all safety protocols are followed, and debris is cleared promptly to avoid unnecessary delays.
This step is crucial as it allows you to assess any unforeseen issues hidden beneath the surfaces, like plumbing or electrical discrepancies, setting the stage for the next build phase.
3. Structural Repairs

Address structural issues post-demolition to ensure the building’s integrity. Focus on repairing or reinforcing beams, foundations, and support structures.
This might involve fixing cracks in walls or floors and ensuring everything is up to code.
Structural repairs are fundamental as they support the overall stability of the house, allowing for safe and secure further development and renovations.
4. Electrical and Plumbing
Before closing up walls, complete all major electrical and plumbing work. Run wires, install pipes, and set up HVAC systems.
This step is about building the functional core of your home, and preparing it for everyday use.
Proper installation now prevents headaches later and ensures all systems operate efficiently, ready for when the walls and ceilings are sealed.
5. Insulation and Drywall
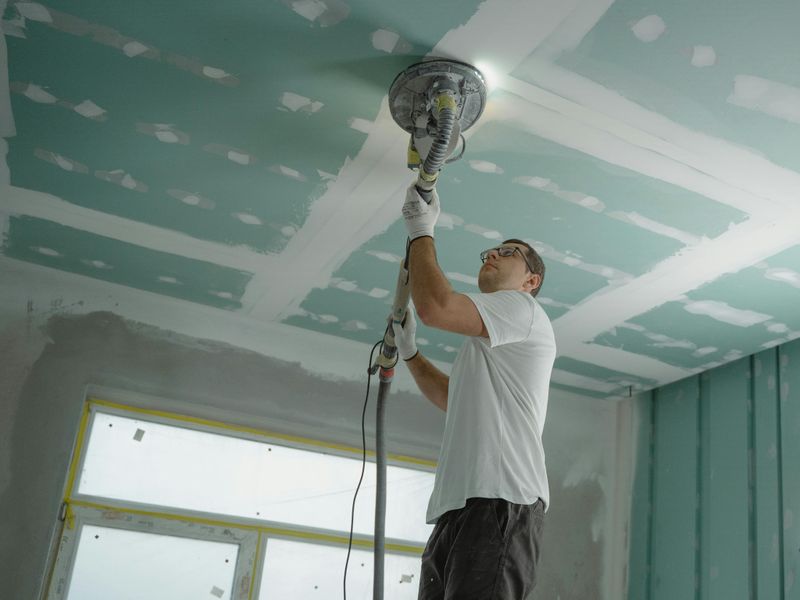
Insulate walls and ceilings to improve energy efficiency and comfort. Follow this by installing drywall, smoothing seams, and preparing surfaces for painting.
Sound insulation might also be considered at this stage for added privacy.
These steps are vital for creating a comfortable interior environment, reducing energy bills, and providing a blank canvas for further aesthetic enhancement.
6. Flooring Installation

Once the walls are up, focus on the floors. Choose from hardwood, tile, or carpet depending on rooms and preferences.
Flooring ties the space together, providing warmth and character to interiors.
Installing floors at this stage prevents damage from other construction activities, ensuring a pristine finish that complements the overall design vision.
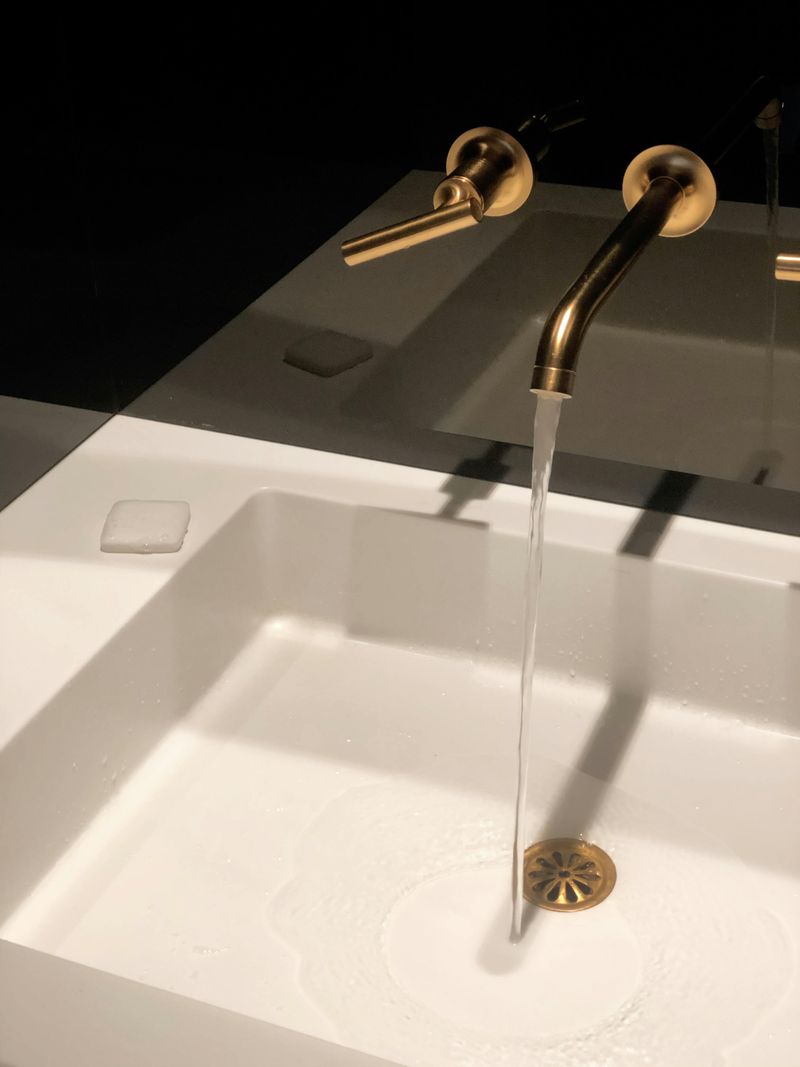
7. Cabinetry and Fixtures
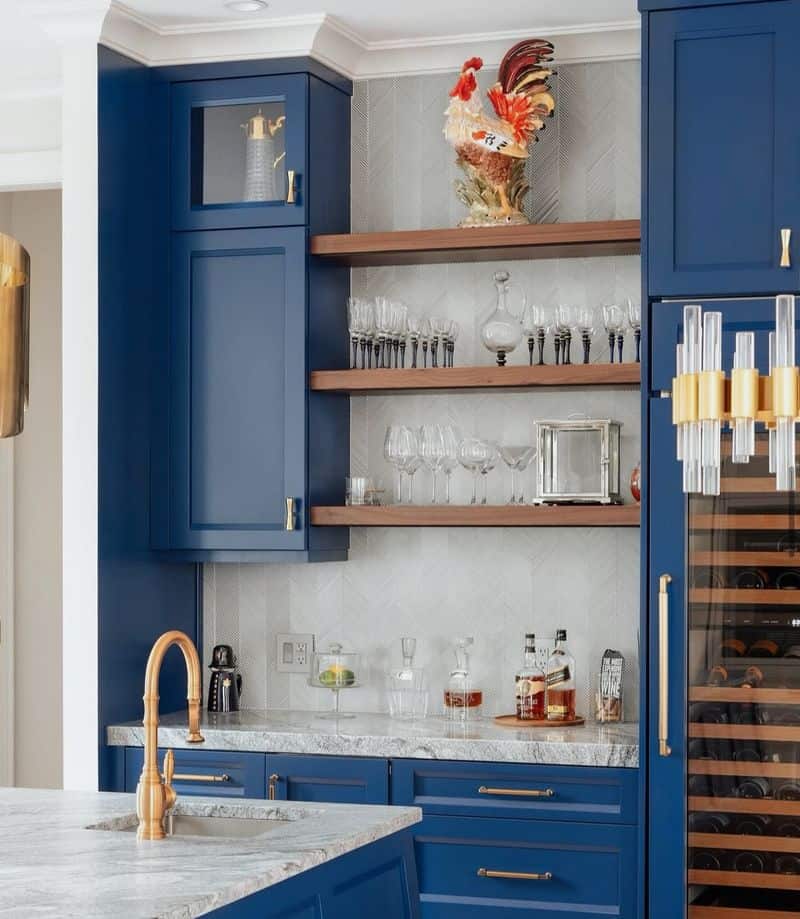
With floors secure, install cabinetry and fixtures. This includes kitchen cabinets, bathroom vanities, and lighting fixtures.
This stage personalizes the space, reflecting style and functionality.
Selecting high-quality materials enhances the home’s appeal and ensures durability, adding to the overall aesthetic and utility of your newly renovated spaces.
8. Painting and Wallpaper
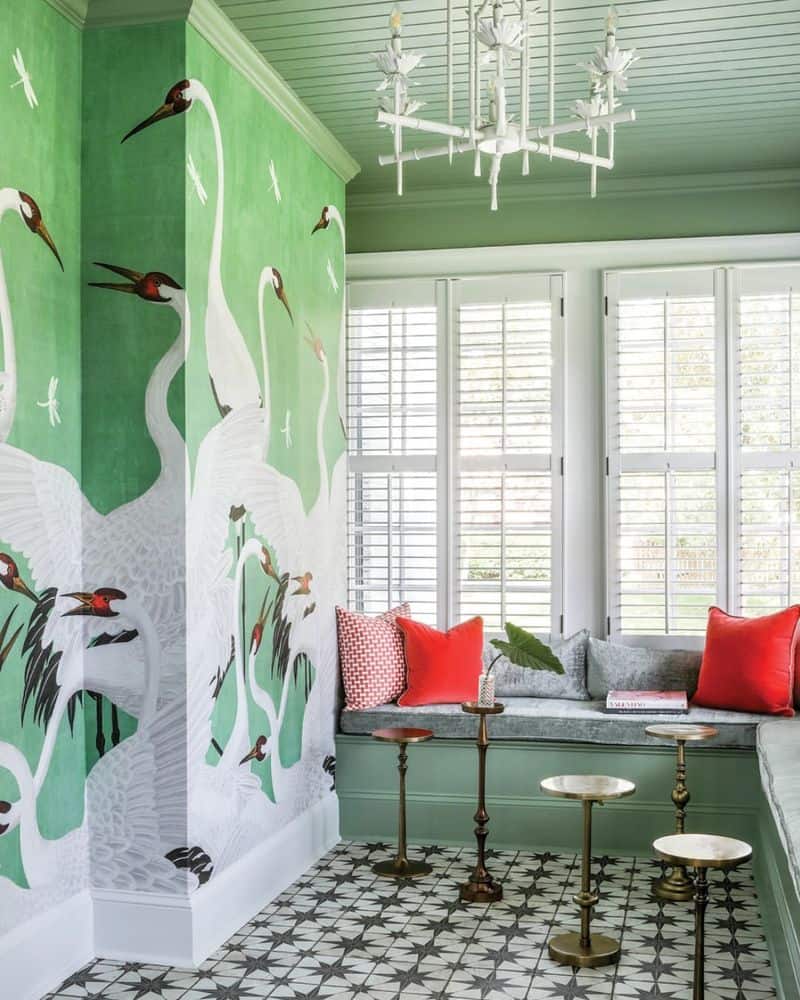
Add color and texture to your home with painting and wallpaper. Choose hues that complement your design theme.
This is your chance to express creativity and personality, setting the tone for each room.
A professional finish not only enhances visual appeal but also protects surfaces and ensures a long-lasting effect, harmonizing the entire renovation.
9. Appliance Installation
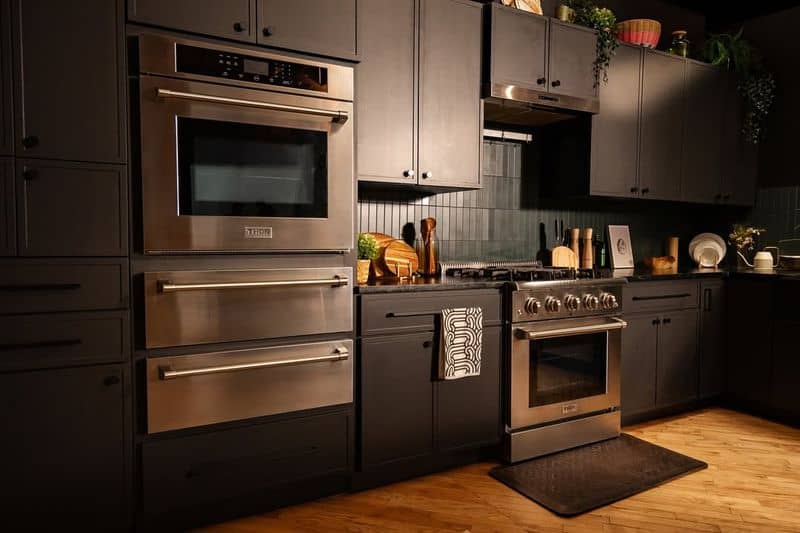
With aesthetics in place, introduce appliances. Carefully install and test kitchen equipment, washers, and entertainment systems.
This step is about integrating technology into your home, ensuring everything is wired and working efficiently.
Proper installation guarantees convenience and modern functionality, enhancing daily living experiences in your freshly renovated space.
10. Final Touches and Cleanup
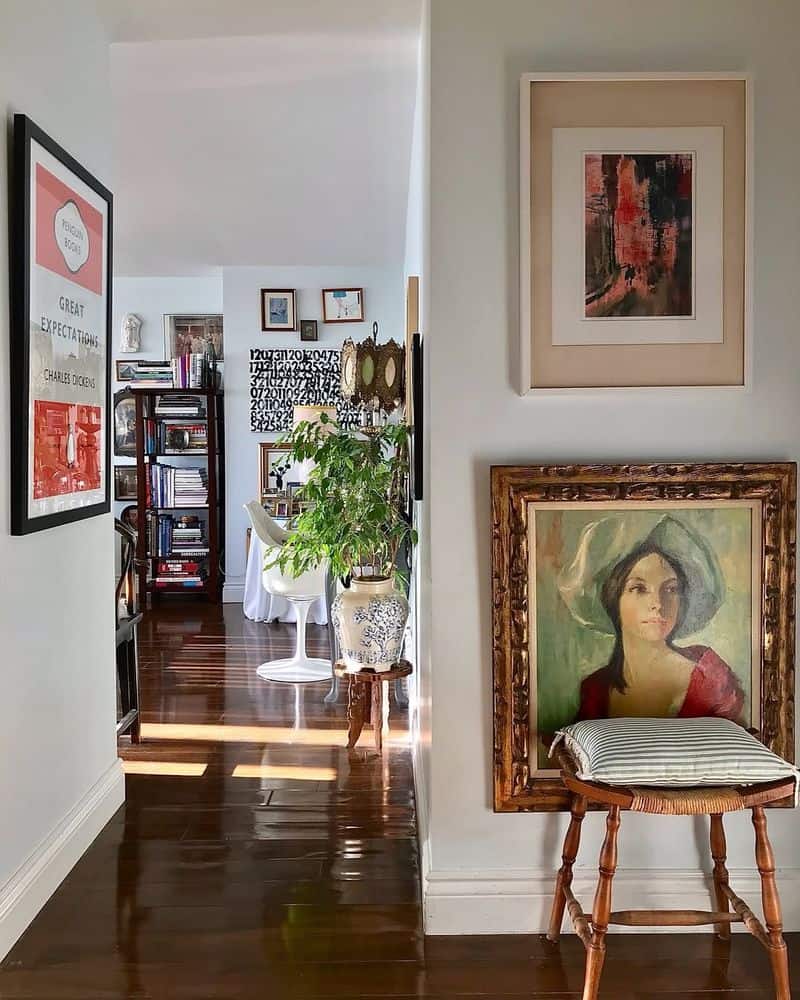
Conclude with final touches and thorough cleaning. Decorate with art, arrange furniture, and add personal accessories.
This last step is your chance to polish and perfect everything, leaving a lasting impression.
A detailed cleanup ensures your home is fresh and ready to enjoy, completing the transformation and making the space truly yours.