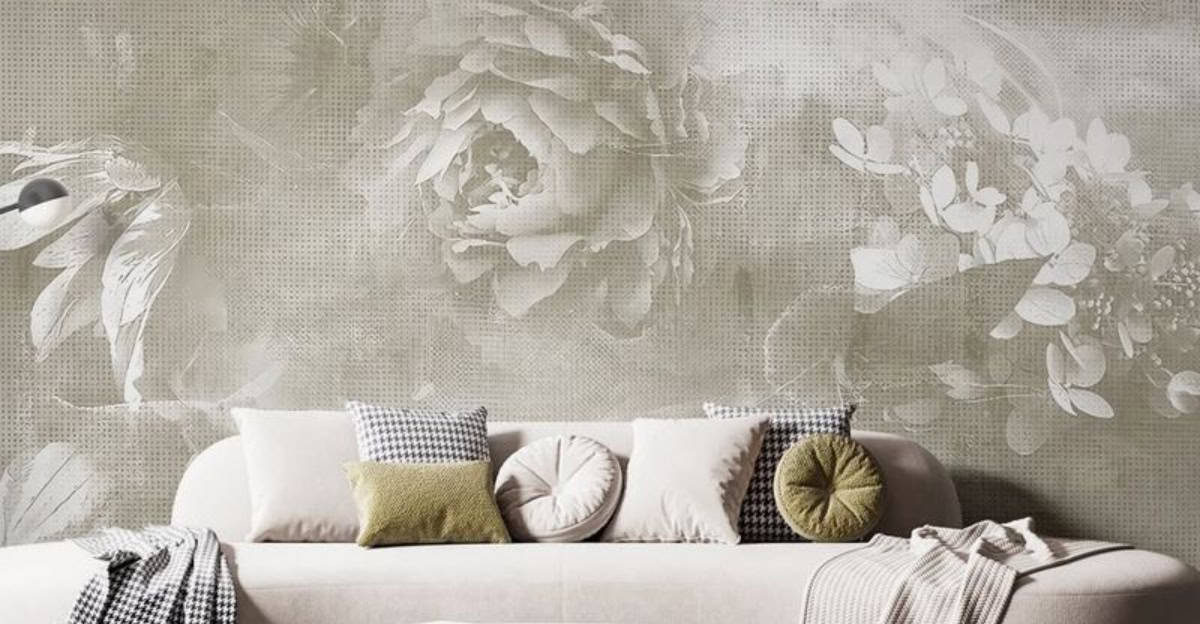
Removing wallpaper can be quite a sticky situation, but fear not! With the right tricks up your sleeve, you can make the process as smooth as a freshly painted wall.
Here are 10 tried-and-true methods to help you remove wallpaper without breaking a sweat.
So, grab your tools, and let’s get started!
1. Tape the Baseboards
First things first, protect those baseboards like they’re your favorite pair of shoes. Grab some painter’s tape and line the baseboards to shield them from potential drips and scratches.
You wouldn’t want to ruin their pristine finish while wrestling with wallpaper. It’s an easy step, but it makes a world of difference.
A little bit of tape can save you from a lot of touch-ups later on. So, before you dive into the removal process, make sure your baseboards are safe and sound.
You’ll thank yourself later when it’s time to put the room back together.
2. Keep the Outlet Covers On
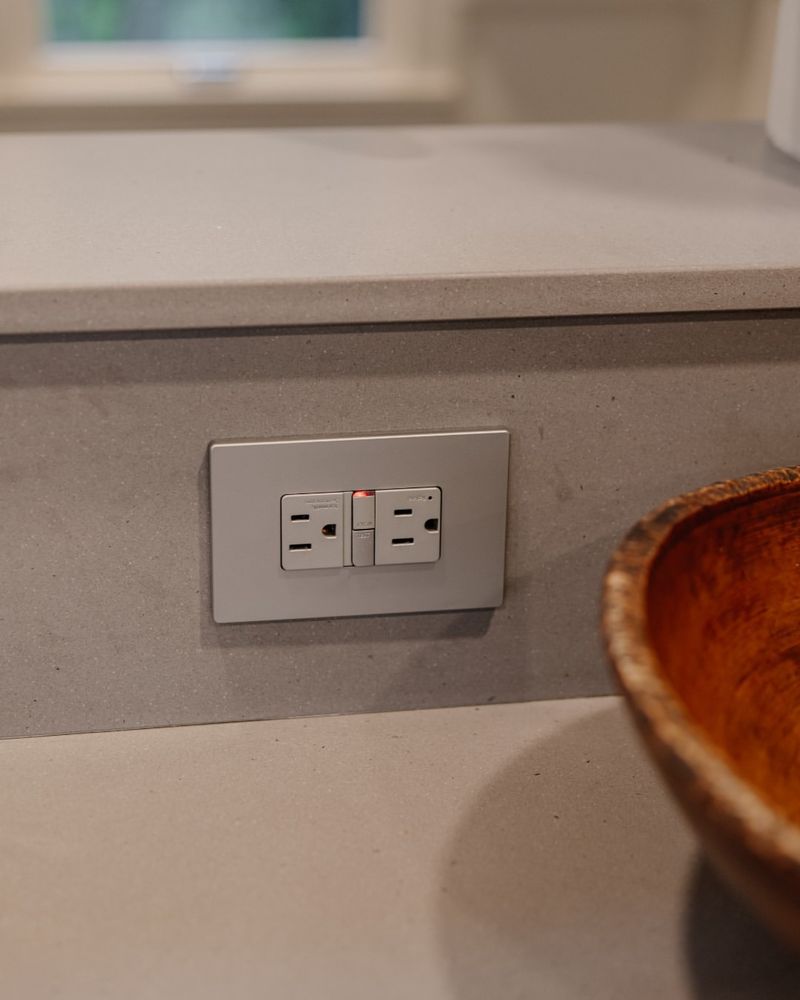
When you’re knee-deep in wallpaper, it’s tempting to remove outlet covers to speed things along. However, keeping them on can actually save you from a shocking surprise.
Outlet covers catch stray pieces of wallpaper and prevent moisture from seeping into electrical components.
When you’re done, simply remove them for a clean finish. This trick keeps you safe and your outlets dry.
Plus, it’s much easier to clean up around them than risking a delicate dance with electricity. Better safe than sorry, as Grandma always said!
3. Protect the Floor

Your floors have seen it all, but let’s not add wallpaper glue to their resume. Lay down plastic sheets or drop cloths to protect them from any adhesive spills. Consider it a raincoat for your precious floors.
As you start peeling, bits of wallpaper might flutter to the ground, so keep the cleanup easy with this simple step. It’s a straightforward way to ensure your floors remain spotless while you focus on the walls.
You’ll appreciate the foresight with every step you take on your newly preserved flooring.
4. Soak the Wallpaper With Warm Water
Want to loosen that wallpaper without breaking a sweat? Warm water is your new best friend. Fill a spray bottle with it and saturate the wallpaper.
The warmth helps dissolve the adhesive, making the removal process as easy as pie. Just give it a good soak, wait a few minutes, and watch the magic happen.
It’s like giving your walls a spa day! Plus, there’s something oddly satisfying about seeing those strips come off smoothly. Who knew removing wallpaper could be so therapeutic?
5. Steam Will Also Help

Feeling steamed about stubborn wallpaper? Turn the tables and steam it right back! A wallpaper steamer is perfect for tackling those particularly pesky patches.
The steam penetrates the paper, loosening the glue beneath. It’s like a mini sauna for your walls, melting away resistance as you glide it across.
Keep an eye on the time, though—too much steam can damage the drywall. A little patience goes a long way, and soon you’ll be peeling away effortlessly.
6. Score the Wallpaper
Sometimes, you need to rough things up a bit to make progress. Scoring the wallpaper allows moisture to seep in more effectively, loosening the glue’s grip.
Use a scoring tool to puncture the surface lightly—think of it as creating tiny escape routes for the adhesive. This technique works wonders, especially on stubborn spots that refuse to budge.
Just remember, a gentle touch is key. You want to help the moisture do its job without damaging the wall beneath.
7. Mix Water and Fabric Softener
Here’s a trick straight from the cleaning aisle: mix water with fabric softener to create a potent wallpaper remover. Spray this delightful concoction onto the wallpaper and let it work its magic.
The fabric softener helps break down the adhesive, making it a breeze to peel off. It’s like a soothing elixir for your walls, giving them the tender care they deserve.
Plus, your room will smell amazing! With a little patience and this aromatic blend, you’ll see results in no time.
8. Peel Layer by Layer
Take it slow and peel the wallpaper layer by layer. This method requires patience but ensures the least damage to your walls.
Start from a corner and gently pull at a 45-degree angle. It’s like unwrapping a gift, revealing the beautiful wall beneath. Layer by layer, you’ll be closer to a clean slate.
This careful approach minimizes tears and makes the subsequent steps much smoother. Remember, slow and steady wins the race — and saves your walls!
9. Sand It Off
When wallpaper is being extra clingy, sandpaper might be your best bet. Gently sand off leftover adhesive to smooth your walls.
This method requires a steady hand and a bit of elbow grease, but the result is worth the effort. Your walls will be ready for a fresh coat of paint or the next layer of decor.
Just be cautious not to overdo it—you want to preserve the integrity of the wall beneath. A light touch goes a long way.
10. Soak for 5 Minutes
Patience is a virtue, especially when it comes to wallpaper removal. Once you’ve applied your solution, let it soak for a good five minutes.
This waiting game allows the remover to penetrate and break down the adhesive. While it might feel like the longest five minutes of your life, it’s crucial for an effortless peel.
Think of it as a mini coffee break— for you and your walls. Afterward, you’ll find the wallpaper comes off with ease, saving you time and frustration.