Wood bleaching is a transformative technique used to lighten the color of wood, enhancing its natural beauty or preparing it for a new look.
Ideal for DIY enthusiasts and professional woodworkers alike, this process requires careful attention to detail and the right approach to achieve the desired results.
These tips will guide you through the essentials of wood bleaching, whether you’re working with oak, pine, or another wood type.
1. Understand When to Bleach
Bleaching is best used to lighten the wood’s color without losing its grain pattern.
It’s often recommended when stains don’t lift with regular cleaning, or when you want a fresh start for a new project.
Approach this process with caution, as not all woods react equally.
Stay informed about your specific type of wood and any potential adverse effects.
2. Safety First: Wear Protective Gear
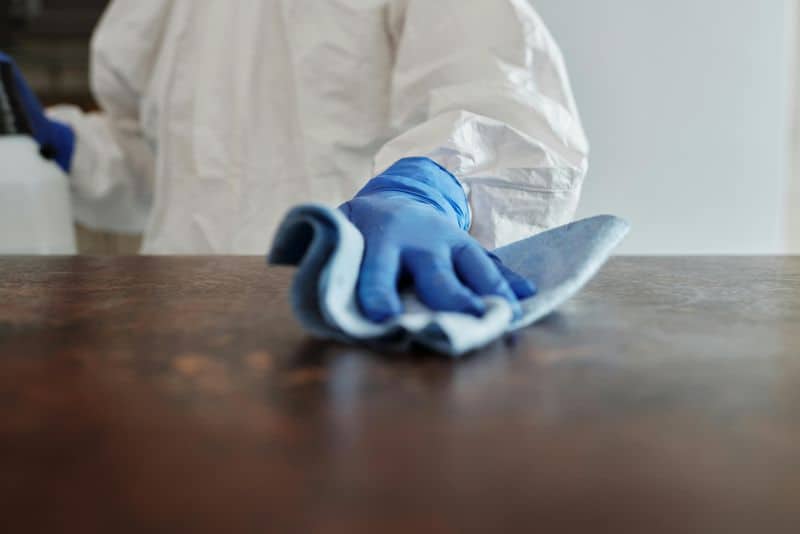
Safety is paramount when working with bleach. Always wear gloves and goggles to protect your skin and eyes from the chemicals.
Adequate ventilation is crucial to avoid inhaling fumes. Consider working outdoors or in a well-ventilated area.
Keep a neutralizing agent, like vinegar or baking soda, nearby to quickly counteract accidental spills or splashes.
3. Choose the Right Type of Wood

Not all woods are suitable for bleaching. Hardwoods such as oak and ash tend to accept bleach well, while softer woods like pine may not.
Test a small, inconspicuous area first to see how the wood reacts. This step helps prevent unwanted surprises and ensures your final result meets expectations.
4. Prepare the Surface Properly

Preparation is key for successful bleaching. Sand the wood surface thoroughly to remove any finishes or residues.
A clean, smooth surface allows the bleach to penetrate evenly and achieve the desired lightening effect.
Wipe away dust with a damp cloth before applying bleach to ensure quality results.
5. Use the Right Bleaching Agent
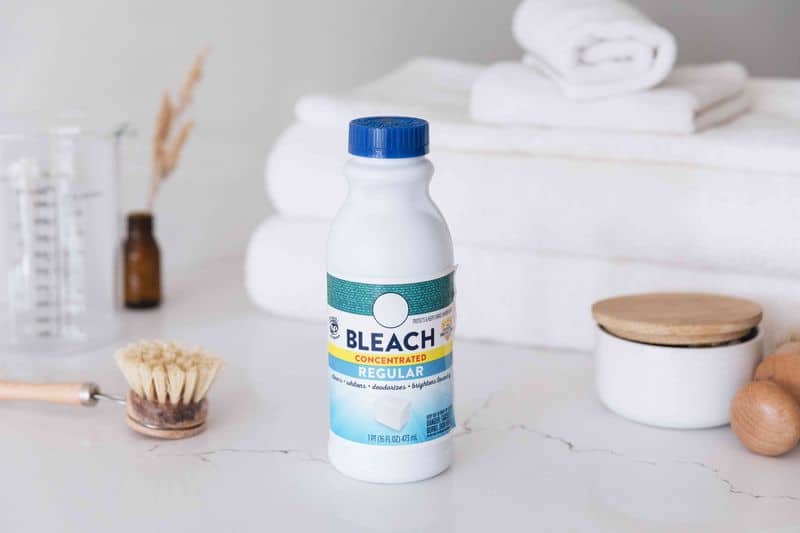
Different bleaching agents serve different purposes. Oxalic acid is perfect for removing rust stains, while chlorine bleach lightens the entire surface.
Hydrogen peroxide, often used by professionals, achieves a more uniform color change.
Understanding each agent’s role helps you choose the right product for your project.
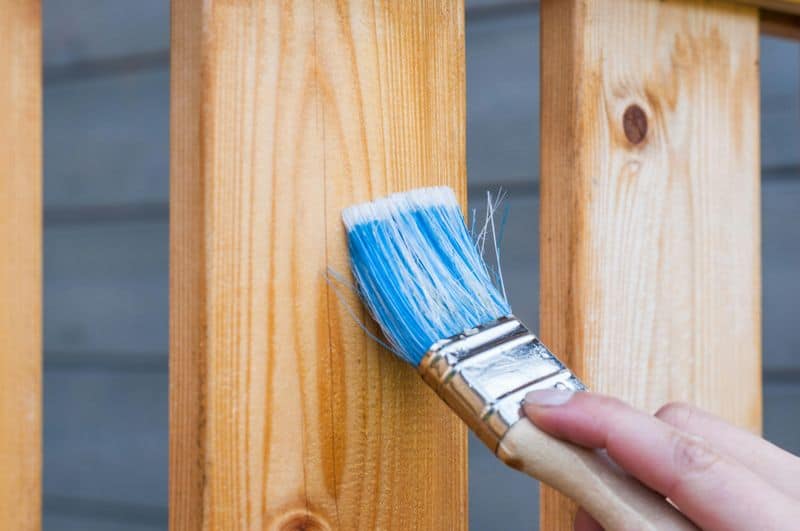
6. Apply Bleach Evenly
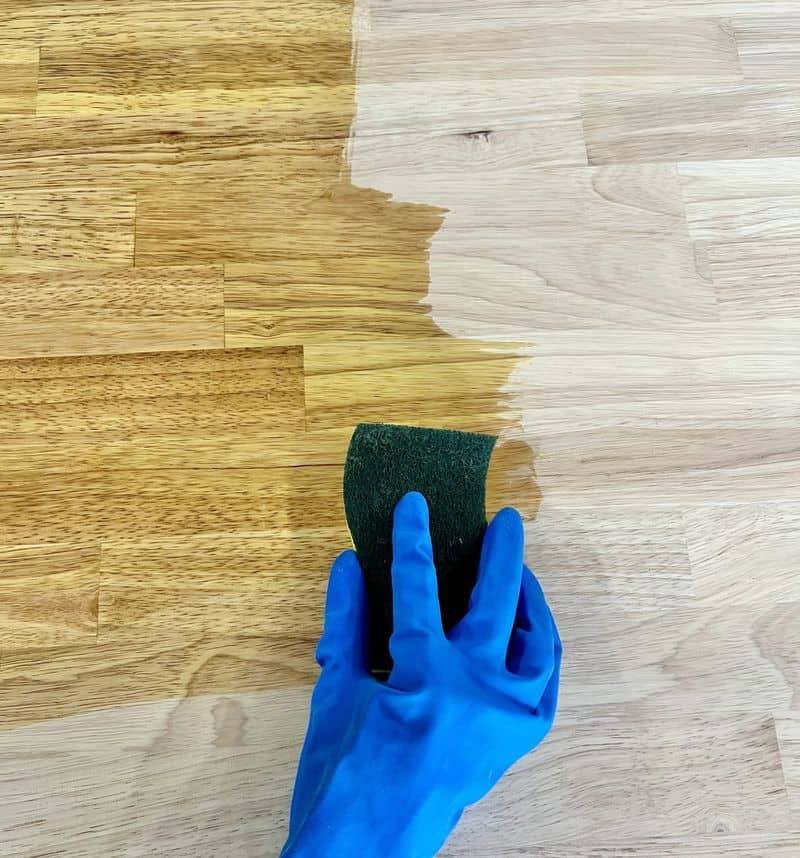
Applying bleach evenly is critical to avoid blotchy results. Use a brush or sponge to spread the bleach in smooth, even strokes.
Work quickly but carefully, covering the entire surface without leaving puddles. Consistent application ensures uniform lighting, enhancing the wood’s natural beauty.
7. Neutralize the Bleach Effectively
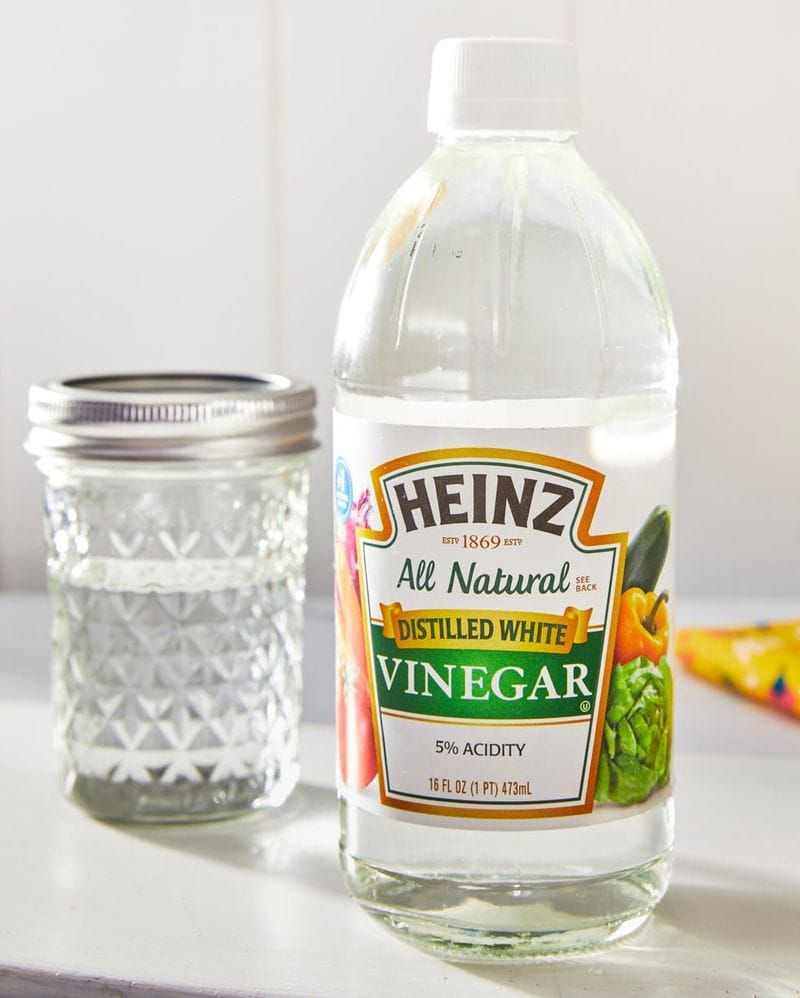
Once bleaching is complete, neutralize the wood to stop the chemical reaction. This step prevents over-lightening and preserves the wood’s integrity.
Rinse the surface with water and apply a neutralizing agent like vinegar. Proper neutralization stabilizes the wood, readying it for finishing touches.
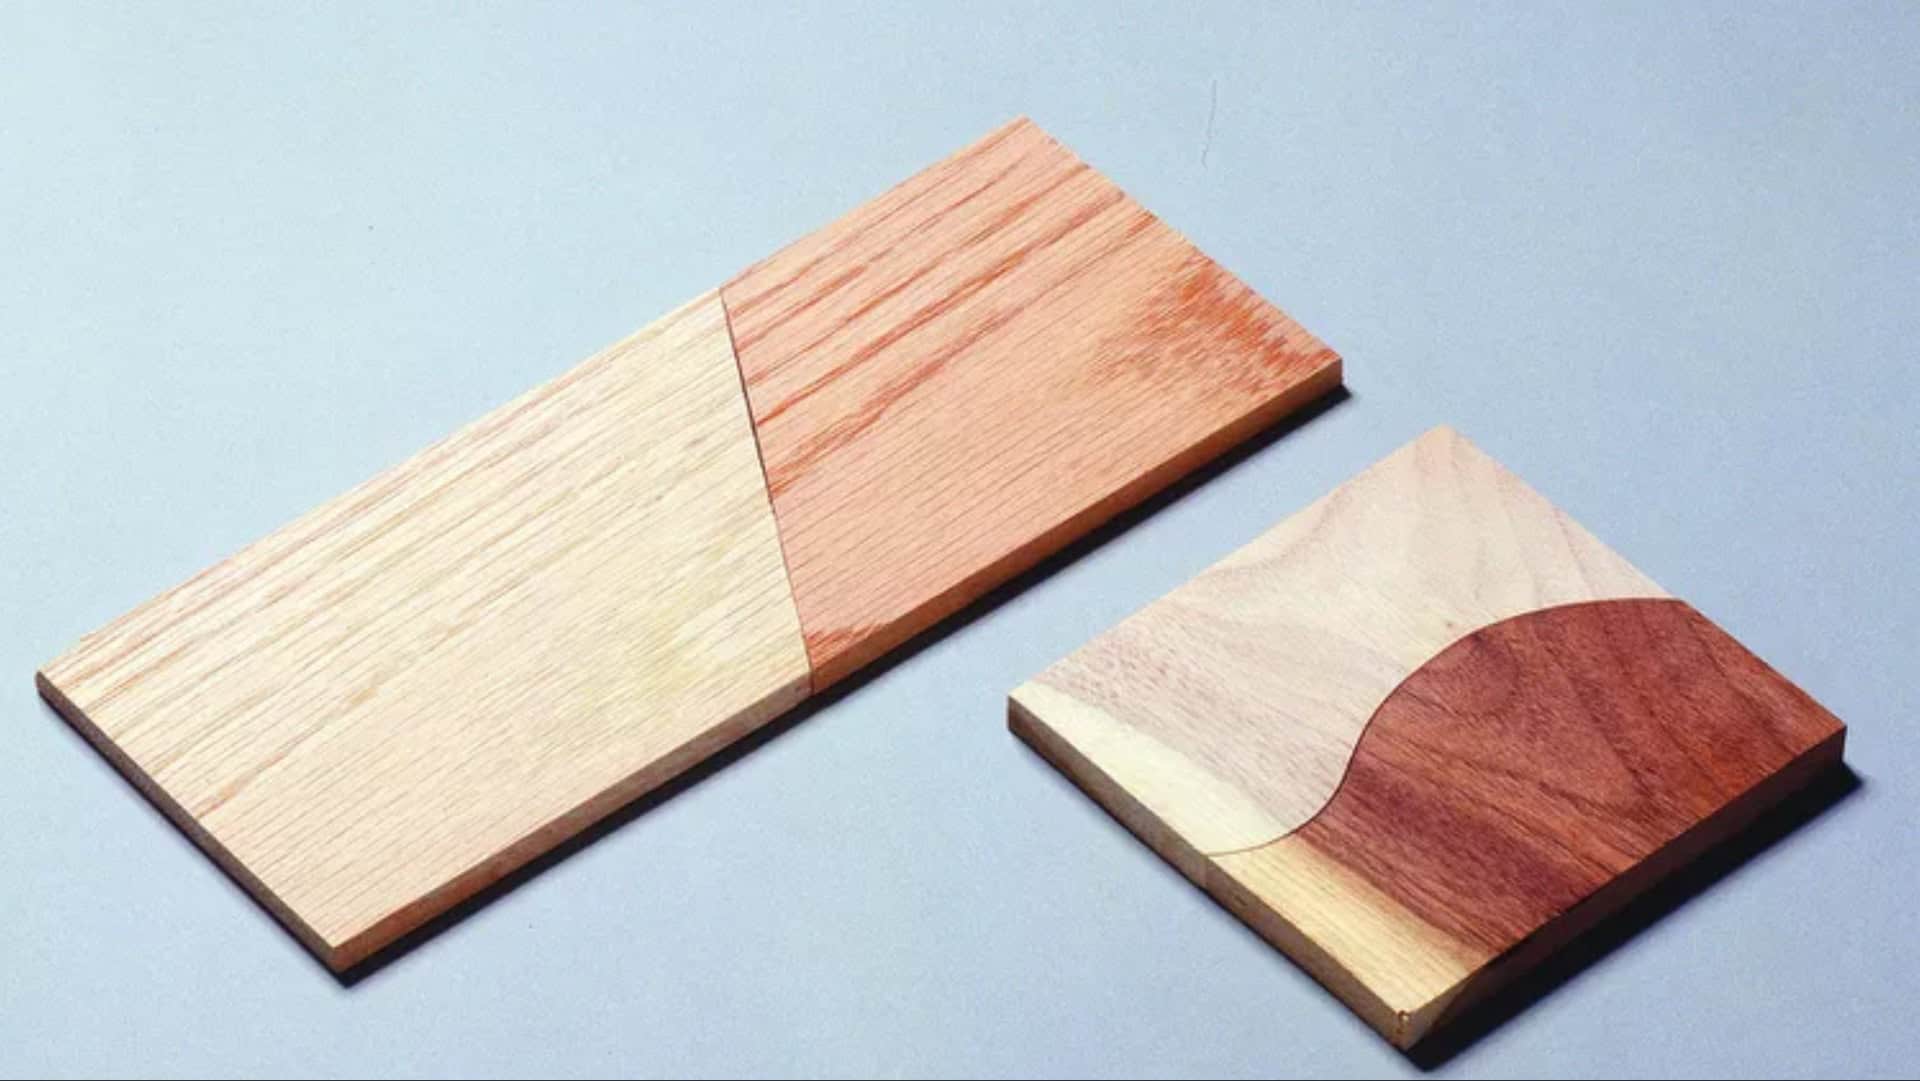
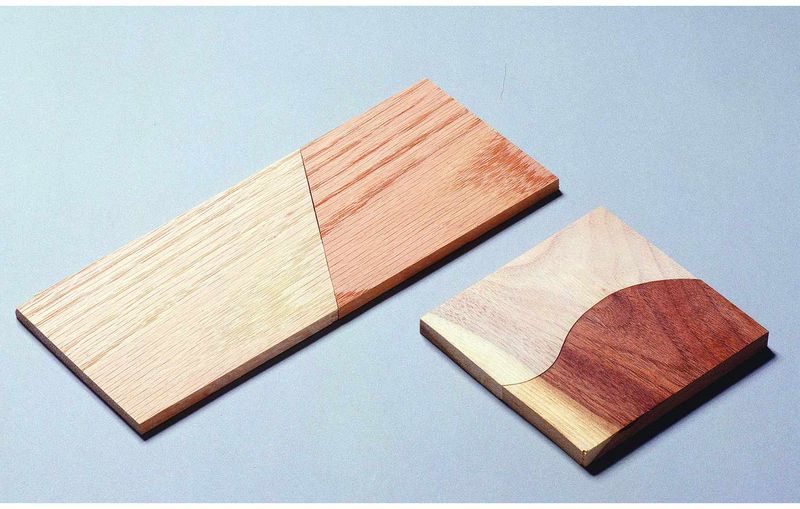
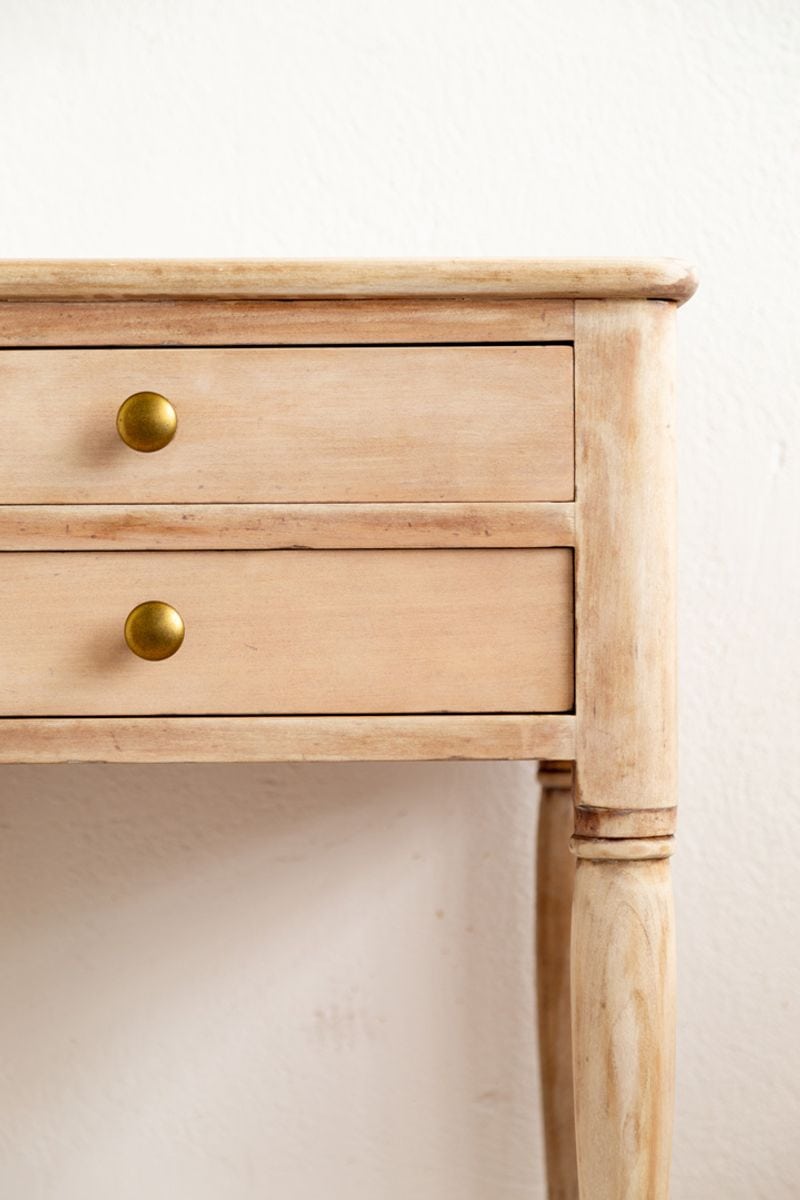
8. Consider the Grain Pattern
Bleaching can alter the wood’s grain pattern, so consider the visual impact before proceeding.
Some woods display stunning patterns post-bleaching, enhancing their appeal.
Evaluate if the grain’s transformation aligns with your design vision. Balancing lightning and grain visibility creates a harmonious aesthetic.
9. Test Before Full Application
Testing a small area helps predict the final appearance, ensuring satisfaction with the result.
This step is particularly crucial if you’re unfamiliar with the wood type or bleaching product.
Adjust your technique based on the test outcome to avoid costly mistakes and achieve your desired look.
10. Finish with a Protective Coating
Completing the bleaching process with a protective coating enhances durability and appearance.
Choose a finish that complements the wood’s new color, such as clear varnish or wax.
This final layer seals the wood, preserving its fresh appearance and providing long-term protection against damage.